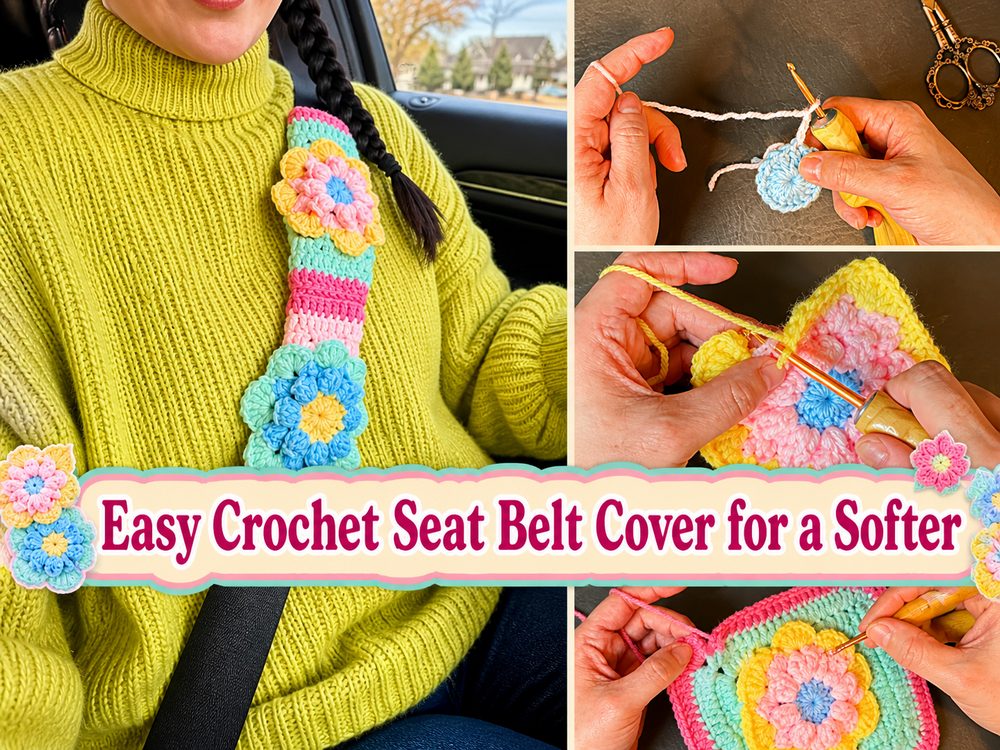

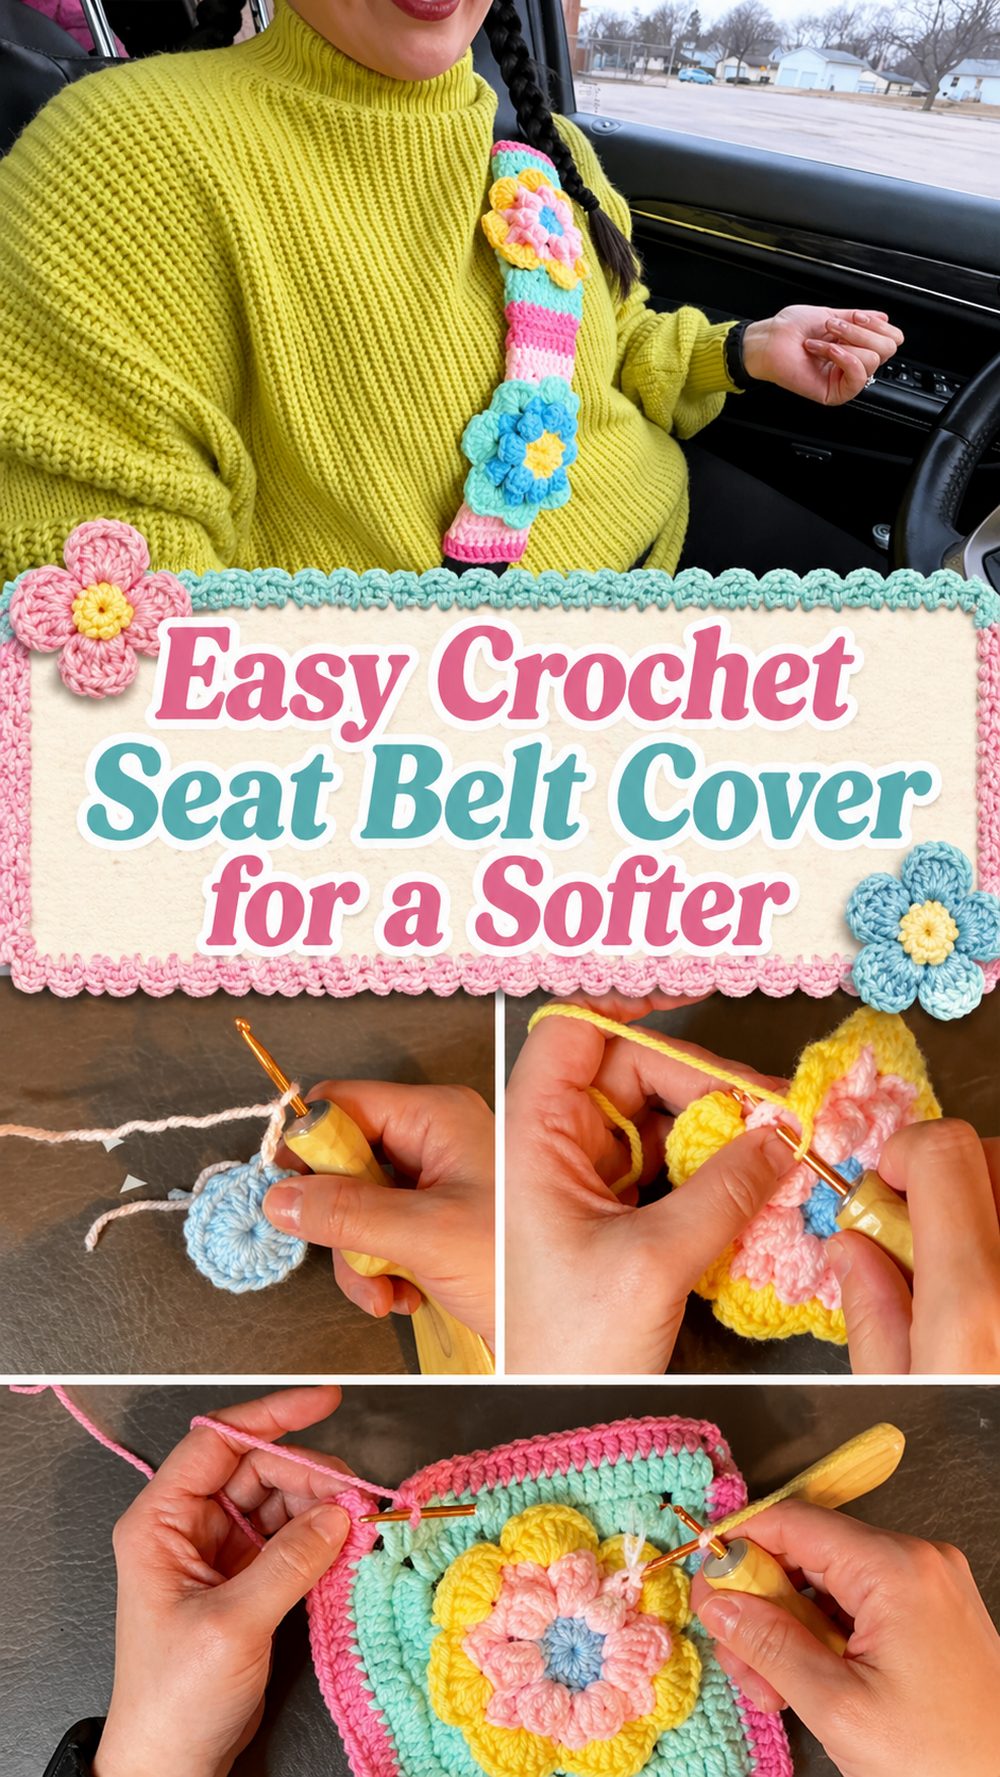
A crochet seat belt cover is a small project that can make everyday travel feel a little more comfortable and a lot more personal. It adds a soft layer between the seat belt and your shoulder or chest area, which many people appreciate on longer drives or during daily errands. The tutorial I selected teaches a crochet seat belt shoulder strap cover in a clear step-by-step way, making it a lovely choice for anyone who enjoys practical crochet projects that are quick to finish and easy to use. This is also the kind of project that works well for gifting, especially for someone who spends a lot of time in the car. If you like useful crochet with a simple shape and a satisfying result, this seat belt cover is a really nice project to try.
Why You’ll Love This Project
This project is easy to love because it is practical, portable, and beginner-friendly in feel. It gives you a useful finished item without needing a huge time commitment, and it is the kind of crochet piece you can use every day once it is done. A seat belt shoulder strap cover also has a simple shape, which makes the process feel calm and manageable.
Materials Needed
- Yarn
- Crochet hook
- Scissors
- Yarn needle
- Stitch markers
- Measuring tape
- Closure materials if the tutorial uses them
Use a yarn and hook size that matches your desired fit and texture.
Best Yarn for This Project
For a seat belt cover, a soft yarn with a comfortable feel is usually the best choice. Since this project rests against clothing and skin, you want something smooth enough to feel pleasant but sturdy enough to keep its shape with regular use. A medium yarn with clear stitch definition often works nicely because it creates a fabric that feels soft without becoming too flimsy. If you want the cover to feel extra practical, choose a yarn that is easy to care for and not overly fuzzy. That helps the finished piece stay neat even with frequent handling.
Skill Level
This project is beginner-friendly to easy. The selected tutorial is presented as a step-by-step DIY seat belt shoulder strap cover, which makes it suitable for crocheters who are comfortable with basic stitches and want a small practical project.
Size and Fit Guide
The easiest way to size this project is to measure the section of seat belt where you want the cover to sit. Crochet the piece long enough to wrap around that area comfortably without being too tight or too loose. If you want extra cushioning, you can make it a bit wider. If you prefer a slimmer cover, keep it more compact. Checking the fit directly against the seat belt as you work is the best way to get a useful result.
Stitches Used
The full stitch list is not clearly available from the accessible source snippet, so the safest description is:
- Chain
- Slip stitch
- Basic crochet stitches
- Repeating rows to build the main body
- Simple finishing and joining or closure work
Because the tutorial is presented as a DIY seat belt shoulder strap cover, the construction appears practical and approachable rather than overly advanced.
How to Make It
Step 1: Start the Foundation
The project begins with a simple foundation that sets the width of the cover. Since a seat belt cover usually has a straightforward rectangular shape, the opening stage is a nice place to settle into an easy rhythm. The goal here is to create a base that will become a soft band wrapping around the seat belt.
Try to keep your starting tension even. If the foundation is too tight, the cover may feel stiff and harder to wrap comfortably. If it is too loose, the finished fabric may not feel as neat. A smooth start makes the whole project easier to handle.
Step 2: Build the Main Panel
Once the foundation is ready, continue working in rows to build the body of the seat belt cover. This is the longest part of the project, but it is also the most relaxing because the shape is simple and easy to follow. Row by row, the crochet fabric grows into a soft strip that will eventually wrap around the seat belt.
Because this is a practical item, it helps to think about comfort while you work. The fabric should feel soft enough to cushion the strap, but not so loose that it loses structure. Keep your stitches even so the edges stay tidy and the finished cover looks neat. Since the selected source confirms this is a DIY crochet shoulder strap cover tutorial, a functional rectangular build is the most reliable interpretation of the project.
Step 3: Check the Length as You Go
As the panel grows, wrap it around the seat belt area from time to time to see how it is fitting. This is the easiest way to size the project well. The cover should wrap comfortably around the strap without pulling too tightly. If it feels too short, continue working until it meets nicely around the belt. If it already looks roomy enough, you can prepare to move on to the finishing stage.
This kind of fit check is especially useful because seat belts and personal preferences vary. Some people like a snug narrow cover, while others prefer a slightly wider cushioned feel. Using the actual strap as your guide keeps the project practical.
Step 4: Create the Closure or Join the Sides
After the main panel is long enough, the cover is finished so it can sit around the seat belt securely. Depending on the exact method shown in the tutorial, this may mean joining edges, adding a wrap-style closure, or using another simple fastening approach. The important part is that the cover stays comfortably around the seat belt and can be used easily.
Take a little extra care with this stage. A neat finish makes the project look more polished, and a secure closure helps it stay in place better during use. If your version includes an opening-and-closing method, check that it feels easy to handle and not too tight.
Step 5: Refine the Shape
Once the cover is assembled, look over the edges and overall shape. A small practical item like this can look much nicer with tidy finishing. If the tutorial includes a final round or edge cleanup, it can help smooth the outline and make the piece feel complete.
Lay the piece flat and check that the rectangle looks even. If one edge curls slightly, gentle shaping with your hands can help. Because it is a frequently handled accessory, neat edges and a balanced shape are worth the extra attention.
Step 6: Weave In the Ends
Fasten off and weave in all ends securely with a yarn needle. This matters a lot for a seat belt cover because it will be handled regularly and moved into place often. Loose ends can work their way out quickly on a small accessory if they are not finished well.
Once the ends are woven in, wrap the cover around the seat belt again and check the final fit. It should feel soft, tidy, and comfortable, with enough structure to stay in place nicely.
Step 7: Enjoy the Finished Cover
The finished piece should look simple, useful, and handmade in a very practical way. It adds a softer layer to the seat belt area and gives your car accessory a more personal touch. This is also the kind of project that is easy to make again, so once you finish one, it is very tempting to create more in different colors for family, friends, or another car.
Helpful Tips
- Choose a yarn that feels soft against the skin.
- Check the fit around the seat belt as you work.
- Keep your tension even so the panel looks neat.
- Make sure the closure feels secure but not awkward to use.
- Weave in ends firmly because the cover will be handled often.
- Keep the shape simple and practical for everyday use.
Common Mistakes to Avoid
- Making the foundation too tight
- Crocheting the panel too short to wrap comfortably
- Forgetting to test the fit on the actual seat belt
- Using a yarn that feels rough or overly bulky
- Finishing the closure loosely so the cover shifts around
- Leaving ends unsecured on a frequently used item
Customization Ideas
This project is easy to personalize. You can make it in a calm neutral shade for a clean simple look, or choose brighter colors to add personality to the car interior. A striped version can be fun, and textured stitches can make the cover feel a bit more decorative while still staying useful. You could also make matching covers for more than one seat if you like coordinated handmade accessories.
Style Ideas
A crochet seat belt cover works well as a personal everyday car accessory, a thoughtful handmade gift, or a small practical project for people who enjoy functional crochet. It can also pair nicely with other handmade travel accessories, especially if you like keeping your car items soft, coordinated, and personal.
Care Instructions
Wash according to your yarn type, then lay flat to dry if needed. Since this is a frequently handled item, choosing an easy-care yarn can be especially helpful. After washing, reshape it gently so it keeps its neat rectangular form and still wraps comfortably around the seat belt.
Time Needed
This may take a short session to a few hours depending on your speed, yarn, size, and stitch pattern.
Conclusion
A crochet seat belt cover is a lovely little project when you want something useful, comfortable, and simple to make. It has a practical purpose, a beginner-friendly shape, and plenty of room for personal touches through color and texture. Once you make one and see how quickly it comes together, it is easy to imagine making more for other seats or as small handmade gifts.
FAQs
Is this beginner-friendly?
Yes. The selected tutorial is presented as a step-by-step DIY crochet seat belt shoulder strap cover, which makes it suitable for beginners or confident beginners.
What yarn is best for a seat belt cover?
A soft, comfortable, easy-care yarn is usually a good choice so the cover feels nice and holds up well with use.
Can I adjust the size?
Yes. You can measure the seat belt section you want to cover and crochet until the piece wraps around it comfortably.
Does it need to be very thick?
Not necessarily. It should feel soft and cushioned, but still practical and easy to wrap around the strap.
Can I make more than one?
Yes. This is the kind of project that is easy to repeat in different colors once you finish the first one.