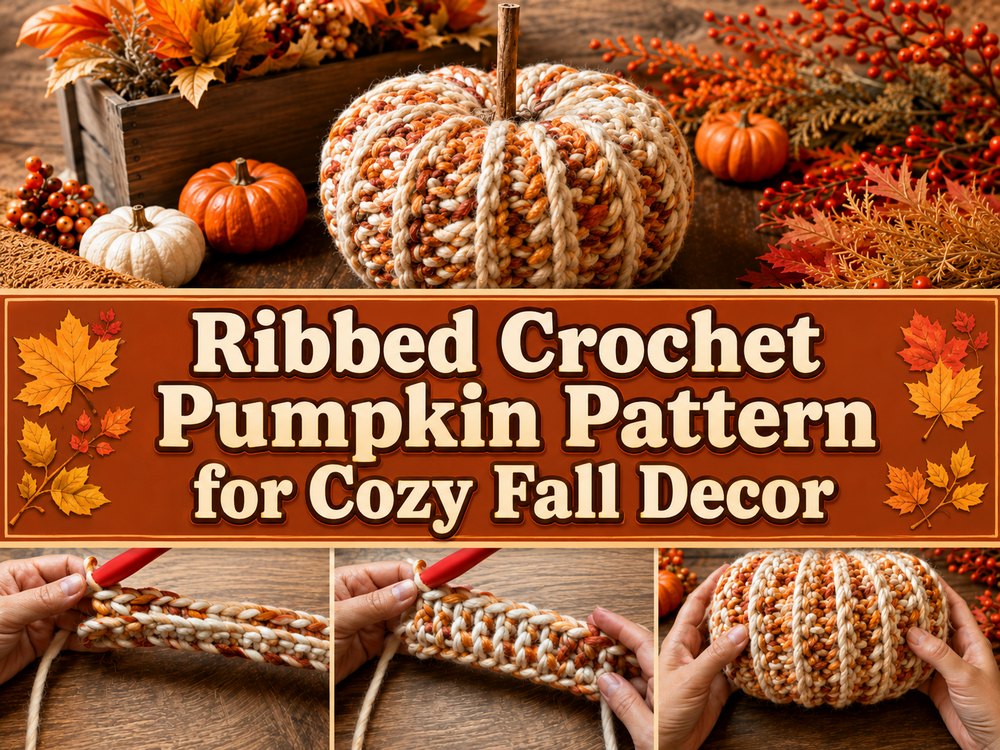

A soft crochet pumpkin is such a lovely way to bring some handmade fall charm to your home. This one has a nice ribbed texture and a simple shape so it feels relaxing to make and easy to customize for your space.
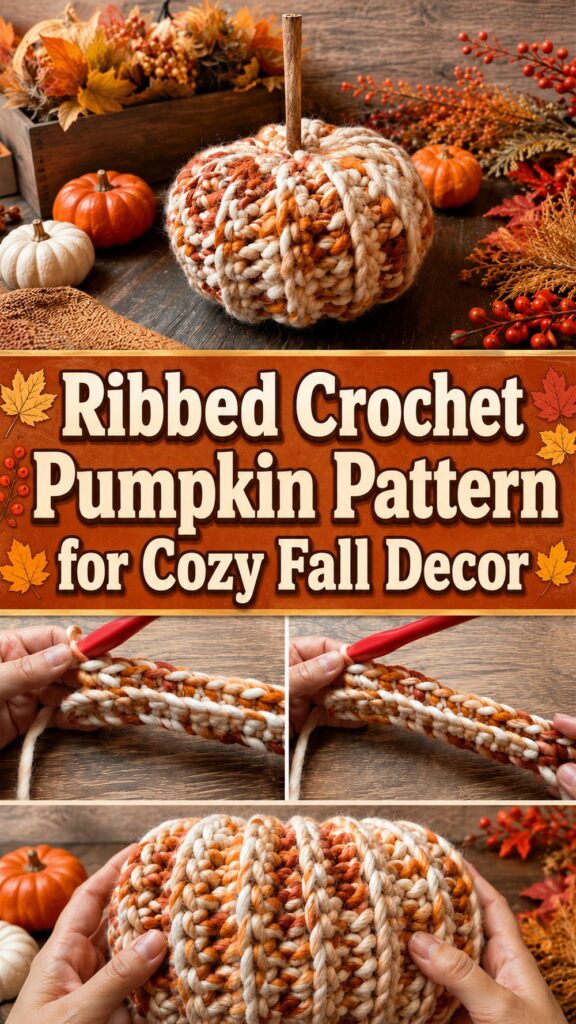
Why You’ll Love This Project?
This pumpkin begins with a rectangle of simple crochet, then is shaped into that classic round pumpkin shape. It’s a fun seasonal project that feels quick, cute, and super beginner friendly.
Materials Required
You will need yarn, a crochet hook, a yarn needle, scissors, and stuffing.
Use a hook and yarn size that matches your desired fit and texture.
Best Yarn for the Project
A soft yarn with a bit of structure is ideal here so the ribbing shows up nicely. If you want a nice plump pumpkin, a heavier yarn will give you fuller results.
Level of Mastery
Good for beginners. This project is a simple shape with an easy repeat.
Size & Fit Guide
You can also make your pumpkin wider or taller by adjusting the size of the rectangle you begin with. Keep going until you are the size you want and then shape and stuff to get the look you want.
Used Stitches
Half double crochet . This raised look is achieved by manipulating the stitches for a ribbed texture.
How to Make Them
Initiate the Foundation
Start by crocheting a rectangle. The tutorial shows the pumpkin flat instead of round, so this makes the project simple.
Work the Main Part
Work the rectangle in half double crochet to create the ribbed texture. Continue until the piece looks long enough to wrap into a pumpkin shape.
Join or Create
Once the rectangle is done, sew the sides together to create a tube. Make the round pumpkin body by taking one end and stuffing it and closing the other end.
Fill in the Edges
Evenly distribute the gathers so that the pumpkin looks even and full. And if you want , add a stem . Shape the pumpkin with your hands until it looks just right .
Useful Tips
- If you like to keep things looking tidy, use stitch markers.
- If you overstuff the seam can look stretched.
- Iron out the gathers and then close the pumpkin completely.
- Make a few in different colors for a pretty fall display.
Frequently Made Mistakes To Avoid
- Don’t make the rectangle too small.
- Sew the seam not too tightly.
- Don’t overfill the pumpkin.
- Don’t forget edge consistency!
- Do not skip shaping in the end.
Customization Ideas
- Try classic orange, soft cream, sage or mustard.
- Make little pumpkins for bowls and shelves or larger ones for table decor.
- Add a stem in the twig style or a crocheted stem or a little leaf.
- Mix up your yarn textures for that cozy pumpkin patch vibe.
Style Inspiration
These pumpkins make a beautiful display on a mantel, shelf, entry table or fall centerpiece. They are also sweet handmade gifts for Autumn, Halloween or Thanksgiving decorating.
Care Instructions
If your yarn can take it, you can spot clean or gently wash in cool water. Shape when damp and lay flat to dry.
Time Required
This will take a few hours depending on your speed, yarn, size and stitch pattern.
Conclusion
This crochet pumpkin is a cute little project that is easy to enjoy and simple to put your own spin on. It’s a great way to use up yarn and add a warm handmade touch to fall decorating.
FAQs
Can beginners make this pumpkin?
Yes, it is a very approachable project with a simple construction.
Is this worked in the round?
No, this pumpkin is made from a flat rectangle and then shaped.
Can I make it bigger?
Yes. Just keep working the rectangle until it reaches the size you want.
Do I need exact yarn for this?
No. You can choose a yarn that gives you the texture and look you like.
Can I make more than one size?
Yes. This style is easy to adjust by changing the rectangle size.