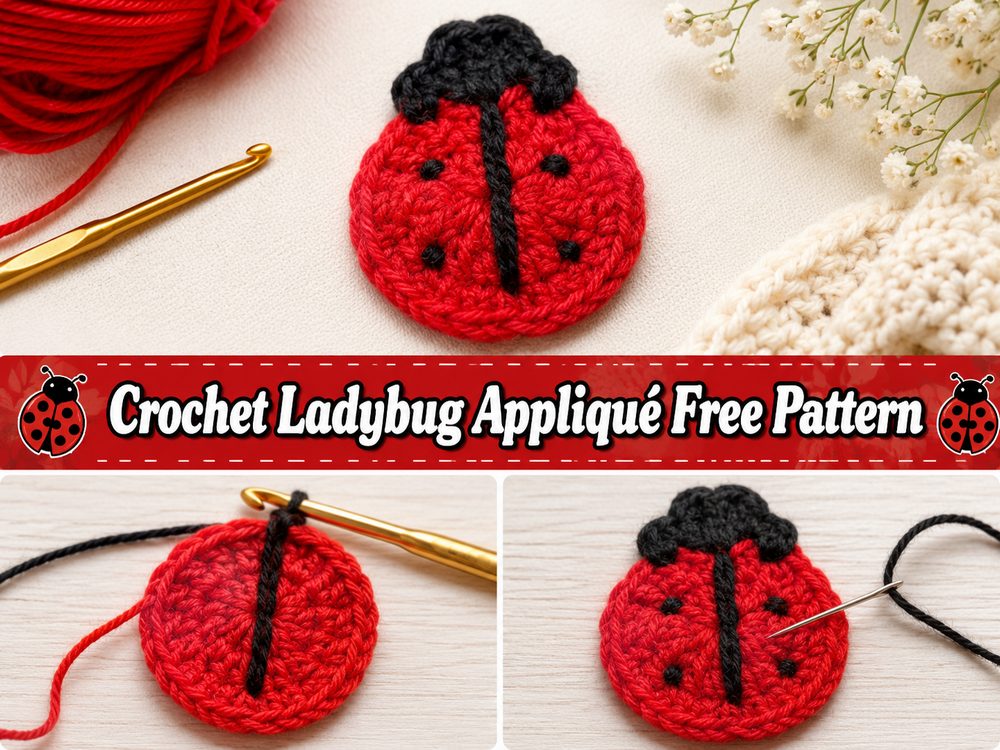
Crochet Ladybug Appliqué Free Pattern
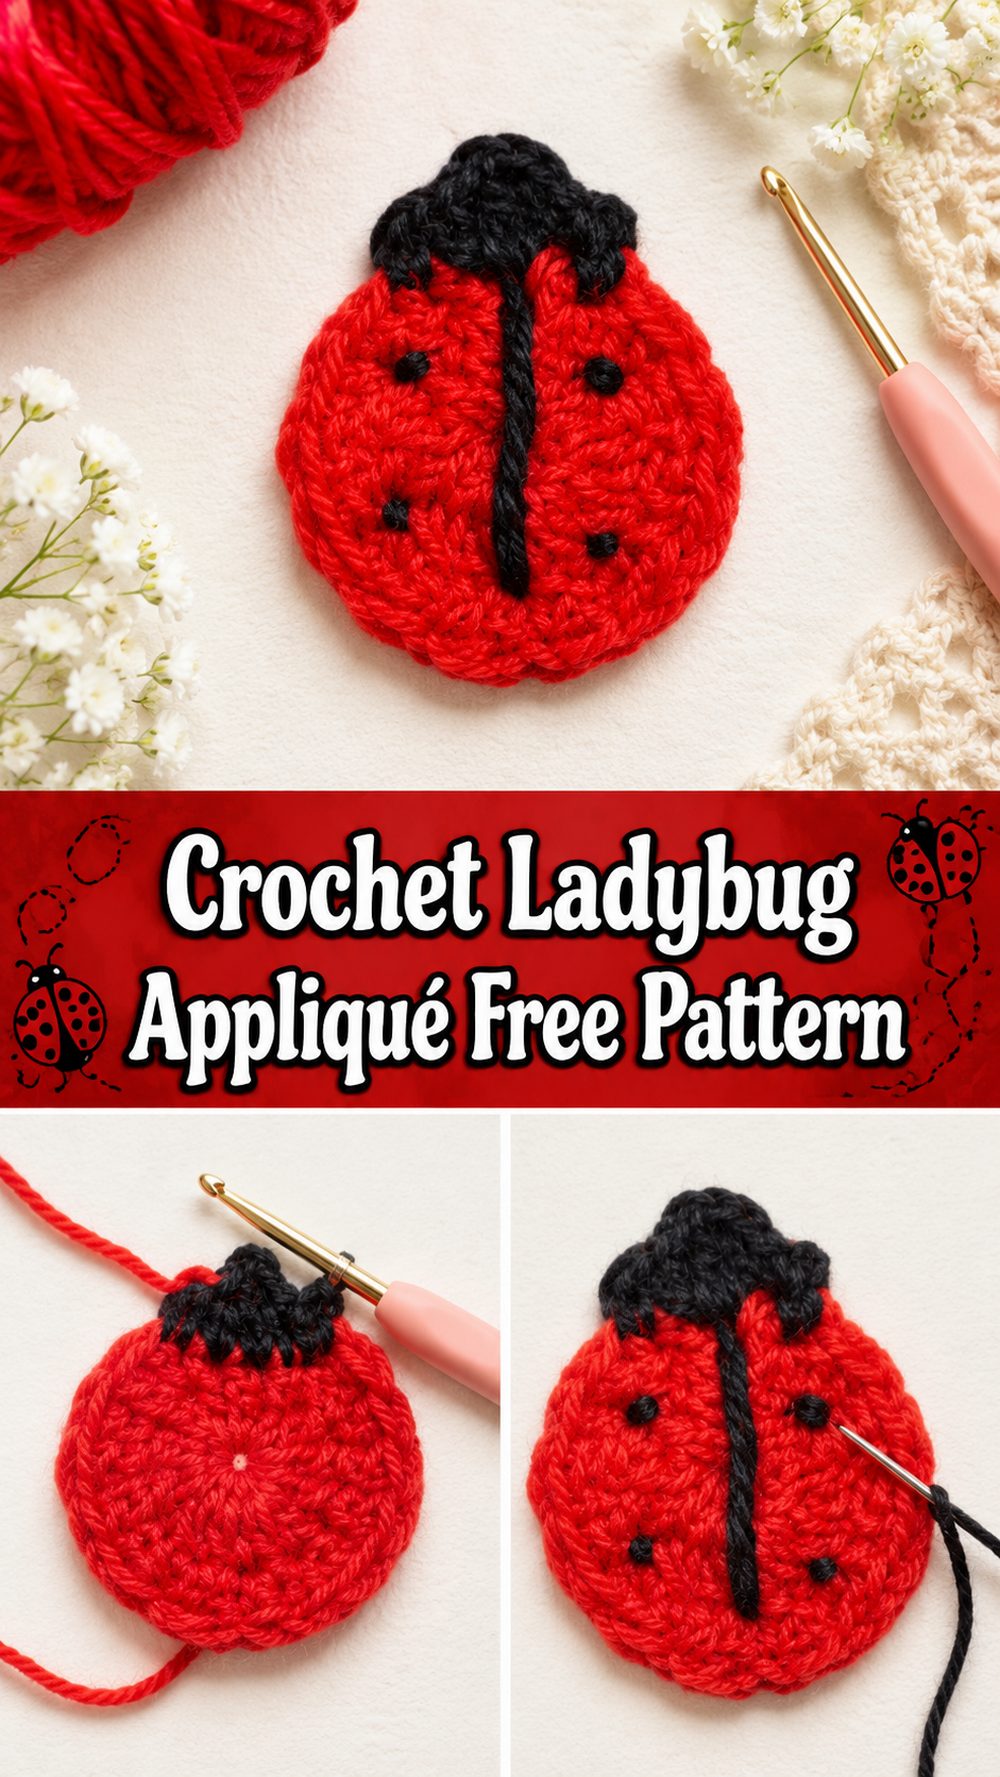
A crochet ladybug appliqué is such a fun little project when you want to make something cheerful without committing to a big pattern. It is small, bright, and full of personality, which makes it perfect for adding a handmade touch to all kinds of crochet pieces. You can sew one onto a baby blanket, a sun hat, a cardigan, a tote bag, a cushion cover, or even use it as part of a spring or garden-themed project. The tutorial I selected teaches a beginner-friendly ladybug appliqué and presents it as a simple, easy make, so it feels very approachable even if you are still getting comfortable with small decorative motifs. This kind of project is also great for using up little bits of red, black, and white or cream yarn from your stash.
Why You’ll Love This Project
This is the kind of crochet project that gives you a quick burst of satisfaction. It is tiny, decorative, easy to personalize, and useful in so many ways. A ladybug appliqué adds color and charm to simple projects, and because the tutorial is beginner-friendly, it is also a lovely way to practice neat shaping and clean finishing on a smaller scale.
Materials Needed
You will need red yarn for the wings or body, black yarn for the head and details, and a small amount of white or a light contrasting yarn if the tutorial includes little accent details. You will also need a crochet hook, scissors, a yarn needle for weaving in ends and sewing the appliqué onto your project, and a stitch marker if you like marking your starting point. If the exact yarn or hook size is unclear, use a yarn and hook size that matches your desired fit and texture. Since this is a small motif, leftover yarn works beautifully.
Best Yarn for This Project:
A smooth yarn with clear stitch definition works especially well for a ladybug appliqué because the rounded shape and contrast details show up more clearly. Cotton is a great option if you want a crisp, tidy finish that holds its shape well. Soft acrylic also works nicely if you want something easy to crochet and simple to match with other stash yarns. Since this is a decorative piece, you do not need a lot of yarn, so it is perfect for small scraps.
Skill Level:
This project is best described as beginner-friendly or easy. The selected tutorial is presented as simple and suitable for beginners, which makes it a nice choice for anyone who already knows the very basics and wants to make a cute decorative motif.
Size and Fit Guide:
Because this is an appliqué, sizing is flexible. The easiest way to make it bigger or smaller is to change your yarn weight or hook size. Before attaching it permanently, place it on your blanket, bag, hat, or cardigan so you can check whether you want it to be a tiny accent or a more noticeable feature.
Stitches Used:
The tutorial is described as easy and beginner-friendly, so it appears to rely on basic crochet stitches and simple shaping rather than anything advanced. For the exact stitch names and order, follow the video closely while you work.
How to Make It
Step 1: Start the Center of the Ladybug
This project begins as a small flat motif rather than a stuffed toy, which is what makes it so useful for decorating other crochet items. Start with the center section shown in the tutorial and focus on keeping your stitches even and tidy right from the beginning. Small appliqués really show every little detail, so a neat start makes the whole piece look cleaner later on.
As you crochet, keep laying the piece flat in your hand or on the table. A ladybug appliqué usually looks best when the shape stays rounded and balanced. If your stitches start pulling too tightly, the body can curl. If they are too loose, the piece may lose that clean little beetle shape. Gentle, even tension makes all the difference here.
Step 2: Build the Rounded Body
The body is the most recognizable part of the ladybug, and this is where the fun color work starts to show. The red section gives the appliqué that classic ladybug look, and the shaping helps it feel soft, rounded, and cute instead of flat and plain. Follow the tutorial carefully through this part so the body builds evenly.
Because this is a decorative motif, shape matters just as much as stitch placement. Keep checking the outline as you go. If one side begins to look fuller than the other, it is much easier to fix early than after all the details are added. This stage is also where your ladybug really starts to come to life, even before the spots and head are finished.
Step 3: Add the Head and Contrast Details
Once the main red body is established, the dark contrast section gives the ladybug its little head and helps separate the shape visually. Work these sections slowly and keep the edges clean. In small appliqué work, color changes stand out a lot, so it helps to make each join or transition as neat as possible.
If your tutorial includes a center line, edge outline, or small accents, this is where the ladybug starts getting that finished storybook look. The contrast between red and black is what makes the motif feel instantly recognizable, even when it is quite small.
Step 4: Make the Spots and Decorative Features
The spots are what really turn this from a simple circle into a ladybug. Depending on the construction shown in the tutorial, these may be crocheted into the design, added as small stitched details, or attached afterward. However they are made, try to place them evenly so the final result looks balanced.
This is also a good stage to step back and look at the appliqué from a distance. Small details can seem centered up close but look uneven once the whole shape is finished. A quick visual check before sewing or fastening anything down permanently helps a lot.
If there are tiny white or light-colored accents in the tutorial, keep them subtle. Small light details can brighten the face or overall look without taking away from that classic red-and-black ladybug style.
Step 5: Refine the Shape
After the main sections are complete, spend a moment refining the overall outline. Smooth the body flat with your fingers and check that the curve looks even on both sides. Decorative crochet pieces always look more polished when the shape feels deliberate rather than wobbly.
If you notice the appliqué curling, that usually means your tension is a little tight. If it feels too floppy, a smaller hook can help on the next one. This is one of the nice things about tiny projects like this. You can make a second version pretty quickly and improve the shape as you go.
Step 6: Finish and Attach
Once your ladybug looks balanced and complete, weave in all the yarn ends carefully on the back. Do not rush this part. Even a tiny appliqué needs secure finishing if it is going onto something that will be used, washed, or handled often.
When you are ready, place it on your chosen project and move it around a little before stitching it down. A ladybug looks lovely near flowers, leaves, granny squares, pockets, borders, and corners. Sew it on neatly with matching yarn, keeping the stitches close to the edges so the piece lies flat and stays secure.
The final result should look bright, rounded, cheerful, and full of handmade charm. It is a small detail, but it can completely change the mood of a plain item and make it feel more playful and personal.
Helpful Tips
Use smooth yarn so the shape and spots stay clear. Keep your tension even because small motifs can curl very easily if stitched too tightly. Before attaching the appliqué, place it on your project and check the position from a little distance. If you are making more than one, finish the first one fully before starting the next so you have a size reference. A stitch marker can also help you keep track of your starting point if you are working in a tight little section. Because the tutorial is aimed at beginners, it is a good project for practicing clean finishing and neat shaping without too much complexity.
Common Mistakes to Avoid
One common mistake is pulling the stitches too tight, which makes the ladybug body curl instead of lying flat. Another is placing the spots unevenly so the final appliqué looks slightly off balance. Messy color changes can also stand out a lot on a small motif, so take your time when switching yarns. Some crocheters attach the appliqué before checking the placement properly, then realize it would have looked better a little higher, lower, or more to one side. It is also easy to forget to secure the ends well on tiny projects, but that finishing step really matters.
Customization Ideas
You can make your ladybug appliqué feel more playful in lots of little ways. Try a brighter cherry red for a bold cartoon look, or use a deeper red for a softer classic style. You can add a tiny smile, small embroidered eyes, or even place the ladybug on a crochet leaf or flower background. If you want a bigger statement piece, use thicker yarn and a larger hook. If you want mini embellishments for baby items or bookmarks, go smaller and make a few matching ones.
Style Ideas
This appliqué looks adorable on children’s cardigans, baby blankets, tote bags, market bags, hats, cushion covers, wall hangings, and spring garlands. It also works beautifully as part of a nature-themed crochet project with flowers, bees, leaves, and butterflies. You could stitch a few onto a plain granny square blanket, use one to decorate a pocket, or add one to a handmade gift bag for a sweet finishing touch.
Care Instructions
If the ladybug is attached to another item, follow the care instructions for the main piece first. In general, hand washing or a gentle wash is the safest option for decorative appliqués. Lay the item flat to dry so the shape stays neat. Avoid high heat, especially if you used acrylic yarn, and do not tug too hard on the appliqué while it is wet.
Time Needed
This may take a few hours depending on your speed, the yarn and hook you use, and how comfortable you are with small shaping and finishing. Since it is a compact project, many crocheters will enjoy making it in one relaxed sitting.
Conclusion
A crochet ladybug appliqué is such a lovely little project when you want something cute, colorful, and easy to use in so many different ways. It is quick enough to feel satisfying, but detailed enough to add real personality to blankets, hats, bags, and seasonal décor. Take your time with the shaping, keep the finishing neat, and enjoy turning a few scraps of yarn into a tiny handmade accent that feels cheerful and full of charm.
FAQs
Is this beginner-friendly?
Yes. The selected tutorial presents it as simple and beginner-friendly, so it is a nice project for someone who already knows the basics and wants to try a cute appliqué.
What yarn works best for this project?
A smooth cotton or soft acrylic yarn works very well because it helps the shape and contrast details show clearly.
Can I adjust the size?
Yes. The easiest way is to use a different yarn weight or hook size.
What can I attach a ladybug appliqué to?
You can sew it onto blankets, hats, bags, sweaters, cushions, nursery décor, and lots of other crochet or fabric projects.
How do I make it look neater?
Keep your stitches even, check the shape often, place the spots carefully, and weave in the ends securely on the back.