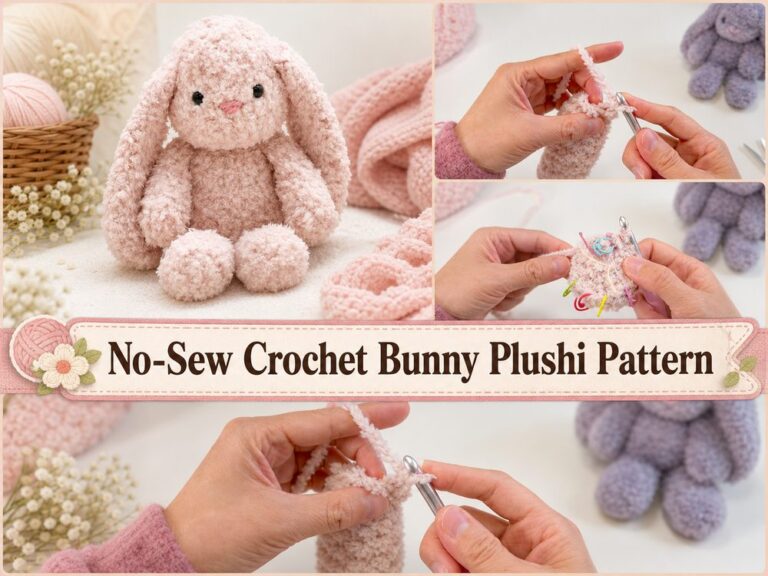
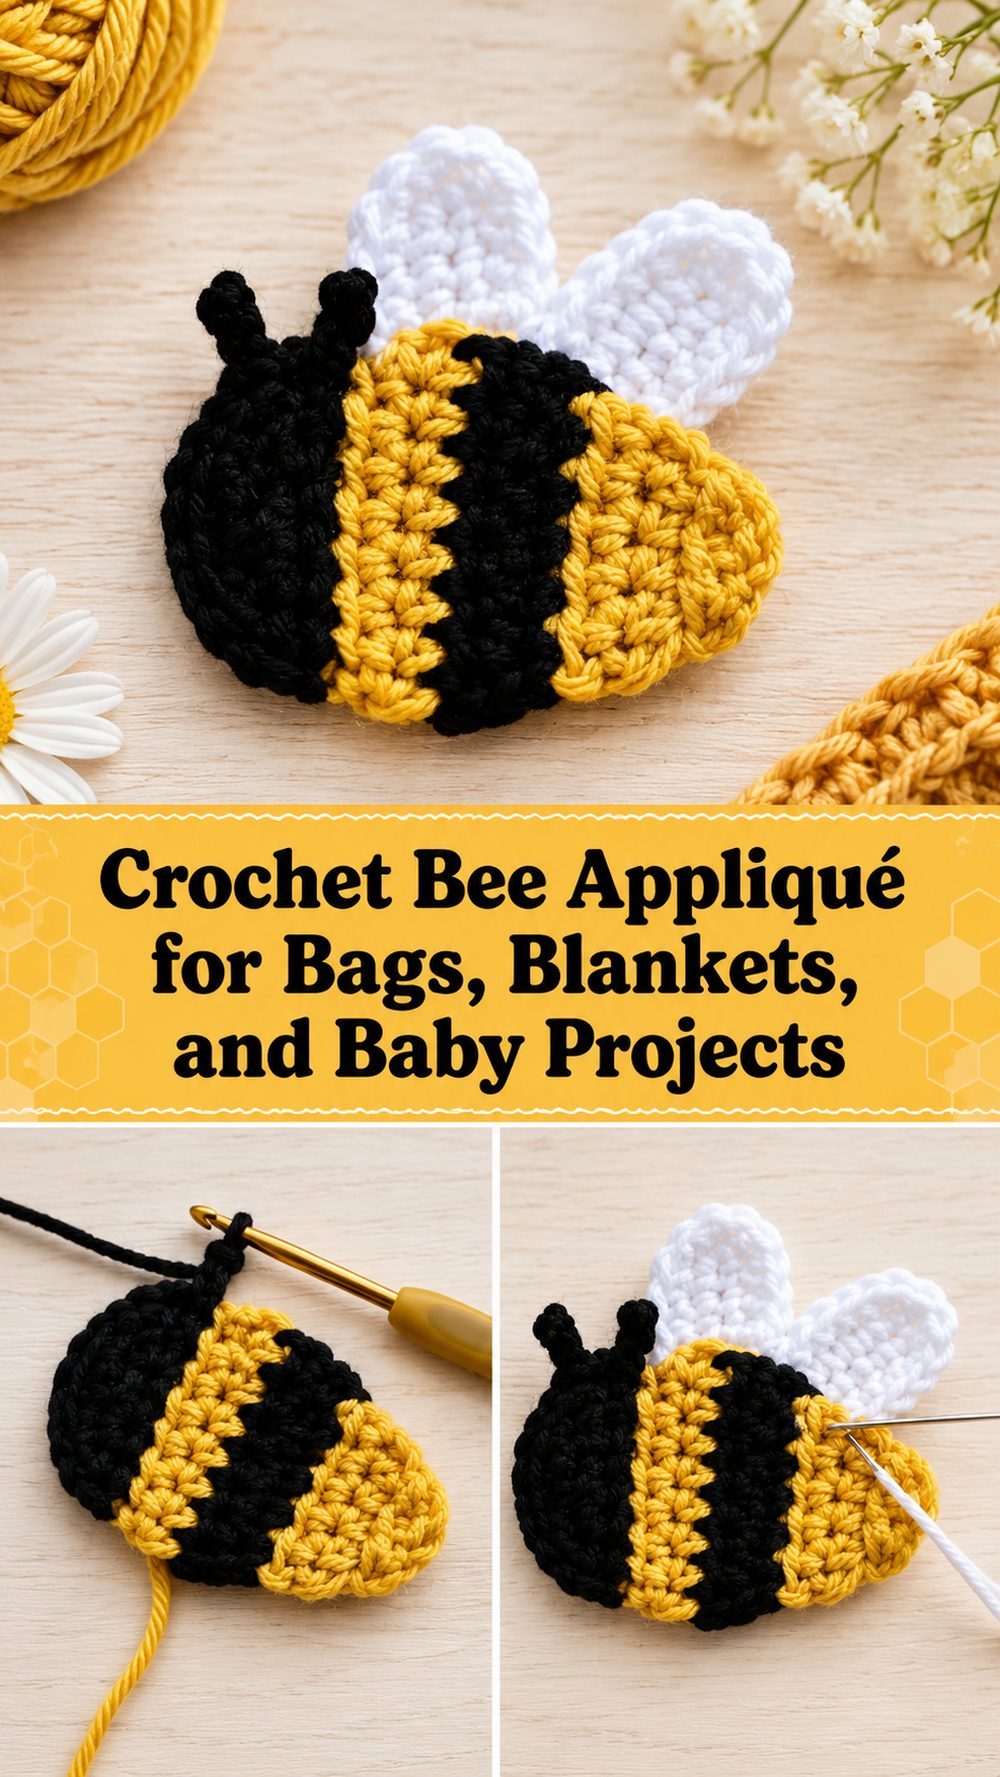
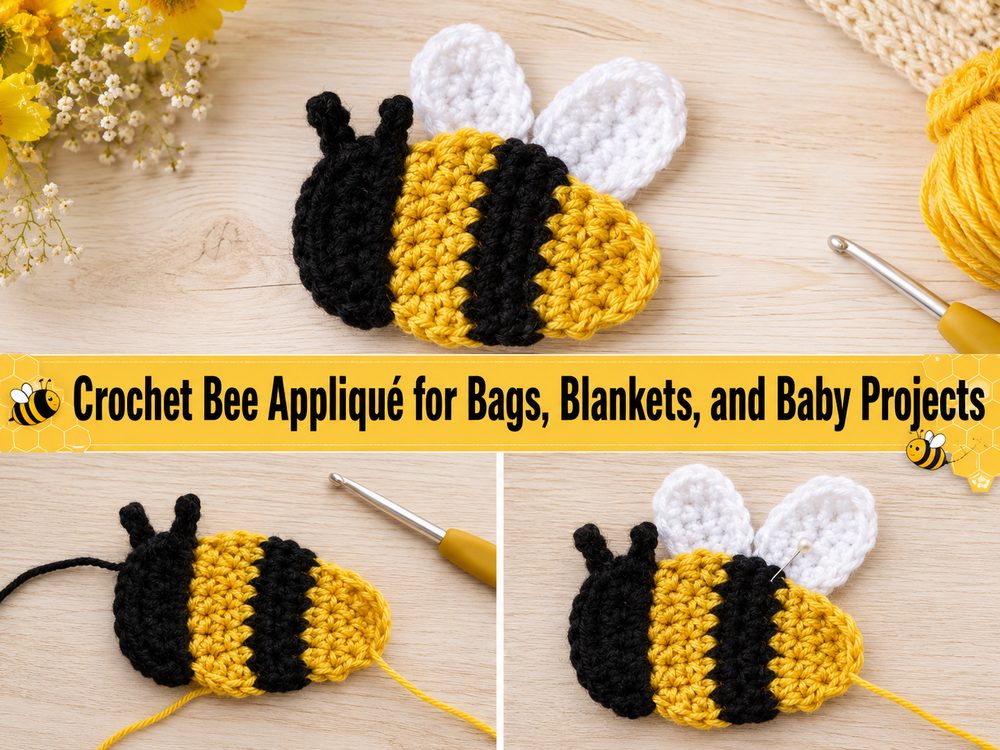
Crochet Bee Appliqué for Bags, Blankets, and Baby Projects
A crochet bee appliqué is a cute little project that has a quick and useful feel. Attach to a baby blanket, hat, tote bag, cardigan or spring garland. It is a flat bumblebee style design in yellow, black and white yarn. One version is about 9 cm or 3.5 inches long. You can change the size with different yarn or hook sizes.
Why You’ll Love This Project
This little bee is a fun, simple and scrap friendly. It doesn’t require a lot of yarn and the finished product can be used in several ways. It’s a nice project if you want something cheerful without launching into a big pattern.
Materials Required
You need yellow or gold yarn, black yarn, and white yarn. You will also need a crochet hook, scissors, a yarn needle and a stitch marker if you choose to use one. Pick a hook and yarn to get the size and firmness you want.
Best Yarn To Use For This Project
The best yarn for this is smooth as it shows the stripes and shape well. Cotton produces a neat and crisp finish. Acrylic is softer, easy to find and a beginner’s friend. This is a great project for leftover yarn as well.
Level of Skill
This is a good project for beginners who know the basic stitches. It is also a good one to practise small shaping, colour changes and neat finishing.
Size and Fit Guide
The bee in the tutorial has a size of about 9 cm or 3.5 inch. To increase the size use thicker yarn or a larger hook. To make it smaller, use a thinner yarn or a smaller hook. First test it on the surface before sewing it to something else to see the size.
Used stitches
See the video for the exact stitch count and order. This kind of appliqué is usually created by using chains, slip stitches and basic crochet stitches to form the body and wings.
How to Make It
Step 1. Build the Foundation
Start with the bee’s body. This is a flat appliqué, not a stuffed animal, so shape matters. Keep your stitches even from the start so that the body lies flat and looks balanced.
Step 2: Construct The Bee Body
Use yellow or gold with black for the classic bee stripes. Do colour changes cleanly and don’t pull the yarn too tight. The back doesn’t have to be perfect but neat colour changes will make finishing easier.
Step 3: Form the piece
Carefully follow the tutorial to shape the body. Small placements of stitches can change the final look. Work with the bee on its belly. If it curls, your tension might be too tight. If it seems loose, next time try a smaller hook.
Step 4: Crochet the Wings
Wings are made with white yarn. Keep the stitches soft and even so the wings appear light. Try to keep both wings the same size. If it looks way bigger better to do it over before you finish.
Step 5: Add and Arrange the Details
Put on the wings, then sew them down. Slide them a bit until the bee looks balanced. Sew the pieces together neatly with a yarn needle and tie off the ends well, especially if the appliqué is going to be used on bags, blankets or clothes.
Step 6: Trim the Edges
Weave in all loose ends. Smooth bee flat. If it curls just a little bit, light blocking can help. The finished bee should be bright, neat and easy to find on your chosen project.
Helpful Hints
Use a yarn that has clear stitch definition so the stripes will stand out. Keep your tension when changing colours. Make one bee in its entirety before you make more, so you can use it as a guide for size. The easiest way to resize an appliqué is to change the hook size or the weight of the yarn.
Common Pitfalls
Don’t pull stitches too tight or body may curl. Avoid messy colour changes as they can be easily seen on a small piece. Weave in ends, being sure both wings are even. Also be sure to check the size before sewing onto your final project.
Ideas for Customisation
Try pastel yellow for a soft spring look, or golden yellow for a brighter bee. You can add little embroidered eyes and a little smile, or put the bee on a flower applique. Use a thick yarn for a big decoration or a thin yarn for little accents.
Style Suggestions
This bee is cute on baby blankets, kids hats, cardigans, market bags, pencil pouches and spring decor. You can also use it for granny squares, floral crochet projects, gift bags, garlands or even hand made journal covers.
Care
Follow care instructions for the primary item you attach it to. Gentle hand washing is safest, especially with fragile wings. Lay flat to dry. Do not use high heat, especially with acrylic yarn.
Time Required
This project can take anywhere from a few hours to a little longer depending on how fast you work, your yarn, hook size and your comfort level with small colour changes. Most crocheters can do it in one sitting.
Conclusion
A crochet bee applique is a happy little project that adds a touch of charm to lots of handmade things. It’s fast, useful and easy to customise with different yarn colours or tiny details. Take your time to shape it, keep your stitches nice and neat and enjoy turning a few scraps of yarn into a cute handmade bee.
FAQs
Is this beginner-friendly?
Yes, it is a nice project for beginners who know the basic stitches and want to practice shaping and color changes on a small piece.
What yarn is best for a bee appliqué?
Cotton is great for a crisp shape, while acrylic is soft, easy to use, and widely available. Smooth yarn usually gives the cleanest result.
Can I adjust the size?
Yes. The easiest way is to change your hook size or yarn weight. The selected tutorial also notes that the size can be scaled this way.
What can I attach it to?
You can sew it onto blankets, hats, sweaters, bags, wall hangings, baby items, and other crochet projects.
How do I make it look neater?
Keep your tension even, make both wings balanced, and weave in the ends carefully. A light block at the end can also help flatten the piece.