
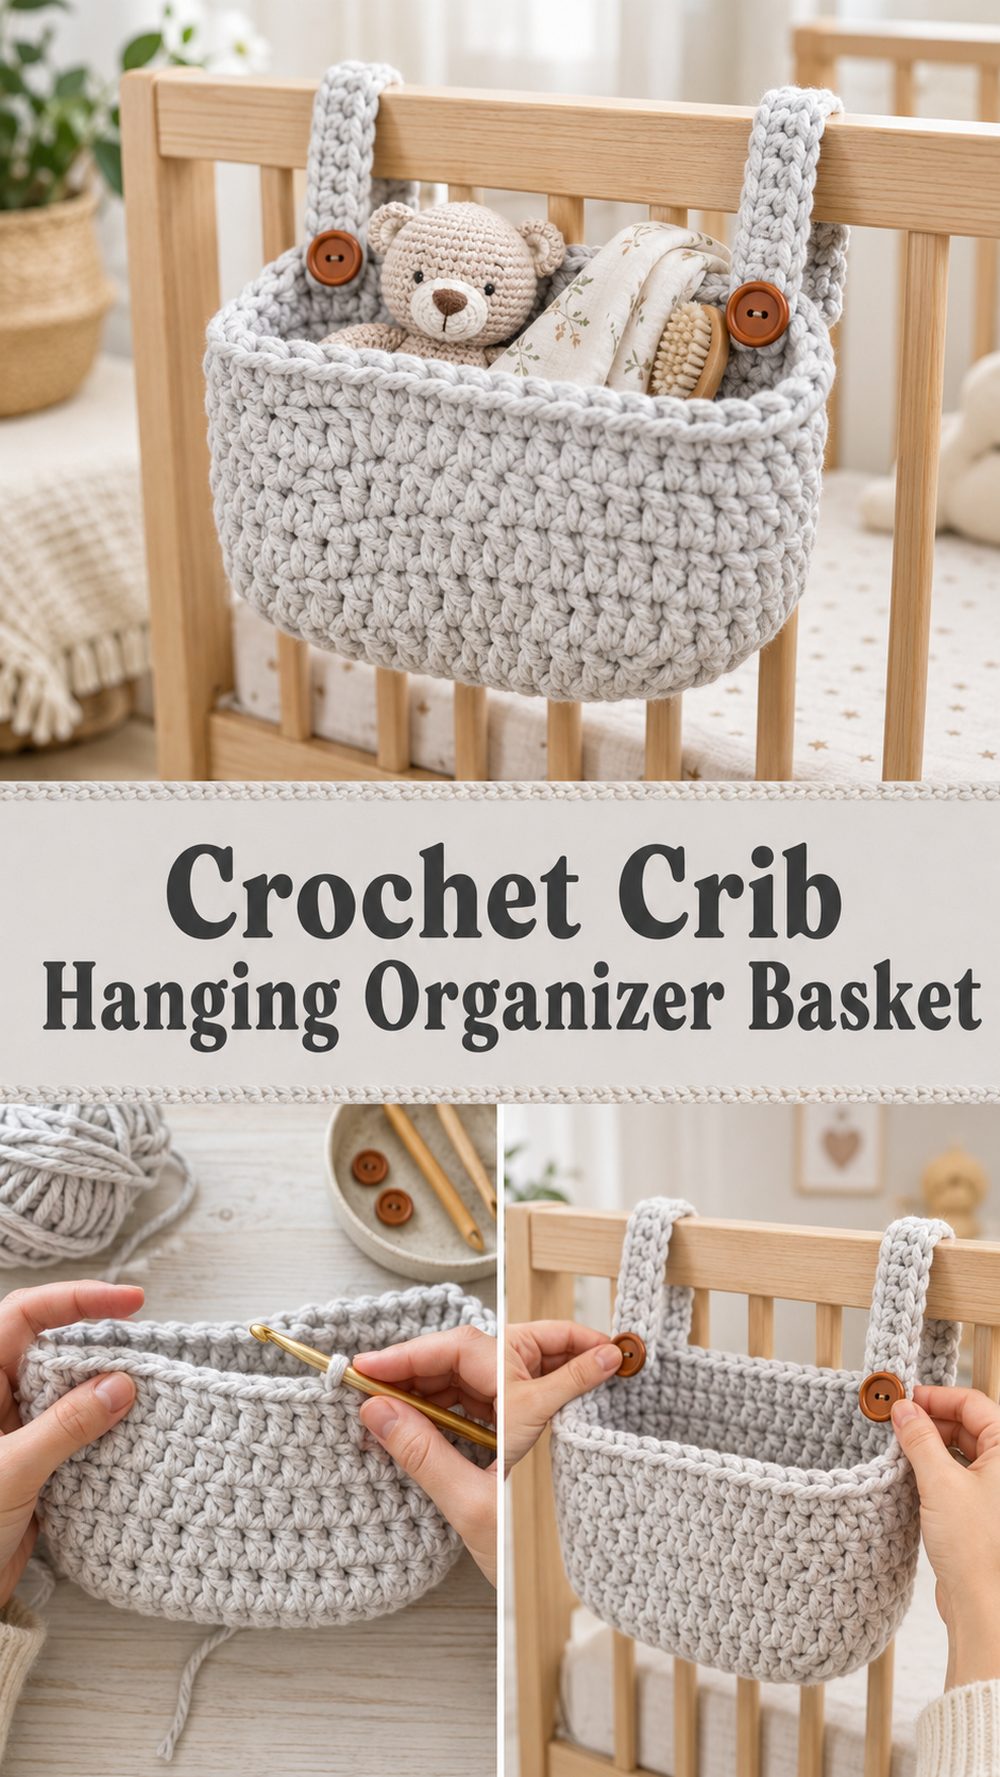
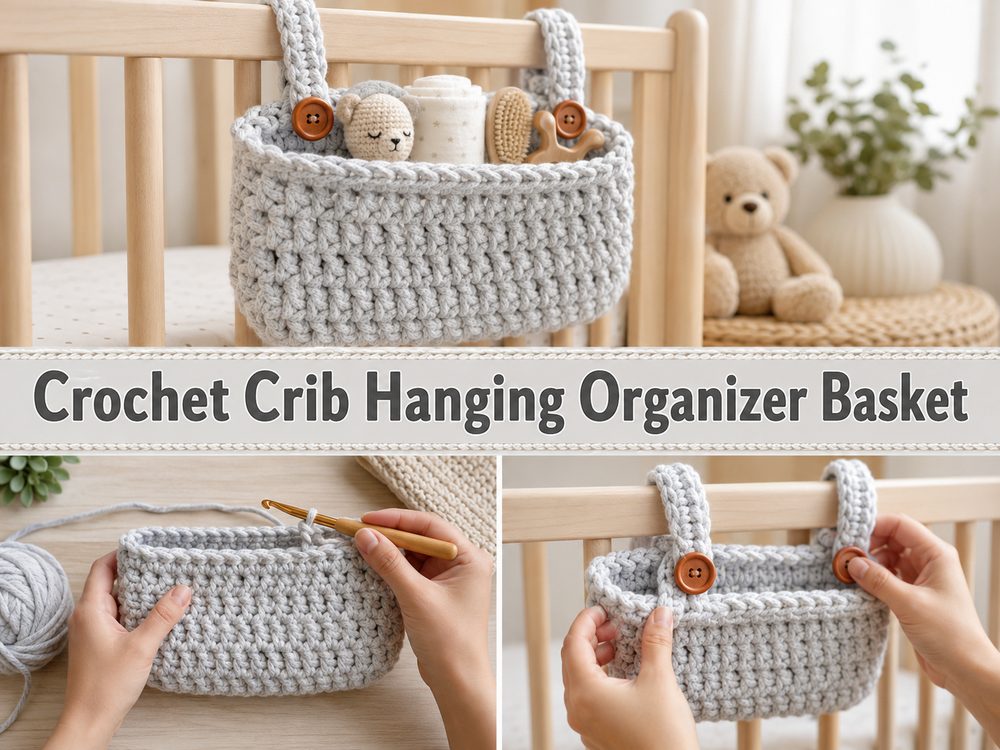
A crochet crib hanging is one of those baby projects that feels both sweet and practical. It adds a soft handmade touch to the nursery, but it also gives you a handy place to keep little essentials close by. In the tutorial I selected, the finished piece works like a small hanging organizer that ties onto the crib, so it is perfect for storing a pacifier, a small toy, a rattle, or other lightweight baby items. The shape is simple, neat, and useful, which makes it a lovely project for crocheters who enjoy making things that can actually be used every day. It also makes a thoughtful baby shower gift because it looks charming while helping keep the nursery a bit more organized. The overall design is clean, practical, and easy to customize for different crib styles.
Why You’ll Love This Project
This project is great because it is decorative without being fussy. It gives you a soft storage pocket for the crib, works up into a useful shape, and can be made in colors that match the nursery. It is also satisfying because you are creating something simple, sturdy, and genuinely helpful for everyday use.
Materials Needed
- Cotton cord or sturdy cotton yarn
- Crochet hook
- Scissors
- Yarn needle
- Stitch markers
- Measuring tape
If the exact yarn or hook size is unclear, use a yarn and hook size that matches your desired fit and texture.
Best Yarn for This Project
A firm cotton yarn or cotton cord works especially well for a crib hanging organizer because it helps the basket keep its shape. Softer yarns can still work, but the finished pocket may not stand up as neatly. For a nursery item like this, breathable cotton is a nice choice because it feels clean, simple, and practical. A smooth yarn also makes the stitches easier to see while you work, which is helpful if you want tidy edges and a polished finish.
Skill Level
This project is best for confident beginners or easy-level crocheters. The shape is simple, but it helps to feel comfortable making even stitches, building a flat base, and joining the sides neatly. If you have already made a basic basket or pouch before, this should feel very manageable.
Size and Fit Guide
You can easily adjust the size of this crib hanging by changing the width and height of the main panel. Measure the area where you want it to hang, then decide how wide you want the pocket to be. Keep checking the piece as you go so it does not become too bulky for the crib side. If you want a deeper storage pocket, simply continue adding rows before joining and finishing.
Stitches Used
From the tutorial, this project appears to use simple structural crochet stitches for a sturdy organizer shape, including:
- Chain
- Slip stitch
- Single crochet
- Possibly working in rows for the main panel
- Basic joining to shape the pocket
How to Make It
Step 1: Start the Foundation
The project begins with a foundation chain that sets the width of the organizer. This first chain becomes the top or base measurement for the body, depending on how you choose to orient your piece. Since this kind of crib hanging is meant to hold small nursery items, you want a width that feels practical without becoming too wide or floppy.
After making the starting chain, work into it carefully and keep your tension even. This helps the organizer look neat right from the beginning and prevents one side from pulling tighter than the other.
Step 2: Build the Main Rectangle
Once the foundation is made, continue crocheting back and forth in rows to create a flat rectangular panel. This panel forms the main structure of the hanging organizer. The tutorial shows a simple, sturdy build rather than anything lacey or decorative, which is exactly what you want for a project that needs to hold its shape.
As you work the rows, keep checking the height. This is where you decide how deep the pocket will be. A shorter rectangle will create a shallow pouch, while a taller one will fold up into a deeper hanging basket. If you want the organizer to hold just a pacifier or teether, you can keep it fairly compact. If you want room for a small toy or a few little baby items, add more rows.
Step 3: Shape the Pocket
After the rectangle reaches the height you want, part of the piece is folded or structured to create the pocket area. This is what turns the flat crochet fabric into a useful hanging basket shape. The lower section becomes the storage area, while the upper section helps support the hanging ties or attachment area.
Take a moment here to check the depth before joining. It is much easier to adjust the size now than after the edges are closed. You want enough room for light baby items, but not so much depth that things get lost inside.
Step 4: Join the Sides
The sides are then joined to form the pocket. This can be done neatly with crochet stitches or with a finishing seam, depending on the exact construction you prefer. The goal is to create a secure pouch with clean side edges that will not stretch open too much.
Keep the sides even while joining so the basket hangs straight. If one side is taller or tighter than the other, the organizer may tilt once attached to the crib. Stitch markers can help you line up both sides before you close them.
Step 5: Add the Hanging Section
The upper part of the organizer includes the part that attaches to the crib. In the selected tutorial, the finished piece is meant to tie onto the crib rails or side, making it a practical hanging basket for nursery essentials.
You can crochet sturdy straps, long ties, or attachment loops depending on the style you want. Keep these secure and not overly stretchy. Since this is a hanging item, the support section matters just as much as the basket itself. Make sure both ties are the same length so the organizer hangs evenly.
Step 6: Strengthen and Finish the Edges
Once the shape is complete, work around the top edge if needed to give the organizer a cleaner finish. A simple edging can help the opening hold its shape better and make the entire piece look more polished.
Weave in all ends carefully, especially around the hanging section and side joins. Since this is a nursery organizer, you want everything to look neat and secure. Trim any extra yarn and gently shape the basket with your hands.
Step 7: Check the Final Fit
Before using it, tie the organizer onto the crib and see how it hangs. It should sit flat against the side and open nicely at the top so small lightweight items can be slipped in and out easily. If it feels too loose, make shorter ties next time or use a firmer yarn. If it feels too shallow, add more rows to deepen the pocket.
The final look should be a simple crochet hanging basket or pocket with a tidy shape, sturdy top section, and enough space for a few baby essentials. The tutorial specifically presents it as a small cotton organizer for a baby cot, designed for light items like a pacifier or rattle.
Helpful Tips
- Use cotton yarn or cotton cord if you want the organizer to feel sturdier.
- Keep your tension even so the basket shape stays balanced.
- Measure your crib rail area before making the ties.
- Check the depth of the pocket before joining the sides.
- Use stitch markers to keep both side seams lined up evenly.
- Make sure the hanging straps are secure and the same length.
- Keep the organizer for lightweight baby essentials only.
Common Mistakes to Avoid
- Making the foundation too loose, which can distort the shape
- Using very soft yarn that causes the pocket to sag
- Joining the sides unevenly so the basket hangs crooked
- Making the ties too thin or too stretchy
- Forgetting to test the fit on the crib before finishing
- Making the pocket too deep for small everyday items
Customization Ideas
You can easily personalize this project. Try soft nursery shades, neutral cotton tones, or sweet pastel colors. Add a simple border in a second color for a cleaner finished look. You could also make the basket wider for diapers or smaller for pacifiers and teething toys. If you like a decorative touch, you can add a little bow, a button detail, or a small applique on the front, as long as the design still stays simple and practical.
Style Ideas
This crochet crib hanging looks lovely in calm nursery colors like cream, beige, sage, dusty pink, soft blue, or butter yellow. It suits modern nurseries, handmade nursery themes, and cozy baby corners. It also makes a nice gift when paired with a baby blanket, teether, or soft toy. Even after the baby stage, a similar hanging basket can be reused for tiny toys or nursery odds and ends.
Care Instructions
Hand wash gently if needed and reshape while damp. Lay it flat or hang it carefully to dry. Avoid high heat, especially if you want the organizer to keep its shape. Cotton usually washes well, but gentle care will help the basket stay neat for longer.
Time Needed
This may take a few hours depending on your speed, yarn, size, and stitch pattern.
Conclusion
This crochet crib hanging organizer is a lovely little project when you want to make something useful, tidy, and handmade for a nursery. It has that nice balance of beauty and function, and it is easy to adjust for different sizes and styles. You can keep it simple, make it in soft baby colors, or adapt the size to suit the items you want to store. It is the kind of project that feels practical while still carrying that warm handmade charm.
FAQs
Is this beginner-friendly?
Yes, it is a good project for a confident beginner who is comfortable with basic stitches and simple shaping.
What yarn is best for this project?
A firm cotton yarn or cotton cord is usually the best choice because it helps the organizer hold its shape.
Can I adjust the size?
Yes. You can make it wider or taller by changing the starting chain and adding or reducing rows.
What can I store in it?
It is best for lightweight items like a pacifier, small toy, teether, or other small nursery essentials.
How do I make it sturdier?
Use a firmer yarn, keep your stitches tight and even, and make sure the top edge and hanging ties are well reinforced.
Featured Image Prompt:
A handmade crochet crib hanging organizer basket attached to the side of a baby crib, made with soft sturdy cotton cord, neutral nursery colors, neat textured stitches, cozy nursery background, practical pocket shape for baby essentials, warm natural lighting, clean modern handmade style


