
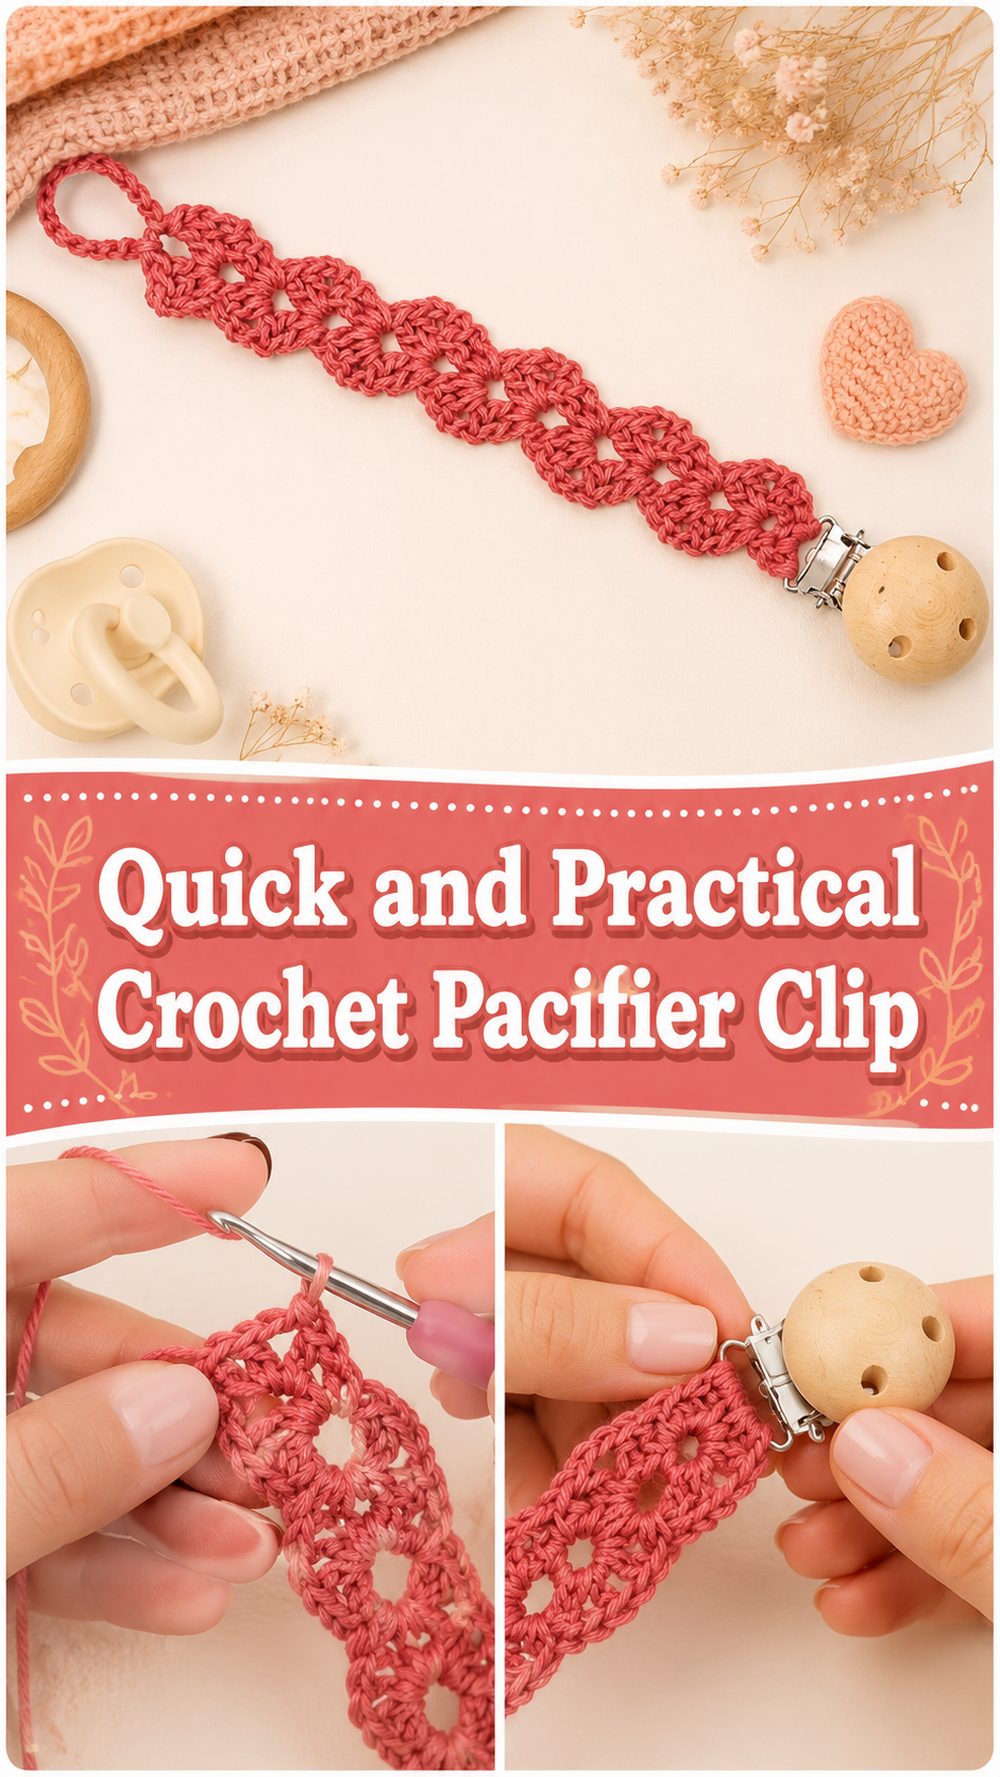
A crochet pacifier clip is one of those small baby projects that feels extra satisfying because it is cute, useful, and fast to make. It helps keep a pacifier close by, makes it easier to grab when you need it, and adds a soft handmade touch to everyday baby essentials. The tutorial I chose shows a simple style that looks neat and clean, so it works well for gifts, nursery sets, or just making something thoughtful for your own little one. This kind of project is especially nice when you want a quick crochet make that still feels meaningful. It is also a good option for crocheters who enjoy practical accessories rather than large projects. The selected video presents it as an easy, quick tutorial for a crochet pacifier clip, with a straightforward build that suits beginners and confident beginners alike.
Why You’ll Love This Project
This project is fun because it is small enough to finish quickly, but still gives you something genuinely useful at the end. It is also easy to personalize with different colors, textures, and little finishing touches, so each one can feel special. The selected tutorial presents the pacifier clip as a quick and easy project, making it a great choice when you want a simple crochet win.
Materials Needed
- Cotton yarn or another soft, sturdy yarn
- Crochet hook
- Pacifier clip hardware
- Scissors
- Yarn needle
- Stitch marker if needed
Use a yarn and hook size that matches your desired fit and texture.
Best Yarn for This Project
A smooth cotton yarn is a lovely choice for a pacifier clip because it gives a neat finish and helps the stitches hold their shape. Cotton also works well for baby items when you want something breathable and tidy-looking. You can also use another soft yarn that feels comfortable in your hands, but it helps if the yarn is not too fuzzy, since a cleaner texture makes the stitches easier to see and gives the strap a more polished look.
Skill Level
This project is beginner-friendly to easy. It suits someone who already knows how to make a foundation chain and basic stitches, and it is especially nice if you want a small project to practice neat tension and even edges. The chosen tutorial is described as easy and quick, which supports that beginner-friendly feel.
Size and Fit Guide
The easiest way to adjust the size is by changing the length of the strap section. You can make it shorter or longer depending on the style you want, while keeping the clip and pacifier attachment secure. As you work, lay the piece flat and check that it looks balanced. If the strap starts to feel too floppy, a firmer yarn or slightly tighter tension can help.
Stitches Used
The selected tutorial is presented as a simple crochet pacifier clip, so the project appears to rely on basic stitches rather than anything complicated. These may include:
- Chain
- Slip stitch
- Single crochet
- Possibly a simple edging or joining stitch
The exact stitch sequence may vary through the project, so it is best to follow the visual steps closely while keeping your tension even.
How to Make It
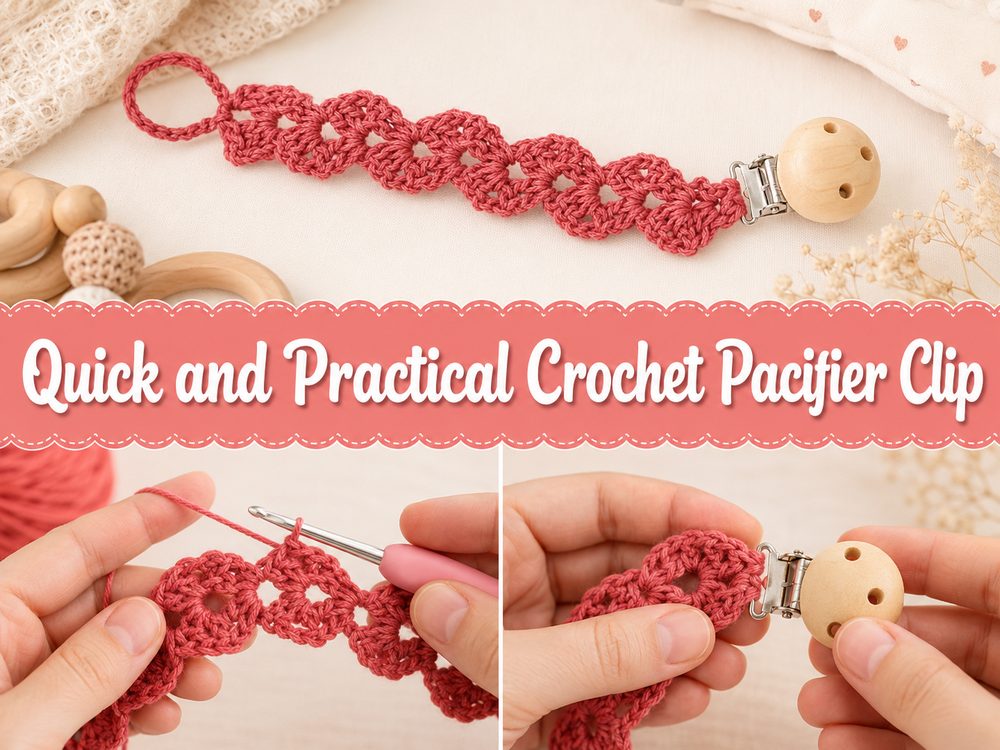
Step 1: Start the Foundation
This project begins with a short foundation that creates the length of the clip. Since a pacifier clip is meant to be slim and practical, the beginning is usually quite straightforward. Work your starting chain carefully and keep it even, because that neat beginning will affect how polished the whole piece looks later.
A smaller project like this can curl or twist if the beginning is too tight, so it helps to crochet with steady, relaxed tension. You want the strap to feel tidy and structured, not stiff and awkward.
Step 2: Build the Main Strap
Once the foundation is done, continue working along it to create the body of the clip. This main section forms the long narrow strap that connects the pacifier end to the clip hardware. The selected tutorial presents this as a quick project, so the body is kept simple rather than heavily textured or decorative.
As you crochet the strap, keep checking that the width stays even from one end to the other. That consistency makes a big difference in the final look. If one side starts leaning or widening, pause and count visually before moving on.
Step 3: Keep the Shape Neat and Practical
For a project like this, neatness matters more than complexity. The strap should feel smooth, balanced, and comfortable to handle. This is a good place to use basic stitches carefully and avoid overcomplicating the design. A pacifier clip does not need a lot of bulk, so a clean, simple fabric usually works best.
If you want a slightly firmer finish, keep your tension just a bit snug. If you want a softer feel, stay relaxed but still consistent. The goal is a strap that looks straight and finished.
Step 4: Create the Attachment Area
One end of the clip needs to connect to the pacifier, and the other needs to work with the clip hardware. In the tutorial, the project is shown as a crochet pacifier clip, so the finishing sections are built with function in mind rather than decoration alone.
When shaping these ends, make sure the opening or loop is secure and suited to the hardware you are using. Check the fit before weaving in any ends. A small adjustment at this point is much easier than redoing the piece after finishing.
Step 5: Attach the Clip Hardware
After the crocheted strap is complete, attach the clip hardware securely. This part should look neat and feel stable. You do not want the top end to twist once the clip is fastened, so take a moment to line it up properly before closing or sewing it into place.
If your hardware has a loop, ring, or opening, test the crocheted end through it and make sure it sits flat. Keep the strap straight so the finished clip hangs nicely and does not bunch up.
Step 6: Finish the Pacifier End
The pacifier end should be simple, secure, and easy to use. Depending on the exact style shown in the tutorial, this could be a loop, fastening section, or another tidy end finish. Make sure it looks balanced with the top section and does not feel too loose.
At this stage, trim the yarn neatly and weave in the ends really well. Because this is a small accessory, loose ends are more noticeable. A clean finish makes the whole project look much more professional.
Step 7: Check the Final Look
Before calling it done, lay the clip flat and look at the overall shape. The best result is a neat narrow crocheted strap with secure ends and a smooth finish. The selected tutorial emphasizes a beautiful, easy pacifier clip that can be made quickly, so the final look should feel simple, practical, and giftable.
If you are making more than one, use the first finished piece as your guide so the others come out the same size. That is especially helpful if you are making a matching baby set or gift bundle.
Helpful Tips
- Use cotton yarn for a cleaner, sturdier finish.
- Keep your tension even so the strap stays straight.
- Check the width early so the clip does not turn out too bulky.
- Test the hardware fit before finishing the ends.
- Weave in ends carefully because they show more on small projects.
- If making several, compare lengths so they all match.
Common Mistakes to Avoid
- Making the foundation too tight
- Letting the strap widen or narrow as you go
- Using very fuzzy yarn that hides the stitch shape
- Forgetting to test the hardware before finishing
- Leaving ends loosely woven in
- Making the strap longer than needed for a clean practical look
Customization Ideas
You can make this project your own in a lot of simple ways. Try soft neutrals for a calm nursery look, or use cheerful pastel shades for something sweeter and more playful. You could add a little textured section, change the edging, or keep it extra minimal for a clean modern finish. It also looks lovely when matched with a crochet teether, bib trim, or baby blanket in similar colors.
Style Ideas
A crochet pacifier clip makes a lovely handmade baby shower gift, especially when paired with other small nursery items. It also works nicely as part of a newborn gift box or a simple handmade set. For everyday style, gentle shades like cream, oatmeal, soft sage, blush, dusty blue, or butter yellow give it a sweet baby-friendly feel.
Care Instructions
Gentle hand washing is usually the safest choice for a small crochet item like this. Lay it flat to dry and avoid high heat. If the yarn softens after washing, reshape it with your fingers so the strap stays neat.
Time Needed
This may take under an hour depending on your speed, yarn, finishing method, and the exact style you make. The selected tutorial specifically presents the project as something quick and easy to complete.
Conclusion
This crochet pacifier clip is a lovely little project when you want to make something handmade, practical, and easy to personalize. It is small enough to feel relaxing, but useful enough to make again and again in different colors. Whether you are crocheting for your own baby, making a gift, or adding a handmade touch to a nursery set, this is the kind of quick project that feels both sweet and worthwhile.
FAQs
Is this beginner-friendly?
Yes, it is a good beginner-friendly project because it uses a simple shape and basic crochet skills.
What yarn works best?
Smooth cotton yarn is a great choice because it gives a neat finish and helps the strap hold its shape.
Can I adjust the size?
Yes. You can change the strap length and slightly adjust the width depending on the look you want.
Is this a fast project?
Yes. The selected tutorial describes it as a quick and easy pacifier clip project.
Can I make a few for gifts?
Absolutely. This is the kind of small project that works very well for gift sets, baby baskets, and matching handmade accessories.


