
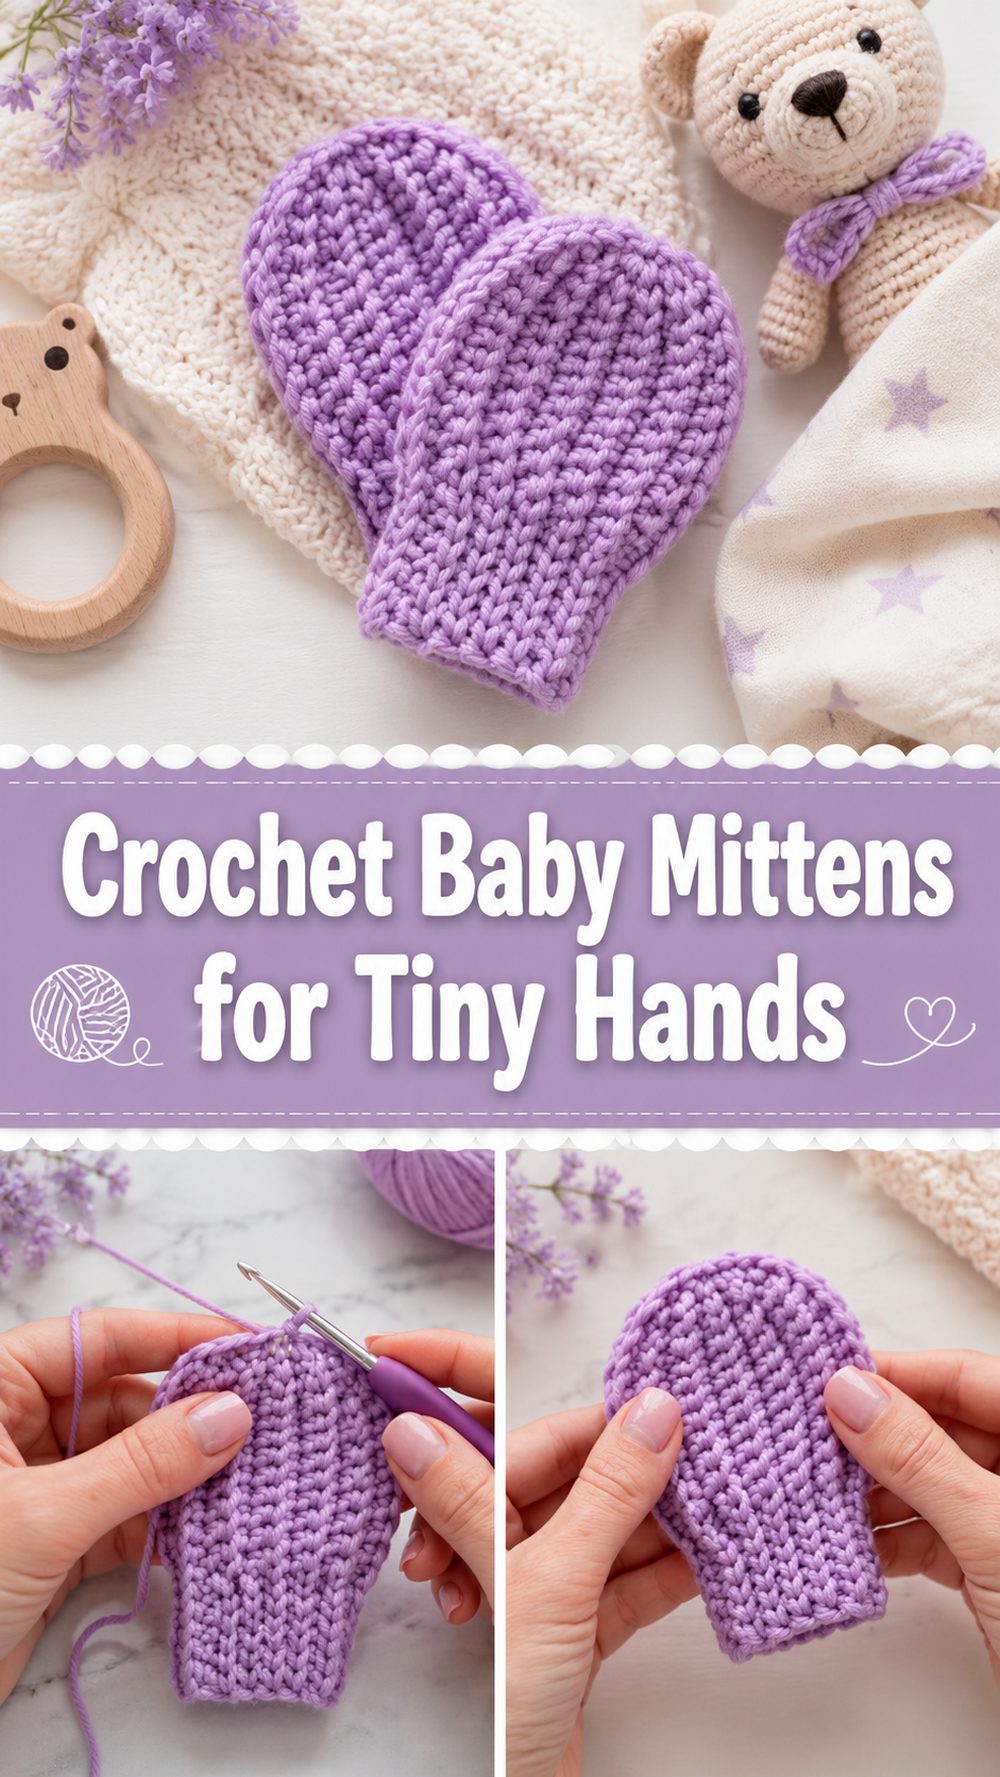
Crochet baby mittens are such a lovely little project when you want to make something soft, useful, and full of handmade warmth. They are quick to finish, practical for cooler days, and especially sweet for baby gifts, newborn sets, or adding to a handmade layette. The tutorial I selected teaches simple baby mittens without a thumb, which makes the shape easier to crochet and extra comfortable for little hands. The video describes them as quick to make, warm, and comfortable, with a step-by-step beginner approach, so this is a great project when you want something gentle and manageable rather than fussy or overly detailed.
Why You’ll Love This Project
This is the kind of project that feels satisfying from the very beginning because it is small, practical, and adorable all at once. The thumb-free shape keeps the construction simple, and the finished mittens are cozy enough to tuck into a baby gift set, use on chilly days, or make in several colors for a thoughtful handmade present. The selected tutorial presents them as a beginner-friendly, step-by-step project.
Materials Needed
- Soft baby-friendly yarn
- Crochet hook
- Scissors
- Yarn needle
- Stitch marker
- Measuring tape
Use a yarn and hook size that matches your desired fit and texture.
Best Yarn for This Project
A soft yarn with a gentle feel works best for baby mittens because you want the finished fabric to feel comfortable against delicate skin. For a cozy pair, soft acrylic or a soft wool blend can work nicely if the texture is smooth and not scratchy. If you prefer something lighter, a soft baby yarn is also a good choice. Since these mittens are meant to feel warm and comfortable, it helps to choose yarn that creates a soft fabric without becoming too stiff. The selected tutorial specifically describes the finished mittens as warm and comfortable, so a yarn with a soft hand is ideal.
Skill Level
This project is beginner-friendly to easy. The selected video is presented as a step-by-step tutorial for beginners, and the mitten shape is simplified by leaving out a thumb. That makes it a nice project for someone who knows the basics and wants an easy wearable baby item.
Size and Fit Guide
To adjust the size, measure loosely around the baby’s hand and compare that to your work as you go. Since baby mittens should feel comfortable rather than tight, it helps to keep the fabric soft and allow a little ease. You can make the mitten longer or shorter by adding or reducing rounds or rows in the body. For the cuff, check that it is snug enough to help the mitten stay on, but not so tight that it feels restrictive. If you are making a matching pair, compare them often while working so both mittens come out the same size.
Stitches Used
The selected tutorial is a simple beginner mitten project, so it appears to rely on basic stitches and shaping rather than anything complicated. These may include:
- Chain
- Slip stitch
- Single crochet
- Half double crochet or another simple body stitch
- Basic decreases or shaping to close the top
- Simple ribbed or neat cuff finishing
How to Make It
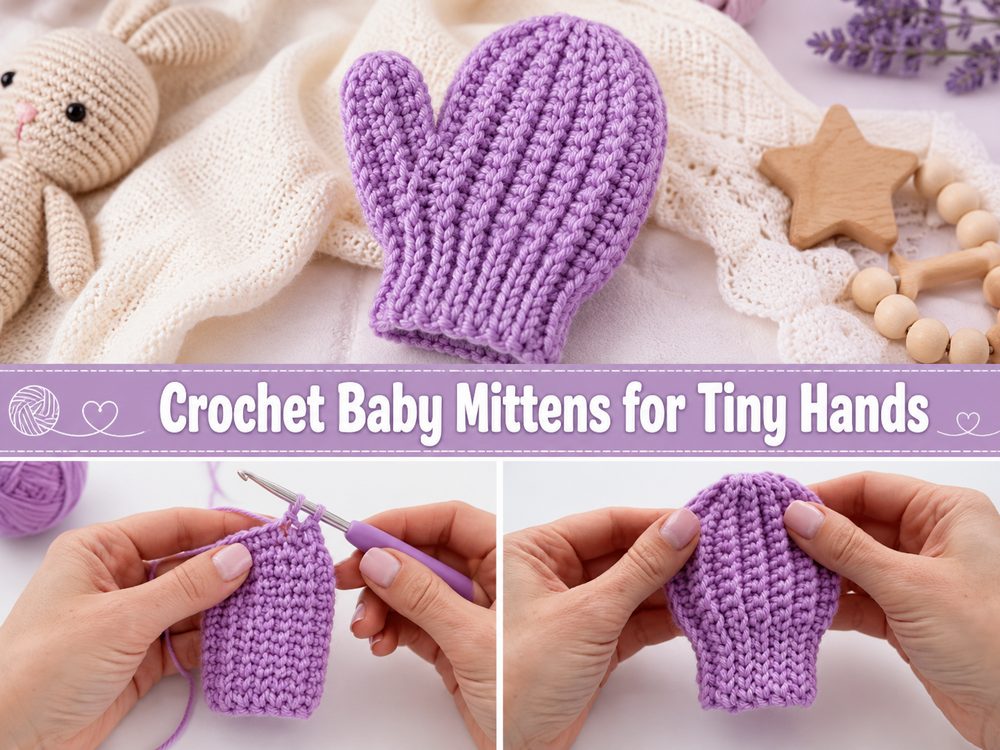
Step 1: Start the Cuff or Base
The project begins with the part that fits around the wrist. This section matters because it helps the mitten stay in place while still feeling soft and comfortable. Depending on how the tutorial is constructed, the cuff may be worked first as a small band or built directly into the mitten shape.
Keep your tension even right from the start. Baby mittens are tiny, so little changes in tension show up quickly. If the beginning is too tight, the cuff may feel stiff. If it is too loose, the mitten may not sit neatly around the wrist.
Step 2: Build the Wrist Section
Once the first few stitches are in place, continue building the wrist area. This section should feel neat, flexible, and gently fitted. If the tutorial uses a cuff-like edge, this part helps add that nice finished look and makes the mitten feel a little more secure on a baby’s hand.
A simple cuff works really well for this kind of project because it adds structure without making the mitten bulky. Take a moment to stretch the wrist edge lightly with your fingers and see how it feels before moving upward into the body.
Step 3: Crochet the Main Mitten Body
After the wrist section is ready, begin building the mitten body. This is where the project starts to look like a true mitten. Since the selected tutorial is for baby mittens without a thumb, the body stays simple and smooth, which makes the whole project easier to follow and quicker to finish. The video specifically describes the mittens as quick to crochet and comfortable to wear.
Work steadily and keep checking that the width looks right for a tiny baby hand. You want enough room for comfort, but not so much that the mitten becomes floppy. A smooth, even fabric usually looks best here. Because the mitten is small, this stage moves along quickly and is very satisfying.
Step 4: Shape the Length
As you continue crocheting the body, keep an eye on the length. This is where you can easily customize the mitten to suit the age or size you want. If you are making them for a very tiny newborn, stop earlier. If you want a little more room, continue until the mitten reaches the length you need.
This is a good stage to compare your work against the first mitten if you are making the second one. Matching the length early is easier than trying to fix it after the top has already been closed.
Step 5: Close the Top of the Mitten
Once the body is long enough, the top is shaped and closed. Because there is no thumb section, the top closure is much simpler and gives the mitten that sweet rounded baby shape. This is one of the reasons the project is so approachable for beginners.
Take your time with the closing rounds or rows. The top should look smooth and tidy, not puckered or pointy unless that is the intended look. If the stitches pull too tightly here, the mitten can lose its soft shape, so try to keep the finishing neat and relaxed.
Step 6: Check the Shape and Softness
After the mitten is closed, gently shape it with your hands. This is the moment to see whether the wrist opening feels balanced and whether the body has a smooth rounded look. The selected tutorial emphasizes that the mittens are warm and comfortable, so the final fabric should feel soft rather than stiff.
If the mitten looks a little uneven, do not worry. Small baby projects often settle beautifully once the ends are woven in and the shape is smoothed out by hand.
Step 7: Make the Second Mitten the Same Way
Now repeat the process for the second mitten, checking the size often against the first. This is the easiest way to make sure the pair looks consistent. Compare the cuff width, the body length, and the shape of the top before fastening off completely.
A small project like this is perfect for making a matching set in one sitting, especially because the chosen tutorial presents it as quick to crochet.
Step 8: Finish and Weave In Ends
Once both mittens are done, weave in the ends carefully so the inside feels neat and comfortable. Since baby mittens are so small, bulky finishing can be noticeable, so try to keep the inside tidy. After that, shape the pair gently and lay them flat.
The final look should be a pair of tiny soft mittens with a simple, rounded shape, a comfortable wrist opening, and a clean beginner-friendly finish. Because the design leaves out the thumb, it feels especially practical for new crocheters and works up into a sweet, cozy baby accessory.
Helpful Tips
- Use a soft yarn that feels gentle on baby skin.
- Keep your stitches even so both mittens match.
- Compare the second mitten often with the first one.
- Make the wrist section snug but still comfortable.
- Check the length before closing the top.
- Weave in ends neatly so the inside stays soft.
- Make a matching hat or booties in the same yarn for a sweet set.
Common Mistakes to Avoid
- Making the wrist opening too tight
- Letting the mitten body become too wide or floppy
- Closing the top too tightly and losing the rounded shape
- Using yarn that feels rough or stiff
- Forgetting to compare the second mitten to the first
- Leaving bulky yarn ends inside the mitten
Customization Ideas
These baby mittens are easy to personalize. You can make them in classic baby shades like cream, blush, pale blue, sage, or soft yellow, or keep them simple in one neutral tone. A contrasting cuff can add a sweet little detail without making the pattern look too busy. You could also make them slightly longer for a cozier fit or keep them shorter and lighter for a newborn gift set. If you enjoy making baby accessories in sets, these mittens pair beautifully with a matching hat, bib, or booties.
Style Ideas
A pair of crochet baby mittens looks lovely tucked into a baby shower gift basket or wrapped with a handmade blanket and bonnet. They are especially sweet in soft nursery colors and work well for winter babies or cooler weather sets. Even a very simple pair can feel special when made in a beautiful soft yarn and presented as part of a handmade outfit bundle.
Care Instructions
Hand wash gently or use the gentlest washing method suitable for your yarn. Lay flat to dry and reshape lightly while damp. Avoid high heat, especially if you want the mittens to keep their soft texture and neat shape.
Time Needed
This may take a few hours depending on your speed, yarn, hook size, and how many adjustments you make while sizing. The selected tutorial describes the mittens as quick to crochet, so this is a lovely small project when you want something satisfying without a huge time commitment.
Conclusion
Crochet baby mittens are a beautiful little project when you want to make something practical, warm, and full of handmade charm. The simple thumb-free shape keeps the process approachable, and the finished pair is easy to customize with different colors, yarns, and sizes. Whether you are making them for your own baby, adding them to a gift set, or just enjoying a quick cozy project, they are the kind of crochet make that feels both useful and heartwarming.
FAQs
Is this beginner-friendly?
Yes. The selected tutorial is presented as a step-by-step beginner project, and the thumb-free mitten shape keeps things simple.
What yarn is best for crochet baby mittens?
A soft baby-friendly yarn, soft acrylic, or a smooth wool blend works well as long as it feels gentle and comfortable.
Can I adjust the size?
Yes. You can change the length of the mitten body and gently adjust the width and cuff fit as you work.
Why are thumb-free mittens a good choice?
They are easier to crochet, quicker to finish, and still work well for tiny baby hands.
How long does it take to make a pair?
It depends on your speed and yarn choice, but this is generally a small and fairly quick project. The selected video specifically describes the mittens as quick to crochet.


