
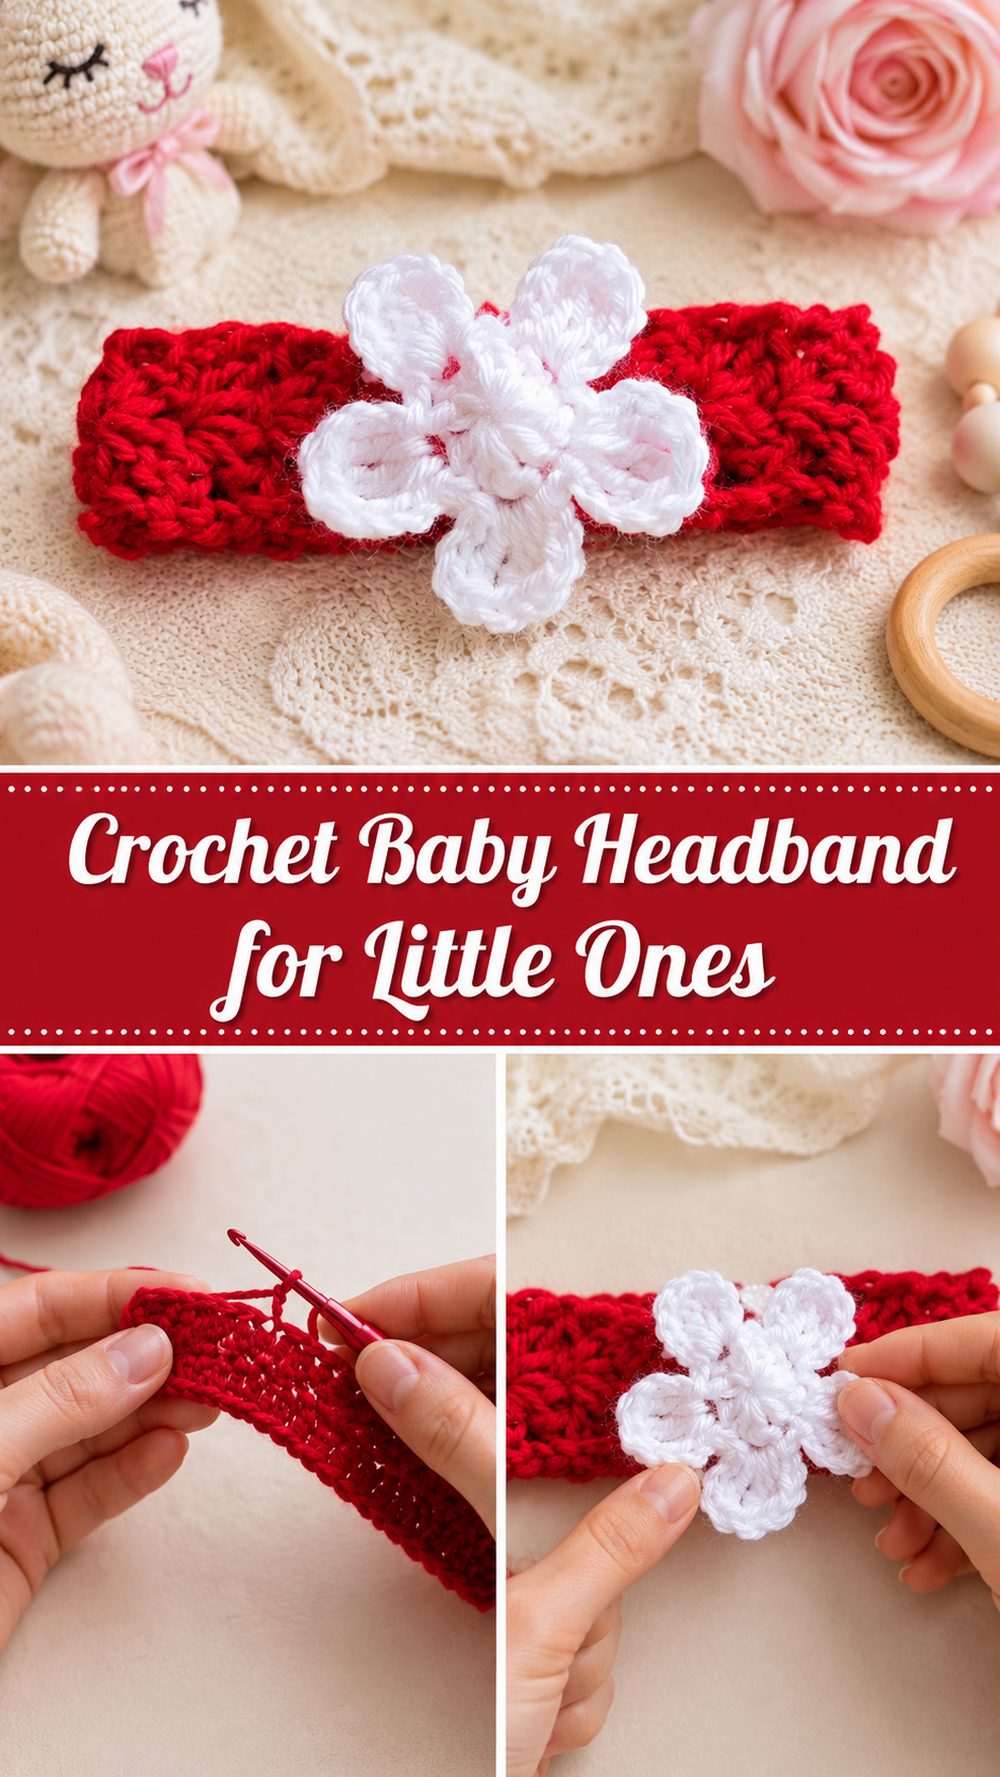
A crochet baby headband is one of those sweet little projects that feels special from the very first stitch. It is small, quick to make, and full of handmade charm, which makes it lovely for baby gifts, photo outfits, or just adding a soft finishing touch to a simple everyday look. The tutorial I selected shows an easy beginner baby headband made in a soft, comfortable style for little babies, and it is described as a quick project that can be finished in about 30 minutes for a 0–3 month size.
Why You’ll Love This Project
This project is fun because it gives you that instant crochet satisfaction. It is small enough to finish quickly, uses only a little yarn, and still feels thoughtful and giftable. The selected tutorial presents it as quick and easy for beginners, which makes it perfect when you want something simple but still adorable.
Materials Needed
- Soft baby-friendly yarn
- Crochet hook
- Scissors
- Yarn needle
- Measuring tape
- Stitch marker if helpful
Use a yarn and hook size that matches your desired fit and texture.
Best Yarn for This Project
A soft lightweight yarn works beautifully for a baby headband because you want the finished piece to feel gentle, light, and comfortable. Smooth baby yarn, soft cotton blends, or other non-scratchy yarns are all good choices. Since this project sits around a baby’s head, it helps to choose something flexible and soft rather than thick or stiff. A yarn with a smooth texture also makes the stitches look cleaner and gives the headband a neat finished shape.
Skill Level
This project is beginner-friendly. The selected video describes the baby headband as quick and easy, so it suits someone who already knows basic crochet stitches and wants a small wearable project that is not complicated.
Size and Fit Guide
The selected tutorial is shown in a 0–3 month size. If you want to adjust the fit, measure gently around the baby’s head and compare that measurement with your work as you go. You can make the band longer or shorter before joining, and you can also change the yarn or hook slightly if you want a softer or firmer feel. The best way to get a comfortable fit is to keep checking the stretch and make sure the headband sits snugly without feeling tight.
Stitches Used
This easy baby headband appears to use simple stitches suitable for beginners, such as:
- Chain
- Slip stitch
- Single crochet
- Possibly half double crochet or another basic body stitch
- Simple joining
How to Make It
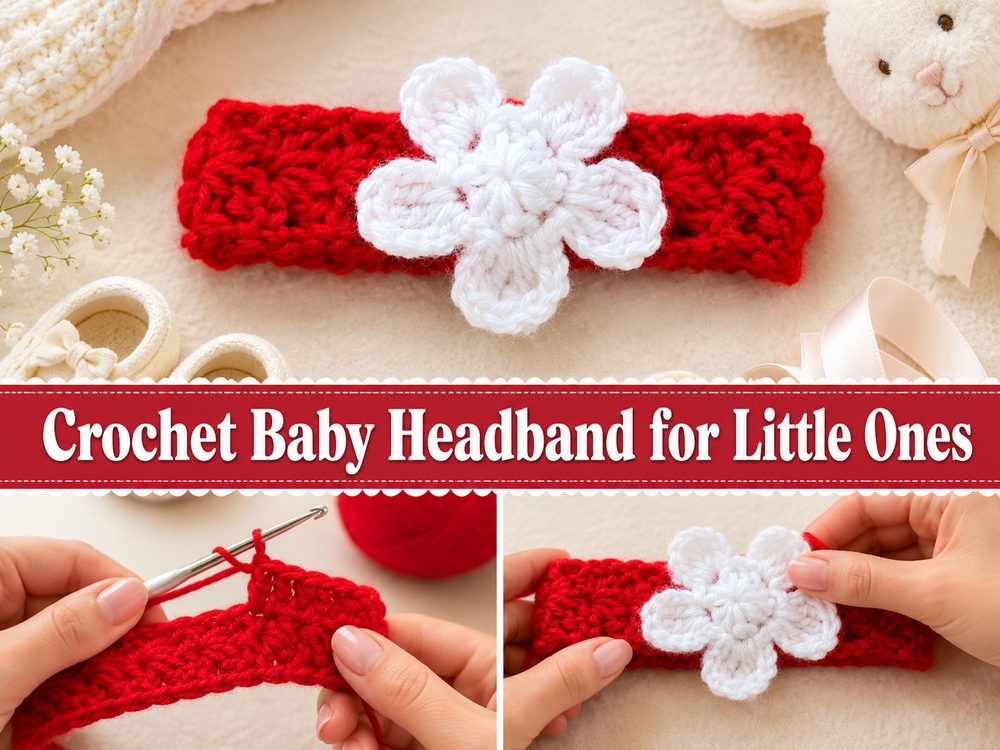
Step 1: Start the Foundation
Begin by making the foundation for the length of the headband. Since this is a baby project, the starting chain or first section should feel soft and flexible rather than stiff. Keep your tension even and relaxed so the headband will sit comfortably once finished.
Because this is a small wearable item, the beginning matters a lot. If the first section is too tight, the whole band can feel less comfortable. If it is too loose, the headband may not hold its shape as neatly. A smooth, balanced start makes the rest of the project much easier.
Step 2: Build the Band
After the foundation is in place, work along it to create the main band. This part forms the headband itself, so try to keep the width even from end to end. A simple stitch pattern works especially well here because it keeps the piece soft and practical while still looking neat.
The selected tutorial presents this as a quick project, so the band is kept straightforward instead of overly textured or fussy. That is part of what makes it so nice for beginners. You can settle into the rhythm of the stitches and let the shape build up naturally.
Step 3: Keep the Fabric Soft and Comfortable
As the band grows, pay attention to the feel of the crochet fabric. A baby headband should not feel bulky or harsh. It should bend easily and rest gently without looking limp. This balance usually comes from even tension and a yarn that is soft enough for baby wear.
If you notice the edges pulling in, loosen your tension slightly. If the headband starts feeling too floppy, a firmer stitch or a slightly smaller hook may help next time. The best result is a neat little strip that looks tidy and feels pleasant in your hands.
Step 4: Check the Size Before Joining
Before you join the ends, compare the band to the size you want. The tutorial is made for 0–3 months, but you can still check your own yarn, tension, and stretch before finishing. This is the easiest stage to make changes if needed. If it seems too small, add a bit more length. If it seems too long, remove a little before joining.
This step is especially helpful when using a different yarn from the video. Even a small change in yarn thickness can affect the final fit.
Step 5: Join the Ends Neatly
Once the band reaches the right length, join the ends to make the headband. This part should look tidy and feel secure. Depending on the exact style, you may seam it simply or use a neat gathered finish. The main thing is to keep the join smooth so it does not feel bulky.
Take a moment here to flatten the piece and check that the join is straight. Since this is such a small project, even tiny finishing details show up clearly. A clean join makes the whole headband feel more polished.
Step 6: Add Any Finishing Detail
Many baby headbands look especially sweet with a simple center detail, a soft gathered section, or a bow-like finish. If your chosen tutorial includes that kind of look, shape it gently and keep it soft. The beauty of a baby headband is that it does not need much decoration to look lovely.
A simple finish often feels best because it keeps the headband wearable, practical, and easy to match with baby outfits. Soft color and neat stitches usually do most of the work.
Step 7: Weave In Ends and Shape the Headband
After the crochet is finished, weave in the yarn ends carefully. Since the project is small, bulky finishing can be noticeable, so keep everything as neat as possible. Then smooth the band with your hands and check the overall shape.
The final result should be a soft little baby headband that looks simple, sweet, and comfortable. The selected tutorial specifically describes it as a quick and easy beginner baby headband in 0–3 month size, so the finished look should stay clean and uncomplicated.
Helpful Tips
- Use a very soft yarn that feels gentle for baby wear.
- Keep the starting chain relaxed so the band stays comfortable.
- Check the fit before joining the ends.
- Keep the width even all the way across.
- Weave in ends neatly for a cleaner finish.
- Make a second one in another color while the steps are still fresh in your mind.
Common Mistakes to Avoid
- Making the band too tight
- Using stiff or scratchy yarn
- Letting the width become uneven
- Joining the ends with a bulky seam
- Forgetting to check the stretch before finishing
- Pulling the stitches too tight and losing softness
Customization Ideas
This project is very easy to personalize. You can make it in soft solids, nursery pastels, or classic neutral shades. A tiny bow-like center, a gathered middle, or a simple contrasting section can change the look without making the project harder. You can also adjust the length for older babies or use different yarn textures for a lighter or cozier finish. If you are putting together a baby gift set, matching the headband to booties, mittens, or a bib can make everything feel beautifully coordinated.
Style Ideas
A crochet baby headband looks lovely for everyday wear, baby photos, special visits, or as part of a handmade baby shower gift. Soft shades like cream, blush, dusty rose, sage, pale yellow, or baby blue always work beautifully. It also pairs nicely with simple baby dresses, rompers, or soft cardigans. Even when the pattern is very basic, the finished piece still feels special because it is handmade.
Care Instructions
Wash gently according to your yarn type and lay flat to dry. Reshape lightly while damp so the band keeps its neat form. Avoid high heat, especially if you want the headband to stay soft and comfortable.
Time Needed
This may take around 30 minutes, depending on your speed, yarn choice, and finishing method. The selected tutorial specifically describes the project as quick and easy and says you can be done in 30 minutes.
Conclusion
A crochet baby headband is a lovely little project when you want something quick, sweet, and useful. It is easy to customize, gentle enough for gifts, and satisfying because it comes together so fast. Whether you keep it very simple or add a small decorative touch, it is the kind of handmade piece that brings a lot of charm without needing a lot of time.
FAQs
Is this beginner-friendly?
Yes. The selected tutorial describes it as quick and easy for beginners.
What size is shown in the tutorial?
The selected video states that it makes a 0–3 month size baby headband.
What yarn is best for this project?
A soft baby-friendly yarn or smooth lightweight yarn works best for comfort and a neat finish.
Can I make it in a different size?
Yes. You can adjust the length to fit a different head size and check the stretch before joining.
How long does it take to make?
The selected tutorial says the project can be finished in about 30 minutes.


