
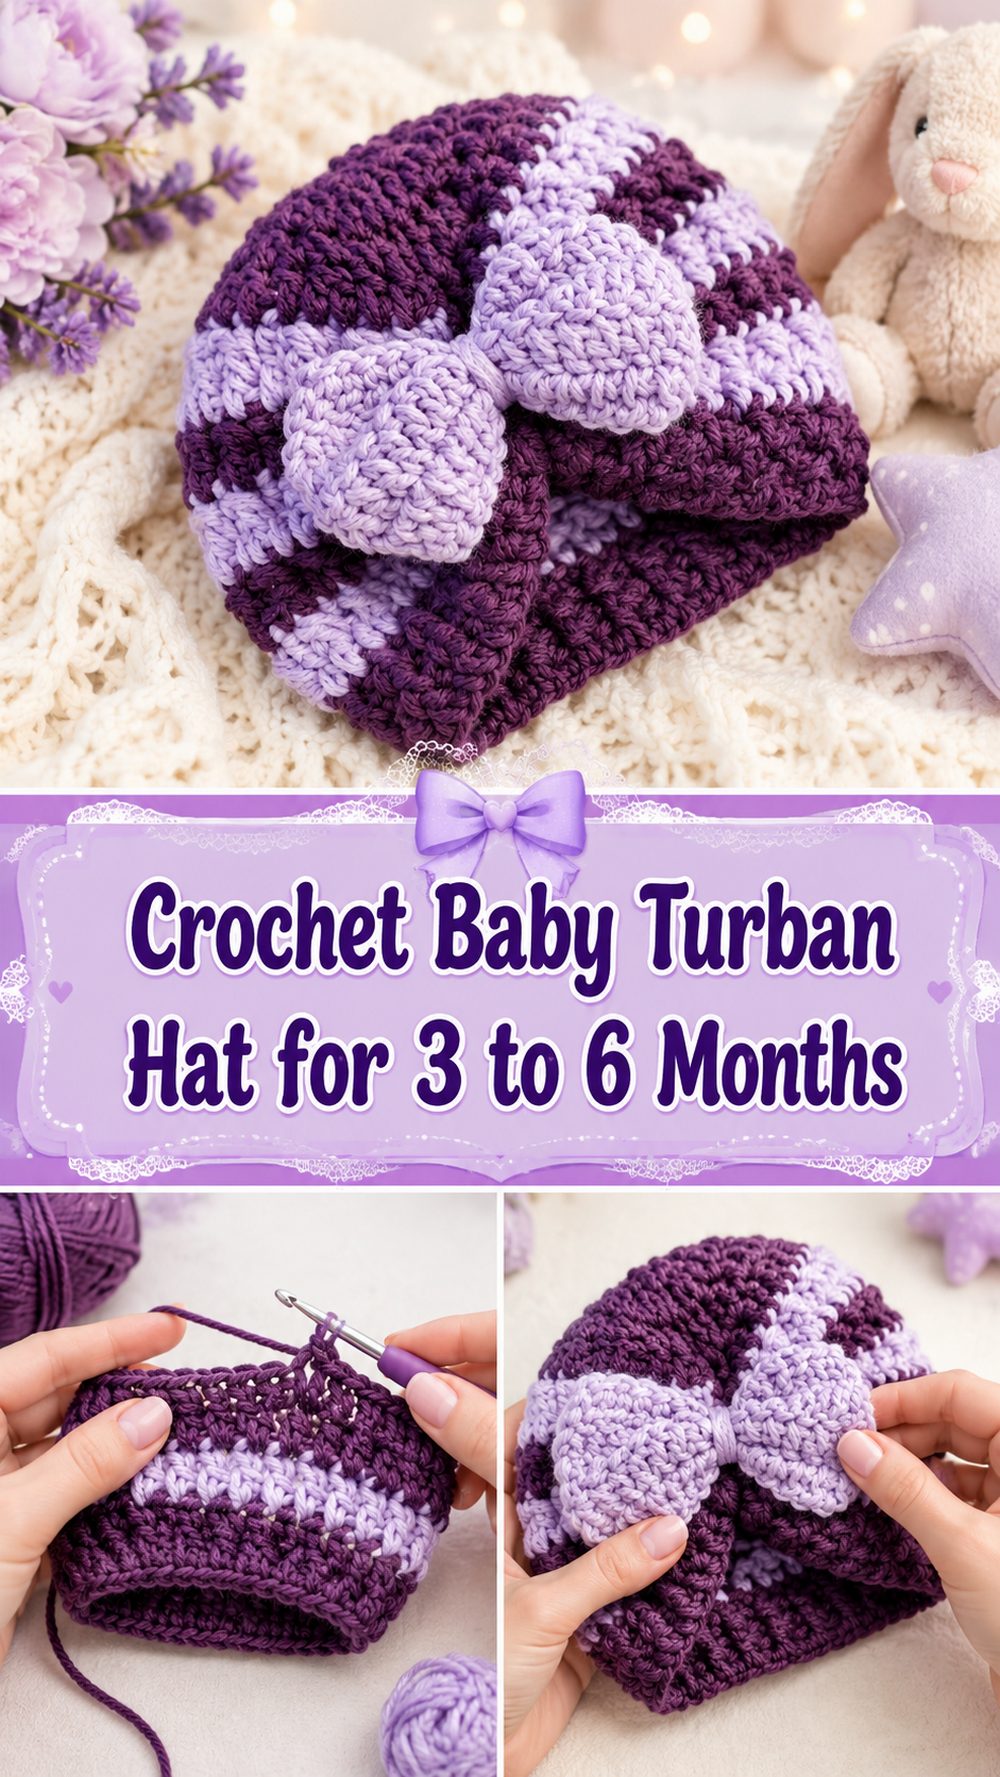
A crochet baby turban is such a sweet little project to make when you want something soft, useful, and extra adorable. It has that cozy hat feel, but with a stylish gathered front that gives it a lovely handmade look for everyday wear, baby photos, or gifting. The tutorial I selected teaches a baby turban for around 3 to 6 months, and it is presented as an easy, fast, step-by-step project made with medium-weight acrylic yarn and a 4.5 mm hook.
Why You’ll Love This Project
This project is fun because it gives you a baby hat with a little extra style without feeling too complicated. The gathered turban shape makes it look special, but the tutorial is still presented as easy and fast, which makes it a lovely project for gifting or for using up a small amount of yarn.
Materials Needed
- Medium-weight acrylic yarn
- 4.5 mm crochet hook
- Scissors
- Yarn needle
- Stitch marker if helpful
- Measuring tape
These details are specifically supported by the selected tutorial listing.
Best Yarn for This Project
A medium-weight yarn is a great fit for a baby turban because it gives the hat enough structure to hold the gathered shape while still feeling soft and wearable. Acrylic can work nicely for this kind of project because it is easy to find, comes in many baby-friendly colors, and can create a cozy finished fabric. If you want an even softer feel, you can look for a baby-friendly acrylic or another smooth yarn with a similar weight so the shape still comes out neatly. The selected tutorial specifically uses medium-weight acrylic yarn.
Skill Level
This project is beginner-friendly to easy. The selected video is described as an easy and fast step-by-step baby turban tutorial, which suggests a simple build that is manageable for newer crocheters who already know a few basic stitches.
Size and Fit Guide
The selected tutorial is made for a baby around 3 to 6 months. If you want to adjust the size, measure around the baby’s head and compare that to your work as you go. You can make the hat a little taller or slightly wider by adding or reducing rounds or rows depending on the way you build it. Since the turban style has a gathered front, it helps to check the fit before fully finishing so the hat stays snug but comfortable. The age range comes directly from the selected tutorial listing.
Stitches Used
The selected tutorial listing indicates that the project uses double crochet, so this is a good sign that the stitch pattern stays fairly simple and approachable. You may also use a few other basic stitches for starting, joining, or finishing, but the main fabric is centered around an easy stitch structure rather than anything overly decorative.
How to Make It
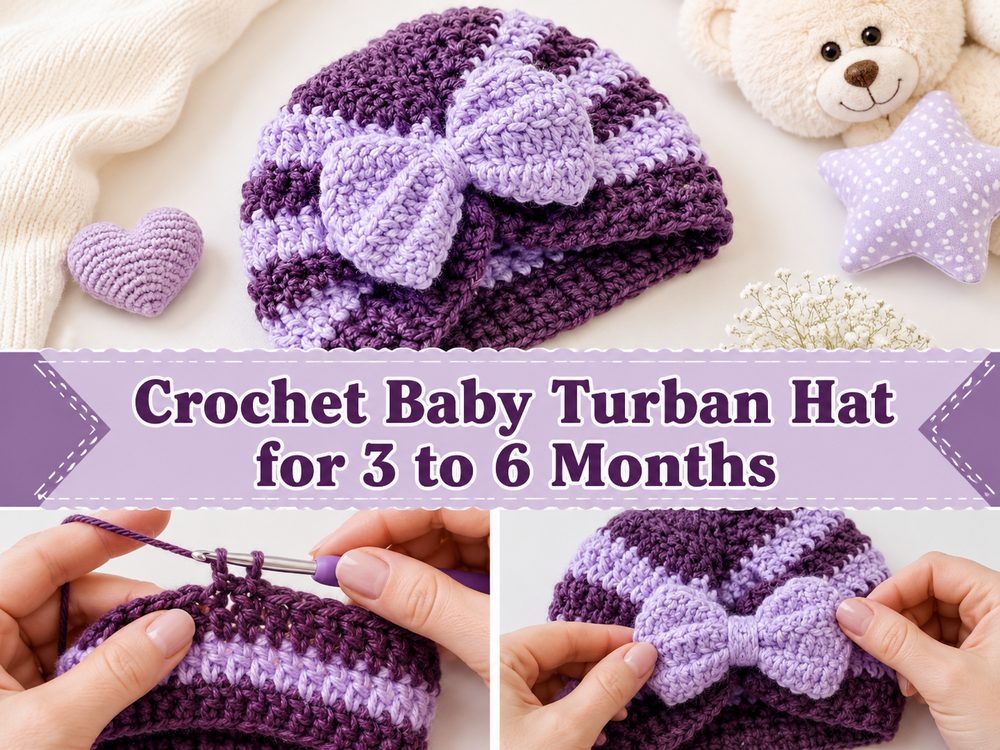
Step 1: Start the Foundation
Begin by creating the starting section for the hat. In a baby turban, the first part usually sets the width or beginning structure of the hat, so it is worth taking your time here. Keep your tension even and relaxed so the opening does not feel stiff. Baby hats should feel soft and comfortable, especially around the forehead.
If your stitches are too tight at the beginning, the hat can lose that soft drape that makes the turban style look nice. A smooth start helps the rest of the project come together much more neatly.
Step 2: Build the Main Hat Shape
Once the foundation is in place, continue building the body of the hat. This is where the piece starts to look more like a wearable baby hat. Since the selected tutorial is presented as easy and fast, the body appears to be worked in a simple repeat without lots of complicated shaping. The listing also points to double crochet as the main stitch approach, which helps the fabric grow quickly.
As you work, keep checking that the stitches stay even and that the fabric feels soft but not floppy. A baby turban usually looks best when it has enough body to hold its shape while still staying comfortable.
Step 3: Shape the Height
As the hat grows, pay attention to the height. This part matters because the turban shape needs enough fabric to sit nicely on the baby’s head and still allow for the gathered front detail. If the hat is too shallow, it may not sit well. If it is too tall, the shape may look bulky.
A good approach is to compare it to the size you want while you work. Because yarn, tension, and personal crochet style all vary, checking your progress as you go is more reliable than guessing.
Step 4: Create the Turban Gathered Front
The gathered front is what gives this project its turban look. Once the hat body is ready, part of the fabric is brought together at the front to create that soft wrapped appearance. This section is what makes the finished piece feel more stylish than a plain beanie.
Take your time here and keep the gather centered. If the front pull sits too far to one side, the hat can look uneven. The nicest result usually comes from a neat, balanced pinch or wrap that creates shape without making the front too bulky.
Step 5: Adjust the Fit
Before finishing completely, take a quick look at the overall fit. The selected tutorial is for 3 to 6 months, so if you are using the same yarn weight and hook size, your result should stay in that general baby range. Still, it is always worth comparing your work to the baby’s head measurement or to another baby hat that already fits well.
If the hat seems a little snug, you may want a slightly looser tension next time. If it seems loose, a smaller hook or a slightly shorter body can help.
Step 6: Finish the Hat Neatly
Once the shape looks right, finish off the yarn and weave in the ends carefully. Small baby projects look best when the finishing is tidy, because bulky ends can show up quickly. Smooth the hat gently with your hands and shape the front gather so it sits nicely.
The final look should be a soft baby turban hat with a cozy body and a sweet gathered front detail. Since the selected tutorial is specifically described as easy and fast, the finished project should feel practical, wearable, and beginner-friendly rather than overly complicated.
Helpful Tips
- Use a soft medium-weight yarn so the hat keeps its shape nicely.
- Keep your stitches even for a smoother finished look.
- Check the height before making the front gather.
- Center the gathered section carefully so the turban shape looks balanced.
- If the fabric feels too stiff, relax your tension a little.
- Weave in ends neatly so the inside stays comfortable for baby wear.
Common Mistakes to Avoid
- Making the starting stitches too tight
- Crocheting the body too shallow for the turban shape
- Letting the front gather sit off-center
- Using a yarn that feels too rough for baby wear
- Making the hat too bulky at the front
- Forgetting to compare the size as you go
Customization Ideas
This project is easy to personalize with color. Soft blush, cream, beige, dusty rose, pale mustard, sage, lavender, or baby blue all work beautifully. You can keep the turban very simple for a clean modern look, or make the gathered front stand out more by choosing a yarn with soft texture. It would also be lovely paired with matching booties, mittens, or a baby headband in the same color family.
Style Ideas
A crochet baby turban is especially cute for cooler days, baby photos, gift baskets, and handmade baby shower presents. It looks sweet with simple rompers, cardigans, little sweaters, or cozy blankets. Because the front detail already adds character, even a plain solid color can look really charming.
Care Instructions
Wash gently according to your yarn label and lay flat to dry. Reshape the front gather lightly while the hat is still a little damp so the turban detail dries neatly. Avoid high heat if you want the hat to keep its soft shape.
Time Needed
This may take a few hours depending on your speed, yarn, and finishing style. The selected tutorial specifically describes the project as easy and fast, so it should feel like a manageable small crochet make rather than a long project.
Conclusion
A crochet baby turban is a lovely project when you want something soft, stylish, and practical all at once. It is small enough to finish without too much effort, but special enough to feel like a beautiful handmade gift. You can adjust the fit, play with color, and enjoy that sweet gathered front that gives the hat its signature look. It is the kind of baby project that feels simple in the best way.
FAQs
Is this beginner-friendly?
Yes. The selected tutorial is presented as an easy and fast step-by-step baby turban project.
What size is the tutorial for?
The selected video is for about 3 to 6 months.
What yarn and hook does it use?
It uses medium-weight acrylic yarn and a 4.5 mm hook.
What stitch is mainly used?
The listing indicates that the project uses double crochet as the main stitch approach.
Can I adjust the size?
Yes. You can check the fit as you work and adjust the height or overall size to better suit the baby.


