
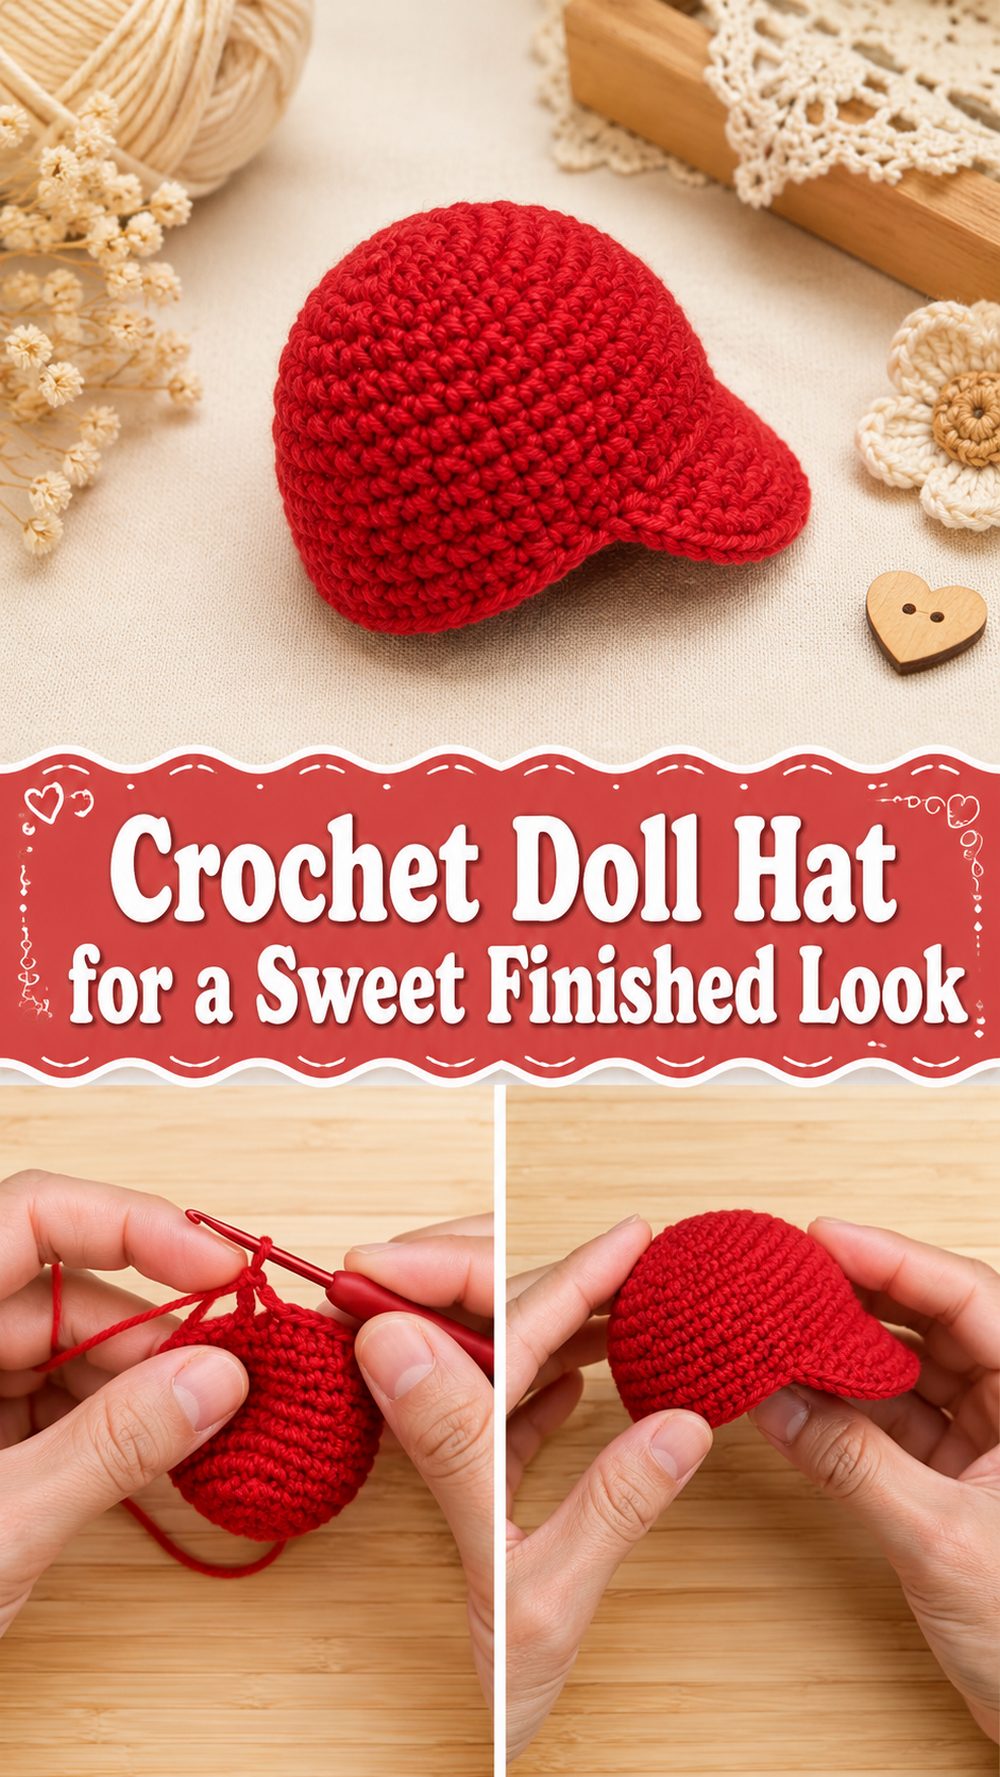
A crochet doll hat is one of those tiny projects that feels instantly rewarding. It works up quickly, uses only a small amount of yarn, and adds so much personality to a handmade doll or amigurumi figure. The tutorial I selected teaches a simple crochet doll cap in a step-by-step beginner style, which makes it a lovely choice when you want a project that is cute, manageable, and easy to customize. The finished hat has that neat little handmade look that can completely change the character of a doll, whether you want something playful, classic, or cozy. It is also a fun way to use leftover yarn from bigger projects. Because the tutorial is presented as an easy amigurumi doll hat for beginners, it is especially nice for crocheters who want a small win without getting lost in complicated shaping.
Why You’ll Love This Project
This project is fun because it is small enough to finish quickly, but it still gives you that satisfying feeling of making a real wearable accessory. A doll hat is also easy to personalize with color changes, edging, or little style tweaks. The selected video specifically presents it as an adorable cap for amigurumi dolls and a step-by-step tutorial for beginners, so it is a very approachable make.
Materials Needed
- Yarn
- Crochet hook
- Scissors
- Yarn needle
- Stitch marker
- Measuring tape
Use a yarn and hook size that matches your desired fit and texture.
Best Yarn for This Project
A smooth yarn works especially well for a doll hat because it helps the stitches show clearly and gives the finished cap a clean shape. For a tiny project like this, a lightweight or medium yarn usually makes the hat look neat without becoming bulky. If your doll is very small, a lighter yarn may give you a more delicate result. If your doll is a little larger or you want a softer, cozier look, a medium yarn can work nicely too. The main thing is to choose a yarn that lets the hat keep its shape while still looking soft and tidy.
Skill Level
This project is beginner-friendly to easy. The selected tutorial is described as a step-by-step crochet doll cap for beginners, which suggests the shaping and stitch flow are kept simple enough for newer crocheters to follow comfortably.
Size and Fit Guide
The easiest way to size a doll hat is to check it directly against the doll as you work. Measure around the doll’s head if you can, then compare that measurement to the circle and hat body as it grows. If the top is too small, add more growth before building the sides. If it already looks wide enough, move on to the body sooner. Small projects change size quickly, so checking often makes a big difference. If you are making the hat for an amigurumi doll, it also helps to compare the fit gently over the head so the hat sits neatly without stretching too much.
Stitches Used
Because the selected tutorial is presented as an easy beginner doll cap, it appears to rely on simple stitches and basic shaping rather than advanced techniques. You can expect the project to use stitches such as:
- Chain
- Slip stitch
- Single crochet or another simple body stitch
- Basic increases
- Simple joining or finishing stitches
The overall feel is that of a straightforward amigurumi-style accessory tutorial rather than a highly decorative lace project.
How to Make It
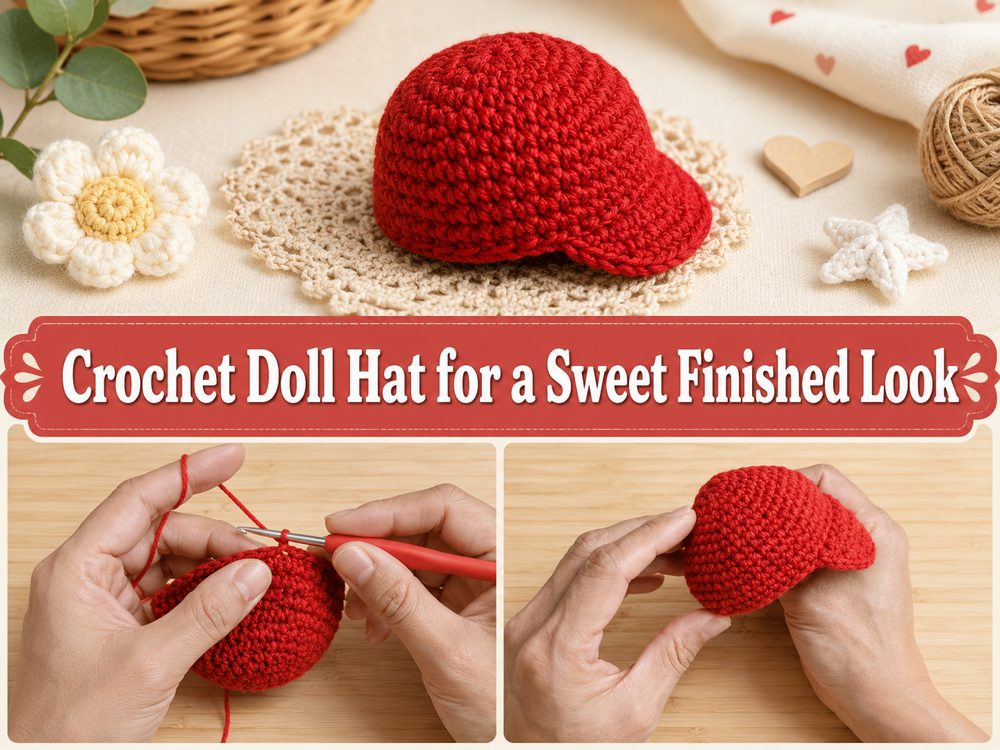
Step 1: Start the Top of the Hat
A doll hat often begins at the crown, where you create a small starting circle or center point and begin building outward. This is a great way to shape a tiny cap because it lets you control the width from the top down. Keep the opening neat and your first stitches even. On a miniature project, the beginning really matters because any unevenness will show up quickly.
Try not to rush the first round. Once the top center looks tidy, the rest of the hat usually becomes much easier to manage.
Step 2: Increase to Build the Crown
After the center is started, continue increasing to form the top of the hat. This is the stage where the piece grows from a tiny circle into the crown area that will sit over the doll’s head. You want this part to lie flat and round, not cup too early and not ruffle outward.
Check the shape as you go. If it starts curling too soon, it may need more width before you move down into the sides. If it starts wavering, the growth may be happening too quickly. A neat, balanced crown gives the whole hat a better finished look.
Step 3: Compare the Size to the Doll
Before moving into the body of the hat, hold the top against the doll’s head. This is one of the best moments to check fit because it helps you decide whether the crown has reached the right width. On a doll project, even a tiny difference can matter.
If the top still looks small, continue growing it a bit more. If it seems just right, you can start building the sides. Taking a moment here can save you from redoing the hat later.
Step 4: Build the Sides of the Cap
Once the crown is wide enough, continue working without adding extra width so the hat starts curving downward. This is where the cap begins to take shape and look like a true little hat. Because the selected tutorial is described as an easy crochet doll cap for beginners, this section is likely kept simple and repetitive, which makes it very relaxing to work.
As you crochet, keep the stitches even so the sides look smooth. This stage tends to move quickly, and it is one of the most satisfying parts because you can really see the hat becoming wearable.
Step 5: Adjust the Depth
The next thing to watch is the depth of the hat. A shallow hat can sit like a little cap, while a deeper one can look cozier and cover more of the doll’s head. Decide which look you want and keep checking the fit against the doll.
For a simple cap style, stop once the hat sits neatly and looks balanced. If you want more coverage, add a bit more depth before finishing. This is an easy place to personalize the final style without changing the whole project.
Step 6: Add a Neat Edge
A simple finishing edge can make a doll hat look much more polished. Once the main shape is done, go around the bottom edge if needed to smooth it out and give the cap a clean finish. Keep this part relaxed so the edge does not pull too tightly.
Tiny accessories look best when the finishing is neat and light. Even a very simple border can make the whole hat feel more complete.
Step 7: Weave In Ends and Shape the Hat
When the crochet is finished, weave in all ends carefully. Small projects show bulky finishing quickly, so it helps to keep the inside neat. Then shape the hat gently with your fingers and place it on the doll to check the final fit.
The finished result should be a sweet little cap with a smooth top, even sides, and a clean edge. Since the selected tutorial presents it as an easy crochet doll cap for beginners, the final design is meant to be simple, adorable, and easy to use on amigurumi dolls.
Helpful Tips
- Check the fit often against the doll’s head.
- Use a smooth yarn so the tiny stitches stay visible.
- Keep the crown flat while increasing.
- Do not rush the finishing edge.
- Weave in ends neatly because miniature projects show details clearly.
- Make a second hat in another color once you know the shape works well.
Common Mistakes to Avoid
- Increasing too much and creating a ruffled top
- Not increasing enough and making the crown cup too early
- Skipping fit checks while the hat is still growing
- Making the hat body too deep for the doll
- Using very bulky yarn for a tiny doll
- Pulling the bottom edge too tightly
Customization Ideas
This little project is very easy to personalize. You can make the hat in soft pastels for a sweet nursery look, brighter shades for a playful doll outfit, or classic neutrals for a timeless handmade style. A contrasting edge can make the cap stand out more. You could also add a tiny flower, bow, or small strap detail if it suits the doll’s style. Even changing the depth slightly can turn the same basic pattern into a different look.
Style Ideas
A crochet doll hat is lovely for amigurumi dolls, toy displays, gift sets, nursery shelf decorations, or handmade market items. It can be paired with a tiny doll dress, cardigan, scarf, or overalls to create a full miniature outfit. Because it is such a small project, it is also perfect for using special leftover yarn colors that you do not want to waste.
Care Instructions
Wash gently according to your yarn type and lay flat to dry. Reshape the hat lightly while it is damp so it keeps its smooth cap shape. Avoid high heat if you want the tiny stitches and structure to stay neat.
Time Needed
This may take under a couple of hours depending on your speed, yarn, doll size, and finishing choices. The selected tutorial presents the hat as a beginner-friendly accessory, so it is a fairly manageable small project rather than a long crochet session.
Conclusion
A crochet doll hat is a charming little project that gives you a lot of creative fun in a very small amount of time. It is simple, practical, easy to customize, and perfect for adding personality to a favorite doll or amigurumi figure. Whether you keep it plain or dress it up with color and tiny details, it is the kind of miniature crochet piece that feels joyful from start to finish.
FAQs
Is this beginner-friendly?
Yes. The selected tutorial is specifically described as a step-by-step crochet doll cap for beginners.
What kind of doll does it fit?
The selected video describes it as a cap for amigurumi dolls, so it is aimed at handmade doll-style figures rather than a full-size baby doll.
Can I adjust the size?
Yes. You can adjust the width at the crown and the depth of the hat as you compare it to the doll.
What yarn is best for this project?
A smooth lightweight or medium yarn usually works well because it keeps the stitches visible and the shape neat.
Is this a quick project?
Yes. A doll hat is a small project and should work up fairly quickly, especially once you know the fit you want.


