
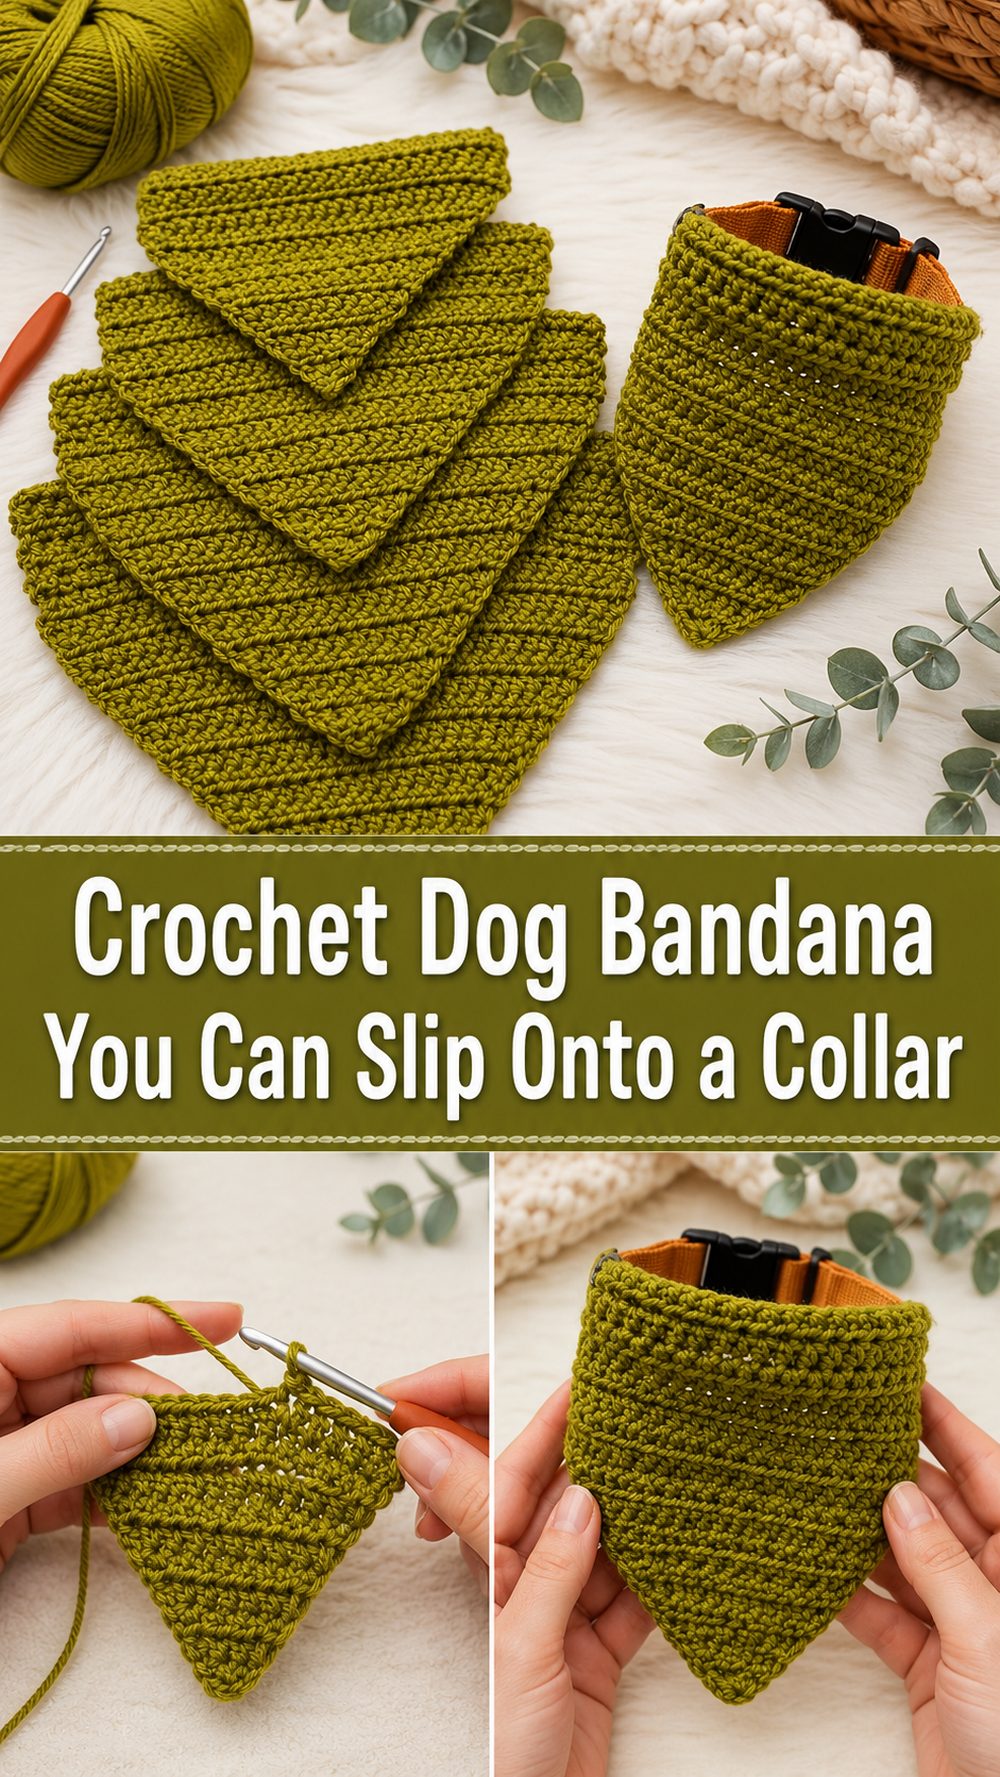
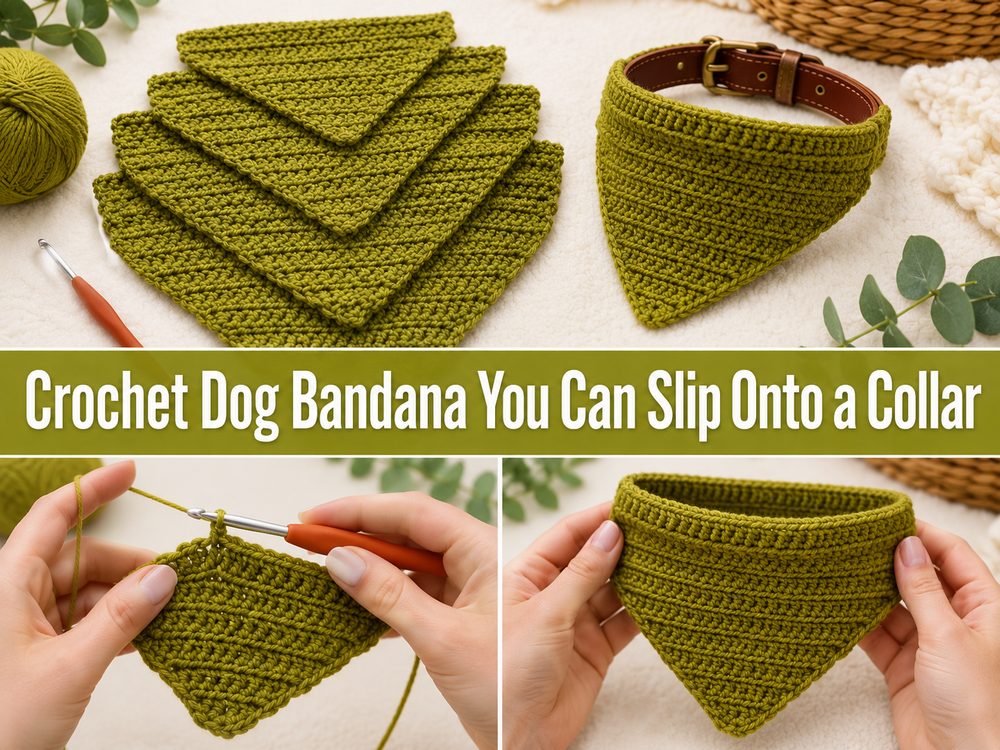
A crochet dog bandana is one of those small projects that feels extra fun because it works up quickly and makes such a cute difference. This style is especially nice if you want something handmade for your pet without committing to a big project. The tutorial I chose shows a simple triangle bandana made in one piece, and the finished design slides onto a collar, which makes it practical for everyday wear as well as special photos, holidays, or gift-making. It has that sweet handmade look, but it is still comfortable and easy to adjust for different pet sizes. Whether you are making one for your own dog, a cat, or a shelter donation, this is the kind of project that is easy to personalize with color, trim, and sizing.
Why You’ll Love This Project
This project is charming, useful, and refreshingly simple. The bandana is worked as a triangle and designed to slide onto a pet collar, so it stays in place more easily than a tie-on style. It is also a nice scrap-yarn project and a sweet way to make something personal for your pet.
Materials Needed
The tutorial shows an easy crochet pet bandana worked in one piece, so the supply list stays nice and simple.
You will need:
- Yarn
- Crochet hook
- Scissors
- Yarn needle
- Measuring tape
- Stitch marker if you like marking the center or edge points
Use a yarn and hook size that matches your desired fit and texture.
Best Yarn for This Project
A soft, comfortable yarn is best since the bandana sits right near your dog’s neck. Cotton is a lovely choice if you want a crisp shape and easy breathability, especially in warmer weather. A soft acrylic can also work well if you want something easy-care and gentle. Try to avoid anything too scratchy, heavy, or fuzzy, especially for smaller pets. Since this style slides onto a collar, a yarn with a little structure can help the bandana keep its shape nicely. The tutorial emphasizes comfort, so a smooth, pet-friendly yarn makes the most sense here.
Skill Level
This is beginner-friendly. The project is small, practical, and easy to customize, which makes it a nice choice for newer crocheters. The one-piece construction also keeps things simple because you are shaping as you go instead of making separate pieces and joining them later.
Size and Fit Guide
This style is easy to adjust because you can make the triangle larger or smaller depending on your pet’s neck size and the look you want. A good way to size it is to measure your dog’s collar or neck area first, then crochet the bandana body until the width looks right beneath the collar. Since the tutorial uses a slide-on collar casing, you will also want to make sure the top opening is roomy enough for the collar you plan to use. Check the fit before finishing so the bandana can sit flat and comfortably without bunching.
Stitches Used
The tutorial page does not clearly list every stitch in the search snippet, so it is best to keep this flexible and follow the demonstrated stitches in the video itself. From the project style, you can expect basic foundation work, shaping stitches, and finishing techniques suitable for a beginner-friendly triangle bandana.
How to Make It
Step 1: Start the Foundation
This bandana is made as a triangle, so you begin by creating the starting point for the shape and then build outward. Because the tutorial describes it as a one-piece design, you do not have to worry about making separate front and back pieces. Instead, you are setting up the project so the triangle grows as you work. Keep your opening stitches neat and not overly tight, since the beginning point helps the bottom tip of the bandana look clean.
Step 2: Build the Triangle Shape
Once the foundation is in place, continue crocheting in rows to form the triangle. This is where the project starts to feel satisfying, because you can quickly see the bandana taking shape. In a project like this, the shaping usually comes from repeating the same row idea while allowing the triangle to widen evenly. Try to keep your tension consistent so both sides of the bandana grow neatly and look balanced. If one edge starts looking tighter than the other, pause and check where your turning and edge stitches are landing. The goal is a smooth triangle that sits nicely against your pet’s chest.
Step 3: Keep Checking the Size
One of the best things about a crochet dog bandana is how easy it is to customize. The selected tutorial specifically presents it as suitable for dogs or cats and easy for pet wear, so you can stop once the triangle reaches the size you like. Smaller pets may only need a short depth, while larger dogs can carry a longer, fuller bandana beautifully. Hold the piece up against the collar or your pet’s neck area as you work to decide whether you want a tiny everyday bandana or a more noticeable statement shape.
Step 4: Form the Collar Casing
The key feature of this tutorial is the casing that lets the finished bandana slide onto a collar. That detail makes the project especially practical, because it helps the bandana stay put while your pet moves around. After the triangle body is the right size, the top edge is used to create that casing section. Work neatly here, because this part needs to be functional as well as tidy. Before fully finishing, double-check that the collar can pass through the opening comfortably. You want enough room for easy sliding, but not so much that the top edge looks floppy.
Step 5: Check the Fit Before Finishing
Before weaving in your ends, thread the collar through the casing and see how the bandana hangs. This is the moment to decide whether you want to adjust the depth, top edge, or overall drape. The bandana should sit flat under the collar and feel secure without twisting. If it looks too bulky, use a lighter yarn next time or stop sooner on the triangle section. If it looks too small, add a bit more depth before completing the casing. Because the design is simple, small adjustments can make a big difference in the finished fit.
Step 6: Finish the Edges
Once the shape and fit look right, finish off and weave in the yarn ends carefully. Take a minute to smooth the triangle and make sure the point hangs straight. If your edges look slightly wavy, gentle blocking can help. The final look should be a neat triangle bandana with a practical top channel that slides onto the collar easily. The result is cute, wearable, and comfortable enough for regular use.
Helpful Tips
Use a soft yarn that feels comfortable against your pet’s neck. Since this bandana is meant to be worn, comfort matters as much as appearance. The slide-on collar style is one of the most useful parts of the design, so always test the collar opening before finishing. Keep your edges even, and if you are making more than one, write down your stopping point so matching bandanas turn out the same size.
Common Mistakes to Avoid
A common mistake is making the collar casing too tight, which can make it hard to slide the collar through. Another is crocheting the triangle larger than needed without checking the fit as you go. Uneven edge tension can also make the bandana look lopsided. Some crocheters choose yarn that is too stiff or scratchy, which is not ideal for pet wear. And finally, do not skip weaving in ends securely, especially for something your pet may wear on walks or during play.
Customization Ideas
This style is easy to personalize. Try a solid color for a clean everyday look, or use bright yarn for a playful finish. You can add a simple border, a scalloped edge, or even seasonal colors for holidays and birthdays. For a lighter summer feel, use cotton and keep the triangle a little smaller. For a fuller look, continue the triangle a bit longer before making the collar casing. Since the design is simple and wearable, it is also a great base for adding tiny appliqués or embroidered initials.
Style Ideas
A crochet dog bandana looks adorable for daily walks, family photos, birthdays, holiday gatherings, and handmade gift baskets for pet lovers. It also works well for shelter donations because it is quick, useful, and easy to adjust. You can match the bandana to a leash, sweater, or even your own crochet accessory for a cute coordinated look.
Care Instructions
For best results, wash gently by hand or use a delicate cycle if your yarn allows it. Lay flat to dry so the triangle keeps its shape. Avoid high heat, especially with acrylic yarns. If the bandana starts to curl after washing, reshape it while damp and let it dry flat.
Time Needed
This may take a few hours depending on your speed, yarn, size, and stitch pattern.
Conclusion
This crochet dog bandana is a lovely little project when you want something fast, practical, and genuinely cute. The one-piece triangle design and slide-on collar casing make it especially wearable, and it is easy to adjust for different pets and different styles. Pick a yarn that feels soft, choose a color you love, and make the size that suits your pet best. It is a small project, but it adds a lot of handmade charm.
FAQs
Is this beginner-friendly?
Yes. It is a small, simple project with a practical shape and easy customization.
Can I make it for a cat too?
Yes. The selected tutorial specifically notes that the bandana can work for a dog or cat.
How do I adjust the size?
Keep working the triangle until it reaches the depth and width you want, then make sure the collar casing fits your chosen collar.
What yarn is best?
A soft cotton or soft acrylic is a good choice. Comfort and washability matter most for pet accessories.
How does it stay on?
This design includes a casing so the bandana slides onto the collar instead of tying around the neck.


