
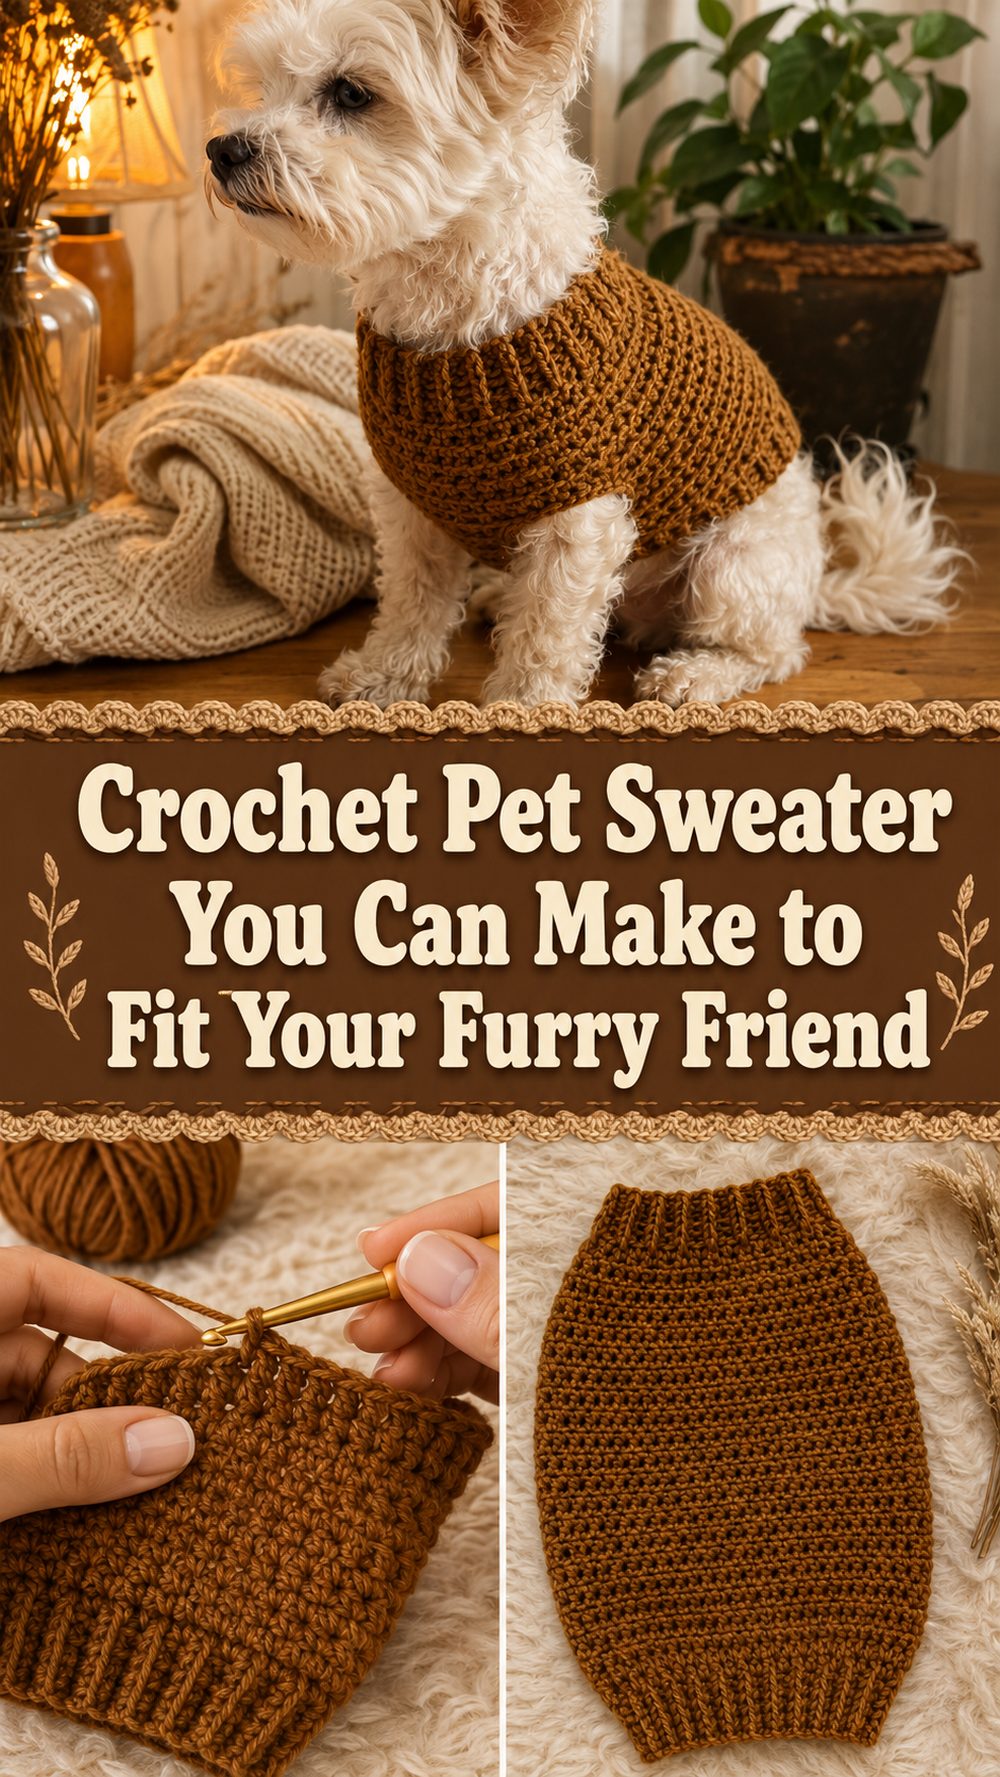
A crochet pet sweater is one of those projects that feels both practical and adorable. It gives your pet a little extra warmth, adds a handmade touch, and lets you create something that feels truly personal. The tutorial I selected teaches a customizable sweater, which is especially helpful because pets come in all shapes and sizes. Instead of forcing one fixed pattern onto every dog or cat, this style is meant to be adjusted as you go for a better fit. That makes it a great choice if you want something cozy for cool days, cute for photos, or just fun to make for your favorite furry companion. It is also a nice project for crocheters who want a wearable item without jumping straight into a full human sweater.
Why You’ll Love This Project
This sweater is appealing because it is cozy, customizable, and beginner-friendly. The selected tutorial presents it as a step-by-step pet sweater that can be adjusted to fit, which makes it much more practical than a one-size-only design. It is the kind of project that feels useful and sweet at the same time.
Materials Needed
This tutorial is described as a beginner-friendly crochet pet sweater, so the materials are the usual basics for a wearable crochet project.
- Yarn
- Crochet hook
- Scissors
- Yarn needle
- Measuring tape
- Stitch markers if you like marking sections or fit points
Use a yarn and hook size that matches your desired fit and texture.
Best Yarn for This Project
For a pet sweater, soft and comfortable yarn is usually the best choice. If you want warmth for cooler weather, a soft acrylic or wool blend can work nicely. If you are making a lighter version, go for a smoother yarn that does not feel bulky or stiff. Since this sweater is meant to fit your pet rather than just sit loosely like a bandana, you want a yarn that feels gentle, flexible, and comfortable against the body. A yarn with decent stitch definition can also help the sweater look neat as the shape builds. This tutorial is described as cozy and easy, so comfort and wearability are the most important things to focus on.
Skill Level
This project is beginner-friendly. The selected tutorial is explicitly presented as a beginner-friendly, step-by-step sweater, which makes it approachable for crocheters who already know the basics and want to try a simple wearable item for a pet.
Size and Fit Guide
The nicest part of this tutorial is that it is described as customizable and made-to-measure. That means you are not locked into one exact size. Instead, you can measure your pet and adjust the sweater as you crochet so it fits more comfortably. This is especially useful for pets, because neck width, chest size, and body length can vary so much. As you work, check the fit around the neck and chest area, and continue until the body reaches the length you want. For the best result, try the sweater against your pet as you go whenever possible.
Stitches Used
The search result does not list the full stitch breakdown, so it is best not to guess at exact stitches. What is clear is that the tutorial is meant to be beginner-friendly and worked step by step, so the construction should be accessible for someone comfortable with basic crochet skills.
How to Make It
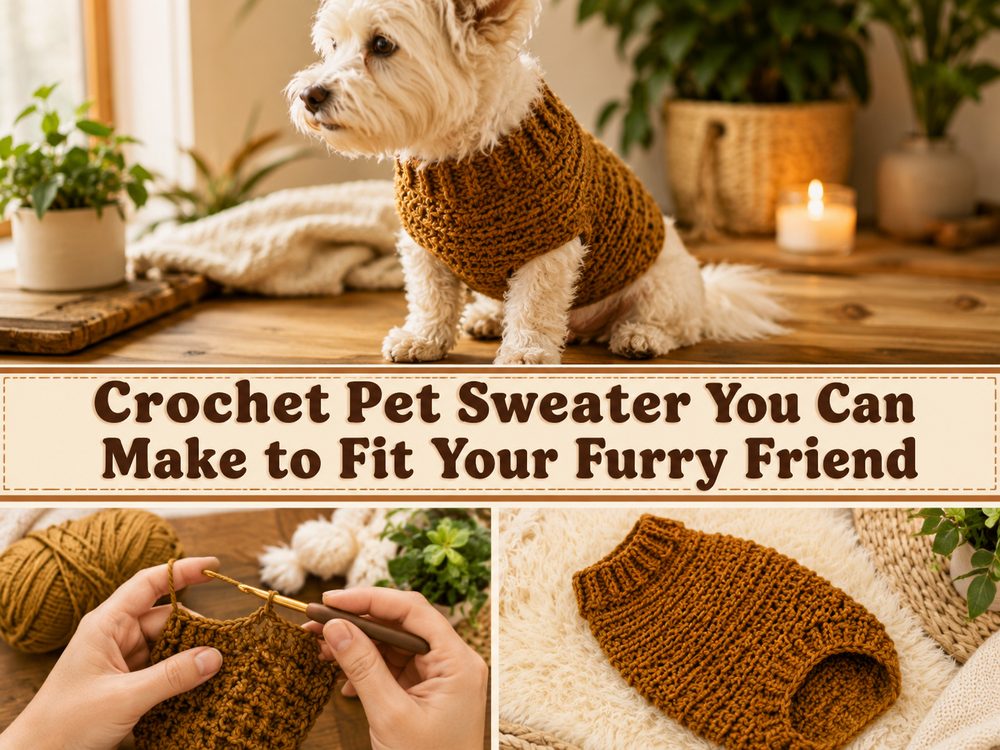
Step 1: Measure Your Pet First
Before you begin crocheting, take a few basic measurements. Since this sweater is described as customizable, the fit is part of the whole idea. Measure around the neck, around the chest, and along the body so you have a general sense of how snug or loose you want the sweater to be. You do not need to obsess over perfect numbers, but it helps to know whether your pet needs a shorter, slimmer sweater or a roomier one. This makes the whole project feel more personal and more practical right from the beginning.
Step 2: Start the Sweater at the Top
Because the tutorial is described as made-to-measure and beginner-friendly, the sweater is meant to be built in a way that lets you control the fit as you go. Starting at the top section is a very practical approach for a pet garment because it gives you an early chance to see how the neckline is shaping up. Keep your opening comfortable rather than tight. You want it to sit neatly without feeling restrictive around your pet’s neck. A clean, even beginning will also make the whole sweater look tidier once finished.
Step 3: Build the Chest and Body Area
As the sweater grows, the main goal is to shape it so it rests well over your pet’s body. This is where the made-to-measure part becomes especially helpful. Rather than relying on one fixed pattern size, you can keep checking the width and depth against your pet’s shape. For a small pet, you may only need a short body and a gentle amount of shaping. For a longer pet or one with a broader chest, you can continue further until the sweater looks balanced and comfortable. Try not to rush this stage. The best-looking pet sweater is usually the one that has been checked and adjusted as it grows.
Step 4: Make Sure Movement Stays Comfortable
A pet sweater should look cute, but it also needs to let your pet move naturally. As you build the piece, keep an eye on how the sweater will sit around the front of the body. You want enough structure for warmth, but not so much bulk that it feels stiff or awkward. If the fabric seems heavy, a softer yarn or a slightly looser tension can help. This is one reason a customizable tutorial is so useful: you can stop, hold the piece up, and decide what feels right for your pet instead of forcing the project into a rigid shape.
Step 5: Adjust the Length
Once the upper fit looks right, continue working until the sweater reaches the body length you want. Some pets look best in a shorter sweater that covers just enough for comfort, while others suit a longer style for extra warmth. This is another place where checking as you go matters more than strict row counting. The goal is not just to finish the sweater, but to make one that suits your pet’s body and still feels easy to wear. If you are making it for a cat, kitten, puppy, or smaller dog, you may want to keep the length shorter and lighter. For a slightly larger pet, you can extend the body until it looks balanced.
Step 6: Finish the Edges Neatly
A sweater always looks better when the edges are clean and tidy. Once the main shape is complete, finish off carefully and weave in the ends well. Since pets move around a lot, secure finishing matters. Loose ends can work their way out over time, especially if the sweater gets regular use. Smooth the sweater with your hands and check that the shape looks even from front to back. A gentle block can help settle the stitches if needed, but keep the overall feel soft and wearable. This project is described as cozy, so the final result should feel comfortable rather than stiff.
Step 7: Try It On and Fine-Tune the Fit
Before calling it done, place the sweater on your pet and see how it sits. Check the neck, chest, and body length. Make sure it looks balanced and does not seem too snug. A handmade pet sweater is at its best when it feels natural on the animal, not when it simply looks good lying flat. If you notice that the body could be a little longer or the fit could be roomier next time, make a quick note for your next version. Since this tutorial is meant to be customizable, that kind of adjustment is part of the project and not a mistake.
Helpful Tips
Use a soft yarn that feels comfortable on the body. Measure before you start, and keep checking the fit as you crochet. Do not make the neckline too tight, and do not let the body become too bulky for a small pet. Stitch markers can help if you want to keep shaping points neat. Because the tutorial is made-to-measure, it also helps to jot down what worked once you get a good fit, especially if you want to make another sweater later.
Common Mistakes to Avoid
One common mistake is starting with a neck opening that is too tight. Another is making the sweater longer than the pet really needs without checking the fit during the process. Using yarn that feels scratchy or heavy can also make the finished sweater less comfortable. Uneven tension may create a sweater that pulls in some places and stretches awkwardly in others. It is also easy to focus only on looks and forget that the sweater needs to allow comfortable movement. Since this tutorial is based on customization, skipping the measuring and fit-checking stage is probably the biggest mistake of all.
Customization Ideas
This sweater is a great base for simple personal touches. You can change the color to suit your pet, make it longer for extra warmth, or keep it short for a lighter everyday layer. A solid color gives a clean classic look, while stripes can make it feel playful. You could also add a neat edging around the neckline or hem if you want a slightly more polished finish. Since the tutorial is customizable, it naturally lends itself to little fit and style changes.
Style Ideas
A crochet pet sweater is lovely for cool-weather walks, family photos, holiday gatherings, or just cozy days at home. It also makes a sweet handmade gift for a pet owner. You can make one in simple neutral shades for everyday wear or choose bright colors for something more cheerful and eye-catching.
Care Instructions
Hand washing is usually the safest option for a crochet pet sweater, especially if you want to keep the shape looking neat. Lay it flat to dry and avoid high heat. If your yarn allows machine washing, use a gentle cycle and reshape the sweater while it is drying. Soft handling helps the sweater stay comfortable and wearable for longer.
Time Needed
This may take a few hours depending on your speed, yarn, pet size, and stitch pattern.
Conclusion
A crochet pet sweater is such a satisfying little project because it combines comfort, usefulness, and handmade charm. The tutorial I selected is especially appealing because it is beginner-friendly and customizable, which makes it much easier to create something that actually fits your pet well. Take your time with the measuring, keep the yarn soft and comfortable, and enjoy adjusting the sweater to suit your furry friend. The finished piece can be simple, cozy, and incredibly cute.
FAQs
Is this beginner-friendly?
Yes. The selected tutorial is described as beginner-friendly and step by step.
Can I adjust the size?
Yes. The tutorial is described as customizable and made-to-measure.
Is this only for dogs?
The selected video is presented as a pet sweater tutorial, and the made-to-measure approach is what makes it flexible.
What yarn works best?
A soft, comfortable yarn is best, especially one that feels gentle and wearable for your pet.
How do I make it more comfortable?
Measure first, avoid making it too tight, and keep checking the fit while you work. The customizable approach is the biggest help here.


