
A simple crochet summer top is such a fun project for warm weather. It’s lightweight, wearable and easy to style with everyday essentials. This tutorial offers a step-by-step tee with a simple construction that keeps the project accessible.
Reasons You Will Love This Project
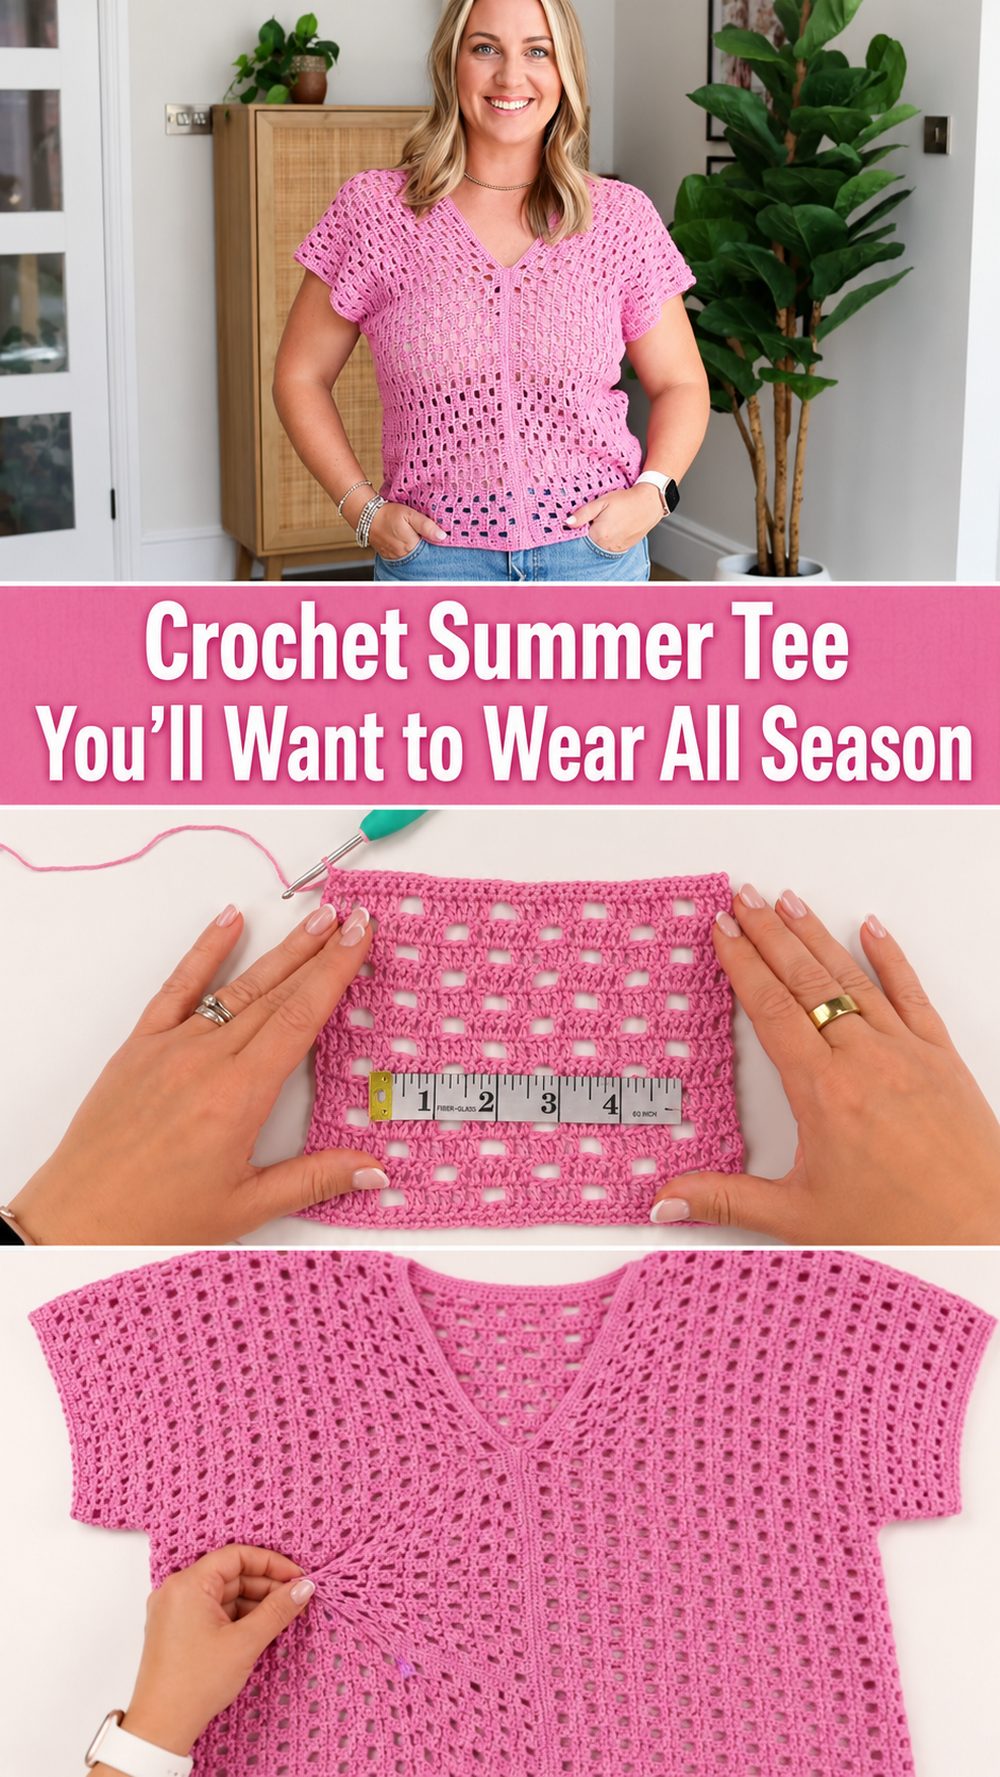
This project is perfect for summer, as it makes you a light handmade top that looks casual and easy to wear. This tutorial is for a simple step by step summer top. The construction is two oblong pieces with seaming so it is far less intimidating than heavily shaped garments.
What you need
- Yarn
- Crochet hook Scissors
- Needle for yarn
- Stitch markers
Choose any yarn and hook size that gives you the fit and texture you want.
The Best Yarn for This Project
Summer tees tend to work best in soft, breathable yarns. If you want something light, cool and comfortable to wear, cotton or cotton blends are a good choice.
Skill Level
Easy and beginner friendly. This tutorial is for an easy summer top with a step by step tutorial.
Size & Fit Guide
You can customise this top by varying the width and length of your main pieces before seaming. Keep going until you have achieved the size you want and give it a try against your body or a similar shirt as you go to get a fit you like.
Stitches Used
The tutorial description only clearly suggests simple stitches, but not the exact stitch list is fully clear from the available preview, so it is best to follow along directly as you crochet.
How to Prepare It

Begin the Foundation
First make the first main panel. Work in rows. Build the fabric until you have one long oblong.
Make the Second Part
Make a second matching oblong. Keep your tension so that both pieces look and feel the same.
Modify the Size
As you go, hold the pieces up and adjust the width or length as needed. Continue until it works for you as a loose summer tee.
Join or Create
When both are ready, sew them together to make the top. The tutorial uses an easy seaming technique with the two oblong construction which helps keep the shaping simple.
End of Edges
Snip off the ends and weave in the ends and give the top a light shape so it sits well before wearing.
Helpful Hints
- Don’t wait until the end to check your fit, check it early.
- Place stitch markers to keep both sides even.
- Lay the two pieces flat together often, to judge the size.
- Neatly work in ends for a clean finish.
- A light block will help the top relax and drape better.
Frequent Mistakes to Avoid
- Differentiate the front and back size
- Crochet too tight for a summer garment
- Not checking fit as you go along
- Seaming before comparing both pieces.
- Skipping the last shaping and finishing
Customisation Suggestions
You can cut it shorter for a cropped look or longer for more coverage. Or a colour change, a contrast piping, or a softer drape can also change the feel of it. You could even do the same in bright summer colours or classic neutrals.
Style Inspiration
Pair it with denim shorts, linen trousers or a flowy skirt for an easy warm-weather look. It also layers perfectly over a tank, bralette or bathing suit for beach days and vacations.
Care Instructions
Hand wash or machine wash in a gentle cycle in cool water. Shape when damp, lay flat to dry. Keep the fabric in shape and do not use high heat.
Time Required
This can take anywhere from a few hours depending on your speed, yarn, size and stitch pattern.
Conclusion
If you like something practical, pretty and wearable, this is a lovely crochet project for summer. It’s an easy construction, so it feels approachable, and the finished top is the kind of piece you can return to over and over.
FAQs
Can a beginner make this?
Yes, it looks suitable for beginners because it is presented as an easy step-by-step summer top.
Is this a good project for hot weather?
Yes. It is a summer tee project, so it is meant for lightweight warm-weather wear.
Do I need exact measurements to start?
No. You can adjust the size as you go and compare it to your preferred fit.
Can I use different yarn?
Yes, as long as it gives you the look and drape you want for summer.
Is the construction complicated?
Not really. The tutorial description says it is made from two oblongs with easy seaming.


