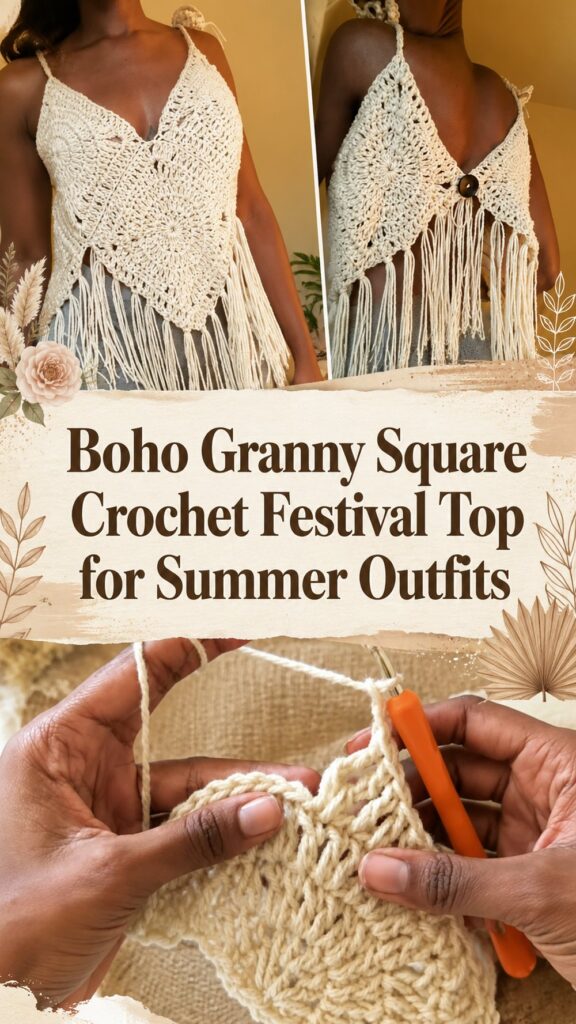
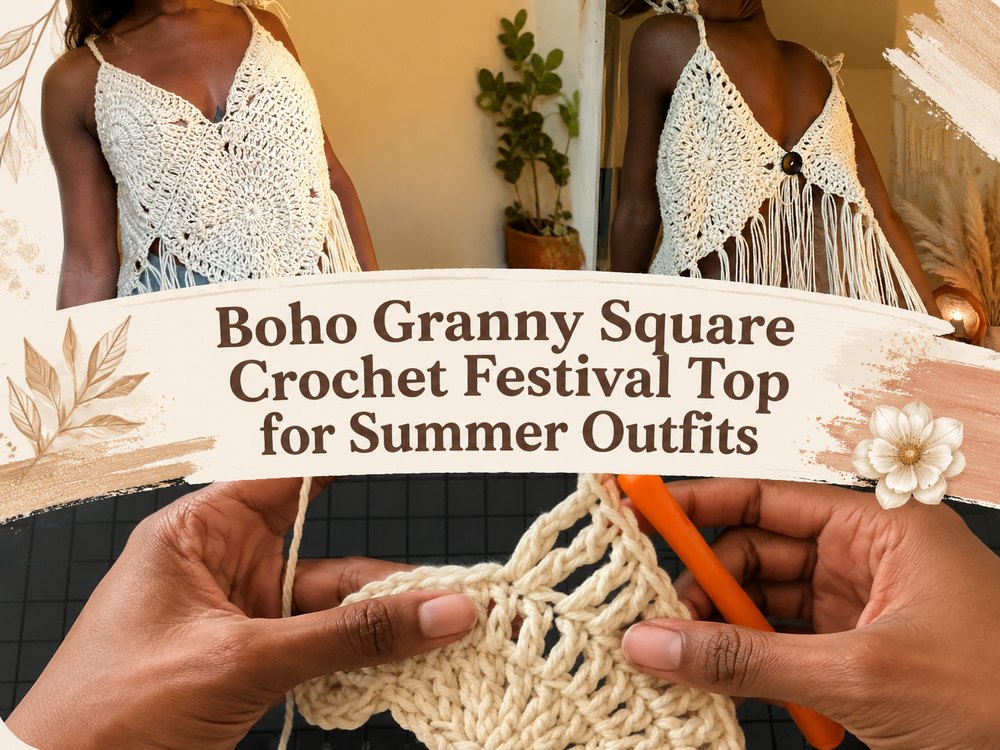
A cute handmade festival top is one of those projects that feels fun, relaxed and full of personality. Made with granny-style pieces, this crochet top has a boho vibe that’s perfect for summer days, music festivals, beach layers, or over a simple tank.
What You’ll Love About This Project
This project is fun, wearable and easy to personalize. You can choose to make it bright and colorful, keep it soft and neutral or add your own little details for a true handmade festival look.
What You’ll Need
- Thread Yarn Crochet
- Crochet hook
- Scissors
- Yarn needle
- Stitch markers (optional)
The size of the hook and the yarn depend on the fit and the texture.
What yarn works best for this project?
A cotton or cotton blend yarn would be a great choice for a crochet festival top because it feels breathable and holds the shape well. Softer acrylic blends can be used as well for a lighter and drapier finish.
Skill Level
Great for beginners with confidence.
Size & Fit Guide
This top is easily adjustable by changing the number of granny squares you make and how they are joined together. As you go, hold the pieces against your body. Keep going until it fits comfortably. If needed, you can adjust the straps and length.
Stitches used
- Chain
- Slip stitch
- sc – single crochêt
- Hdc (half double crochet)
- Double crochet
- Treble crochet
How to Make It
Begin the Foundation
First, make the granny-style pieces that will be the main body of the top. Work consistently so each piece is the same shape and tension.
Work the Main Section
Keep working the granny pieces until you have enough to cover the front and shape you want. Check the fit as you go to make sure the top is sitting comfortably.
Join or Create
Fit the pieces nicely together, lining up the corners and edges. Try the top on at this stage so you can adjust the placement before finishing everything securely.
Put the straps back on
Crochet ties or straps to help the top fit around the neck, shoulders, or back. Make them long enough so you can tie them comfortably without pulling too tight.
Finish Edges
Work the edges to clean up the shape and give the top a more finished look. Weave in all ends neatly, and trim off excess yarn.
Helpful Hints
Maintain your tension so the granny squares are even. Always join your pieces with stitch markers. Try the top on often when you are shaping. If the pieces need help laying flat, lightly block the finished top.
Common Errors to Avoid
- Doing granny pieces in different tension
- Join before you see if it fits
- Straps are way too short
- Tying the ties too tight
- Forgetting to securely weave in ends
Ideas for Customization
Try different colors for each granny piece, add fringe for a festival feel, make the straps longer, add a simple border or just use one solid color for a cleaner boho look.
Styling Tips
Throw this crochet festival top over denim shorts, a maxi skirt or pair with linen pants or layered over a fitted tank. It also makes an adorable beach cover-up type piece.
Care Instructions
Hand wash in cool water. Continue reshaping while damp and lay flat to dry. Don’t hang it while wet or the straps and body will stretch.
Time required
This can take a couple of hours depending on your speed, yarn, size and stitch pattern.
Conclusion
This crochet festival top is a fun way to make something wearable and stylish out of simple granny style crochet. It’s a fun project to play with color, fit and handmade summer fashion.
FAQ’s
Can beginners make this crochet festival top?
Yes, confident beginners can try it, especially if they are comfortable with basic crochet stitches.
Can I make this top larger or smaller?
Yes. Adjust the number of granny pieces, the joining, and the strap length until it fits your body.
What yarn works best for a festival top?
Cotton or cotton-blend yarn is a good choice because it is breathable and comfortable.
Can I add fringe?
Yes, fringe would suit the boho festival style nicely.
Do I need to block the finished top?
Blocking is optional, but it can help the pieces sit flatter and look neater