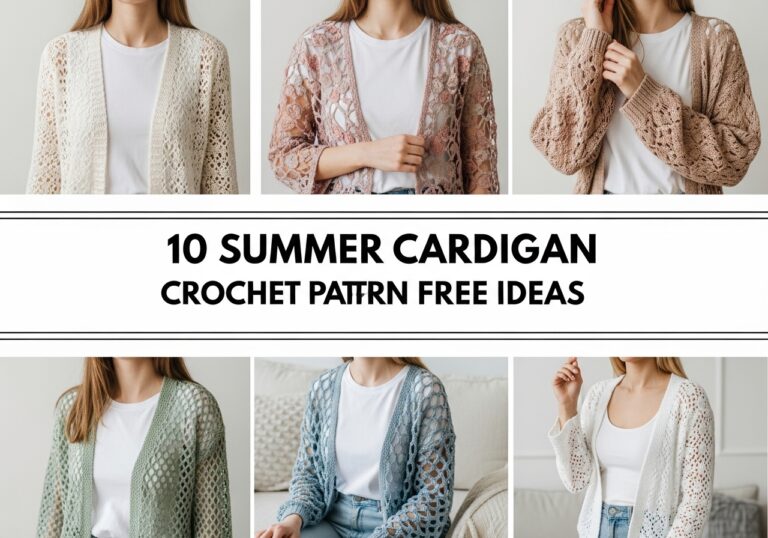
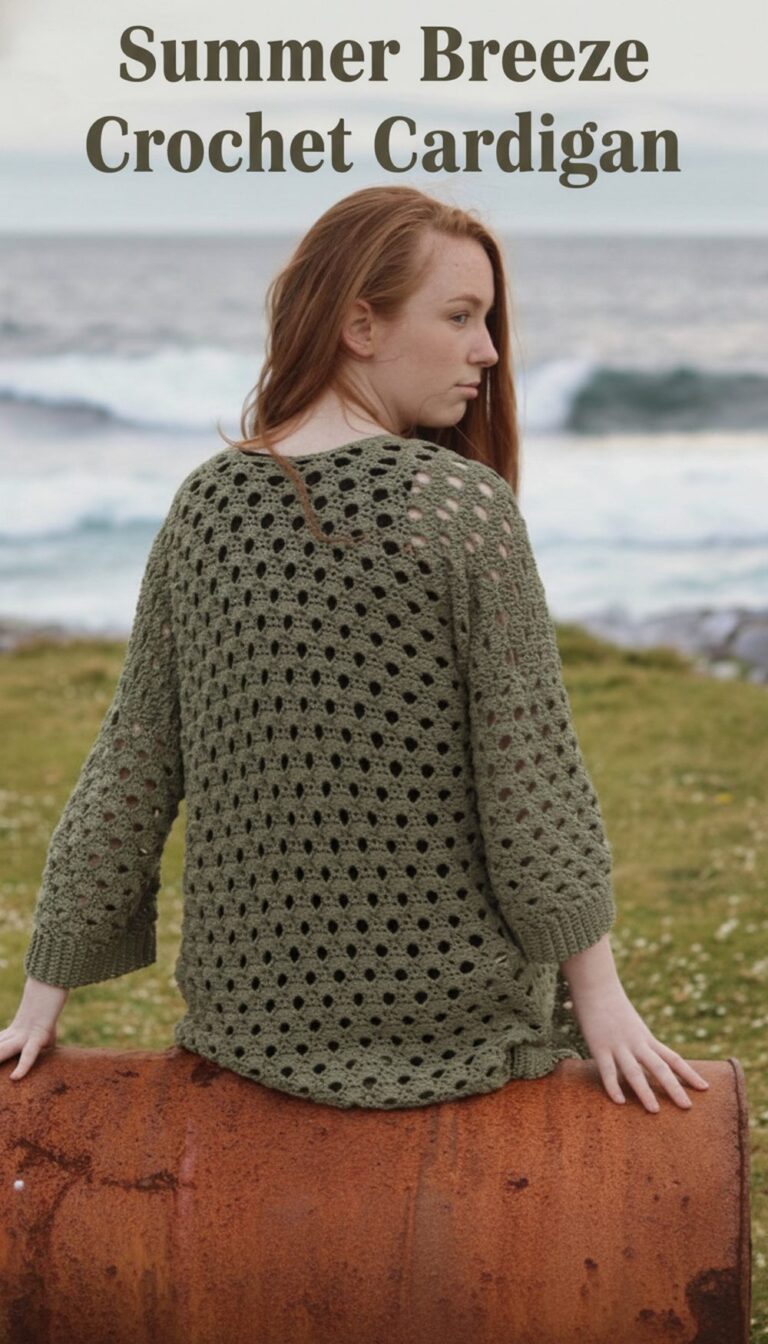
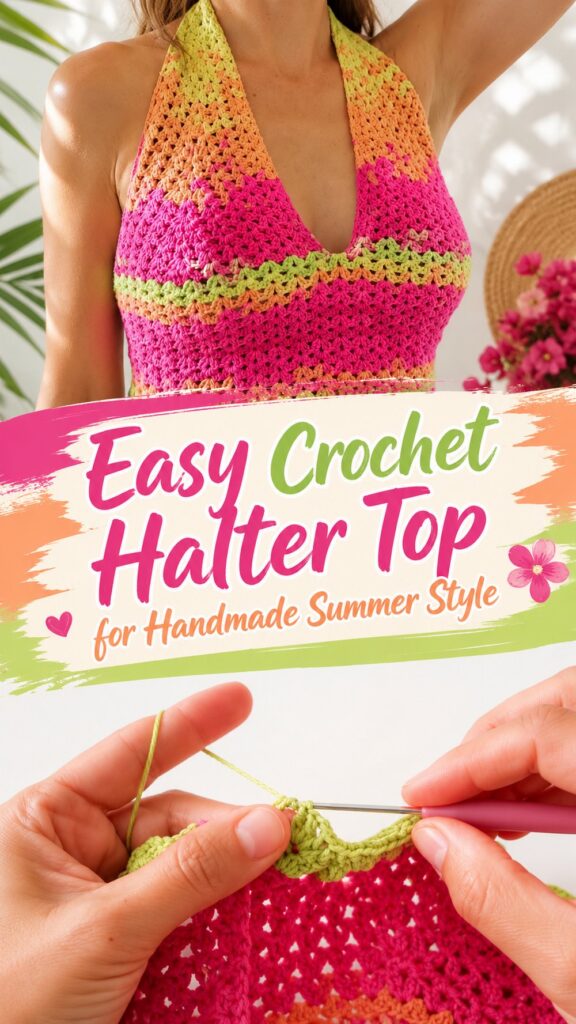
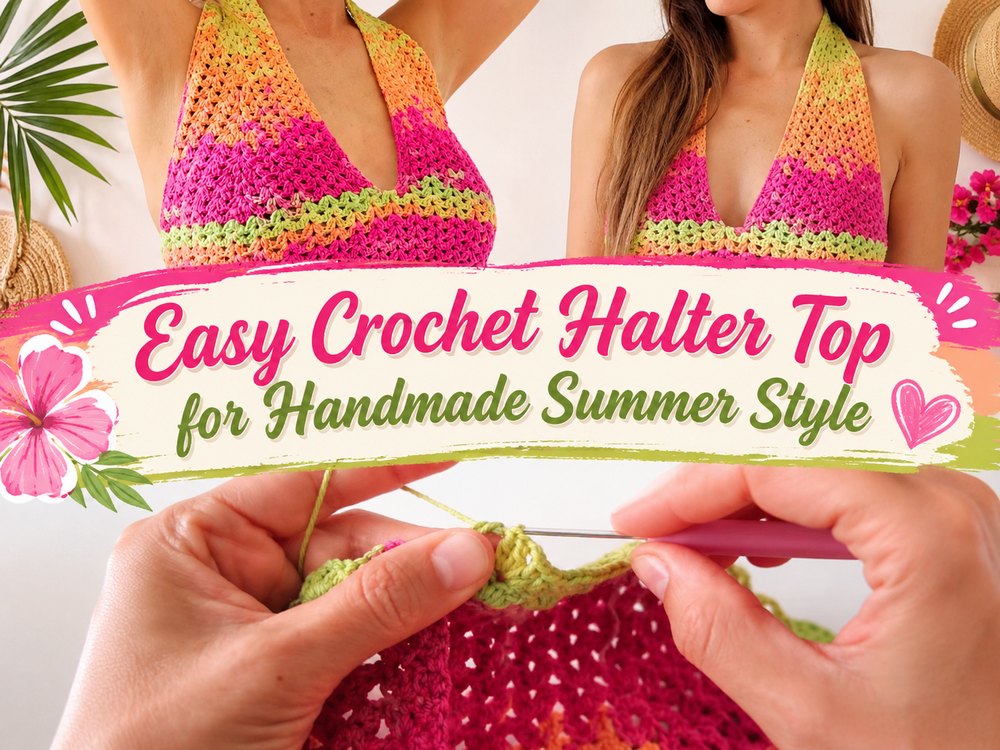
A crochet halter top is a fun warm weather project because it turns into something cute, wearable and easy to customize. This post is based on a beginner friendly halter top tutorial which shows a simple step-by-step approach and offers sizing flexibility for different fits.
Reasons to Love This Project
This is a great project if you want a stylish handmade top that feels creative but doable at the same time. It is a nice mix of simple crochet, easy shaping, and fit adjustments you can make as you go along.
You will need
- Thread
- Crochet hook
- Scissors
- Needle for yarn
- Marking Stitches
Choose a yarn and hook size that will give you the fit and texture you want.
What’s the Best Yarn for This Project?
A soft cotton or cotton blend yarn makes a lovely choice for a halter top as it will feel breathable and comfortable to wear. If you want more drape, pick a softer yarn. If you want more structure, pick a firmer cotton.
Skill Level:
Beginner friendly. This tutorial written as an easy step by step halter top for all sizes.
Size & Fit Guide
As you sew, you can hold the top against your body to adjust the fit. Increase or decrease the cup size as needed and keep working on the band and straps until the fit at the top feels snug and comfortable. Repeat until you are the size that you want.
Stitches Used
The tutorial is written as a basic beginner style project with simple crochet stitches and ties.
How to Make
Begin the Foundation
Build the front shape by adding the first section of the top. Work evenly and check the size early to get the fit right.
The Main Work
Continue crocheting the body of the halter top. Keep the tension even so that both sides look tidy and balanced.
Alter the Size
Frequently stopping and holding the piece up to check coverage and width. Add more rows or repeats until it fits the way you want .
Unite or Form
Once you have finished the main sections shape and connect the top as shown in the tutorial. Add the halter straps and the back ties to make it fit when you wear it.
Finish Edges
If desired, tidy up the edges with a basic finishing round and then carefully weave in all loose ends.
Useful Tips
- Twist the lid on as you go.
- Use stitch markers to keep sides even.
- Keep a loose tension so the fabric is comfortable.
- Weave in ends securely, especially on straps and ties.
- Blocking light can help smooth out the final shape.
Mishaps to avoid
- To make one side bigger than the other
- Tight pulling of the stitches
- Not checking fit along the way
- Reducing straps to too short
- Loose in high stress areas
Customization Suggestions
Make this top your own with striped colours, contrasting edging, longer ties, beads, lace trim or a little longer body. You could also add a simple border to give it a cleaner look.
Style Suggestions
This kind of top is wonderful with denim shorts, a maxi skirt, wide-leg pants or layered over a swimsuit. It’s also a cute handmade gift for summer.
Care Instructions
Hand wash gently when possible in cool water. Lay flat to dry. Reshape while damp. Do not hang wet or it will lose shape.
Length of time
This can take a couple of hours depending on your speed, yarn, size and stitch pattern.
Conclusion
This halter top crochet is a cute project for warmer days, and a fun way to make something that you can actually wear. Easy to personalize and a lot of fun to wear, this is a great piece to try in your favorite color.
FAQs
Can a beginner make this halter top?
Yes, this tutorial is designed to be easy and beginner-friendly.
Can I make it in my own size?
Yes. The tutorial is presented for all sizes, and you can adjust the fit as you crochet.
What yarn works best?
Soft cotton or a cotton blend is usually the most comfortable for a summer top.
How do I make it longer?
Keep adding rows or repeats until you reach the length you want.
Can I change the straps or back ties?
Yes, you can make them longer, shorter, thinner, or thicker depending on the look and fit you want.