Cute Crochet Strawberry Appliqué Pattern
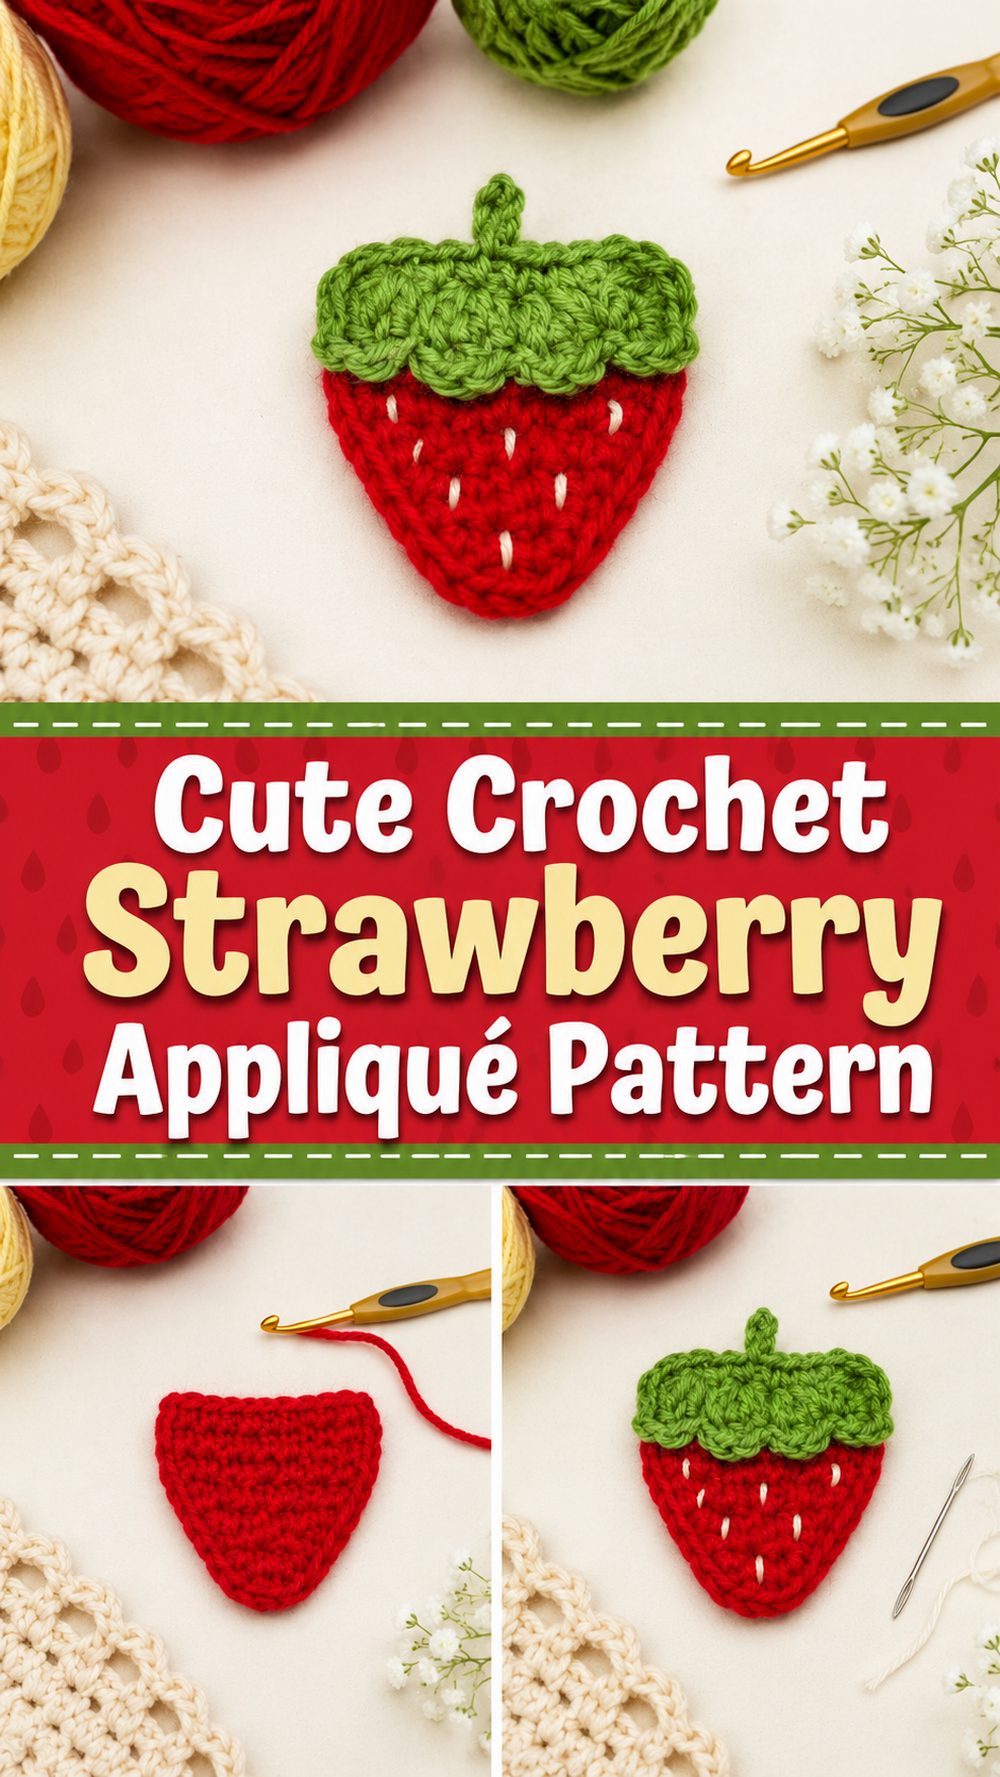
A crochet strawberry appliqué is one of those small projects that feels instantly charming. It is quick to make, easy to use in lots of different ways, and perfect when you want a cheerful little detail without starting a large pattern. This kind of project works beautifully on baby blankets, sun hats, tote bags, cardigans, pouches, and summer-themed crochet pieces. The YouTube tutorial I selected is presented as a full strawberry appliqué tutorial, which makes it a nice choice when you want a complete walk-through for a flat decorative motif rather than just a quick project preview.
Why You’ll Love This Project
This is a lovely little crochet make because it is cute, useful, and easy to add to other projects. A strawberry appliqué brings a playful handmade touch to simple items, and it is also a great way to use up small scraps of yarn from your stash. Since the selected video is a full tutorial, it is especially appealing for crocheters who want to follow one complete lesson from start to finish.
Materials Needed
You will need red yarn for the berry, green yarn for the leafy top, and a small amount of white or a light contrasting yarn if you want to add seed details. You will also need a crochet hook, scissors, and a yarn needle for weaving in the ends and sewing the appliqué onto your project. A stitch marker can also be helpful if you like to mark your starting point while working. If the exact yarn or hook size is unclear, use a yarn and hook size that matches your desired fit and texture. The selected YouTube tutorial is specifically for a crochet strawberry appliqué, so these are the core materials the project calls for.
Best Yarn for This Project:
A smooth yarn with good stitch definition works best for a strawberry appliqué because it helps the shape stay clear and makes the little decorative details stand out nicely. Cotton is a great option if you want the berry to hold its shape well and look crisp on bags, hats, or home décor. Soft acrylic can also work well if you want something easy to find and pleasant to crochet. Since this is a small motif, leftover yarn is often more than enough.
Skill Level:
This project feels suitable for beginners who already know a few basic stitches, as well as confident beginners who want a quick decorative make. Since it is a flat appliqué rather than a large wearable or stuffed item, it is a nice way to practice shaping, neat edges, and finishing in a smaller project. The video is labeled as a full tutorial, which supports that it is meant to teach the complete process.
Size and Fit Guide:
Because this is an appliqué, sizing is flexible. The easiest way to make it larger or smaller is by changing your yarn weight or hook size. Before attaching it permanently, place it on your blanket, bag, hat, or clothing item so you can see whether you want a tiny accent or a more noticeable focal point.
Stitches Used:
The exact stitch counts and full stitch order are best followed directly in the tutorial video. For a flat fruit appliqué like this, the project clearly involves building a shaped berry motif rather than a plain square or circle, so neat shaping and finishing will matter more than speed.
How to Make It
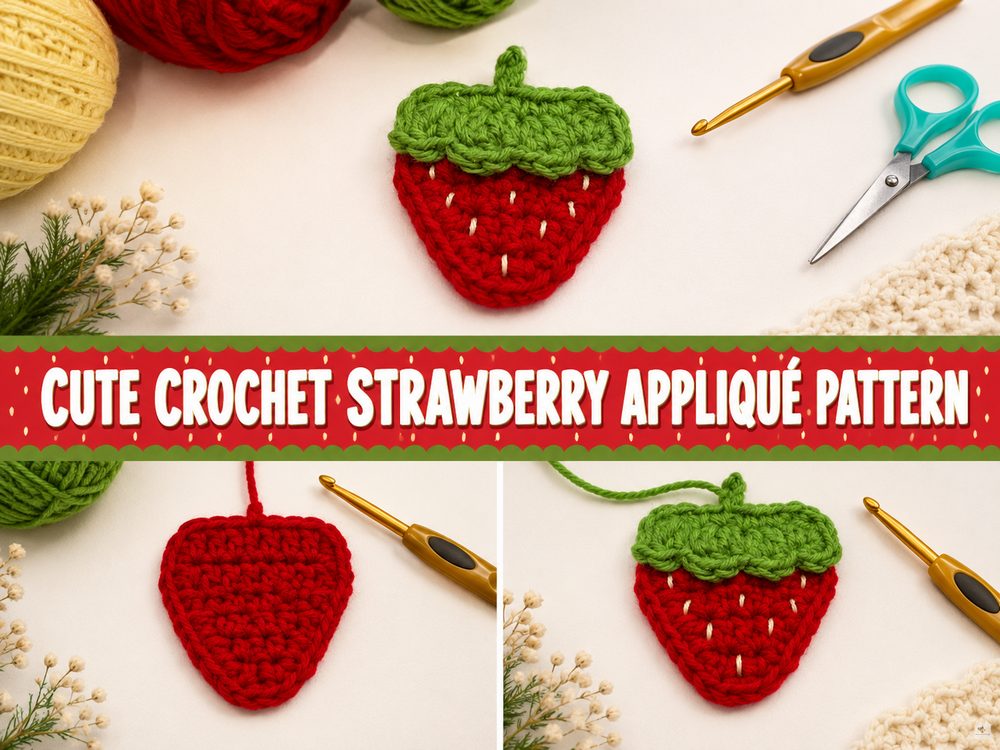
Step 1: Start the Berry Shape
This project begins as a flat motif, which is what makes it so useful for decorating other crochet items. Start with the red section that forms the main strawberry body. As you begin, focus on keeping your stitches even and your tension steady. Small appliqués show every little detail, so a neat start helps the whole piece look more polished in the end.
While working the body, pay attention to the overall outline. A strawberry usually looks sweetest when it has a gently rounded upper section and a slightly tapered lower point. You do not need to rush through this stage. It is better to pause and lay the piece flat every so often so you can check that the shape still looks balanced.
Step 2: Build the Main Body
Once the foundation is started, continue shaping the berry by following the tutorial’s stitch placement. This is where the appliqué begins to look clearly like a strawberry instead of a simple rounded motif. Keep the stitches tidy and watch the edges as you go. If the edges start pulling inward, your tension may be a bit tight. If the piece feels floppy or loses its shape, a slightly smaller hook can help the next time.
The main body is the part that gives the appliqué its personality, so let the shape guide you. You want it to feel soft and fruity rather than stiff or too geometric. Even if the tutorial’s exact counts are not written out here, the important thing is to keep checking that familiar strawberry silhouette while you crochet.
Step 3: Add the Green Leafy Top
The green top is what really finishes the strawberry look. Once the red berry section is ready, work the leafy cap as shown in the tutorial. This part usually gives the piece that fresh, garden-inspired feel, and it adds a lovely contrast against the red body.
Try to keep the green section neat and balanced. Since it sits right at the top of the motif, it frames the whole shape. If the leaves are too loose, they can droop. If they are too tight, they may pull the top of the berry inward. Gentle, even stitches help the top sit neatly without distorting the body.
Step 4: Add the Tiny Details
A strawberry appliqué often looks even sweeter with a few small finishing details. If the tutorial includes tiny seed accents, these may be added with light-colored yarn or simple embroidered touches. These little marks do not need to be heavy or crowded. A few well-placed details can do a lot to make the berry feel lively and recognizable.
This is also a good moment to step back and look at the appliqué from a little distance. Up close, everything can seem fine, but from farther away you can usually tell whether the shape feels balanced and whether the decorative details are evenly placed.
Step 5: Refine the Shape
Before weaving in the ends, smooth the motif flat with your fingers. Check the point of the berry, the curve of the sides, and the way the leafy top sits across the upper edge. If the piece curls slightly, it often means the stitches are too tight. If it feels too relaxed and wavy, your hook may be a little large for the yarn.
This kind of tiny project is forgiving, which is one of the reasons it is so enjoyable. If your first strawberry is not exactly how you pictured it, the second one usually turns out even better because you already know how the shape should develop.
Step 6: Finish and Attach
Once you are happy with the finished strawberry, weave in all the ends carefully on the back. Take your time here, especially if the appliqué will be attached to something that gets a lot of use, like a bag, child’s item, or blanket. Good finishing helps it stay secure and tidy over time.
To attach it, place the strawberry where you want it and move it around until the position feels right. It looks lovely near flowers, on corners, along borders, on pockets, or grouped with other fruit-themed appliqués. Sew it down neatly with a yarn needle so the edges stay flat and the finished motif looks clean and handmade.
Helpful Tips
Use smooth yarn so the berry shape and top leaves are easy to see. Keep your tension even, especially around the pointed bottom and leafy top, because those areas can affect the whole outline. If you plan to make more than one strawberry, finish the first one completely before starting the next so you have a visual guide for size and shape. Try placing the appliqué on your project before sewing it down permanently, since a small shift in position can make a big difference. Because the selected video is a full tutorial, it is a good one to follow slowly if you want to focus on shaping and finishing.
Common Mistakes to Avoid
One common mistake is making the stitches too tight, which can cause the berry to curl instead of lying flat. Another is rushing the green top so it pulls the upper edge out of shape. Some crocheters also add details too heavily, which can make the strawberry look crowded instead of fresh and simple. Uneven edges can also make the final shape look less tidy, so it helps to smooth the motif out as you go. And finally, do not skip careful finishing on the back if you want the appliqué to stay secure after attaching it.
Customization Ideas
There are lots of sweet ways to personalize this project. You can use a bright classic red for a traditional strawberry look, or go with a softer pink-red for something more playful. Add tiny seed accents for more detail, or keep it simple for a cleaner style. You could also turn it into part of a fruit collection by making matching appliqués in different colors and shapes. If you want a larger statement piece, use thicker yarn and a bigger hook. If you want tiny embellishments for baby items or hair accessories, go smaller.
Style Ideas
A crochet strawberry appliqué looks adorable on baby blankets, market bags, sun hats, aprons, pouches, cardigans, summer tops, and kitchen décor. It also works beautifully on picnic-themed or garden-inspired crochet projects. You can sew one onto a plain tote bag for a cheerful handmade touch, or scatter several across a blanket or cushion for a playful fruity theme.
Care Instructions
If the appliqué is sewn onto another item, follow the care instructions for that larger project first. In general, gentle hand washing is a safe choice for decorative crochet details. Lay the item flat to dry so the strawberry keeps its shape. Avoid high heat, especially with acrylic yarn, and be gentle with the leafy top and any embroidered details.
Time Needed
This may take a few hours depending on your speed, yarn, hook size, and how comfortable you are with small shaping and finishing details. Since it is a compact project, many crocheters will enjoy making it in one relaxed sitting.
Conclusion
A crochet strawberry appliqué is such a cheerful little project to keep in your crochet basket. It is quick, practical, and full of personality, and it gives you an easy way to brighten up all kinds of handmade items. Whether you add it to a bag, blanket, hat, or summer-themed gift, it brings a fresh handmade charm that feels light and joyful. Take your time with the shaping, enjoy the color contrast, and have fun turning a few scraps of yarn into something sweet.
FAQs
Is this beginner-friendly?
Yes, it is a nice small project for beginners who already know a few basic crochet techniques and want to practice shaping and finishing on an appliqué.
What yarn is best for a strawberry appliqué?
Smooth cotton works very well for a crisp shape, while soft acrylic is also a good option if you want something easy and flexible.
Can I adjust the size?
Yes. The easiest way is to change your yarn weight or hook size.
What can I attach it to?
You can sew it onto bags, blankets, hats, sweaters, pouches, nursery décor, and many other crochet or fabric items.
How do I make it look neater?
Keep your tension even, check the shape as you go, keep the leafy top balanced, and weave in the ends securely on the back.