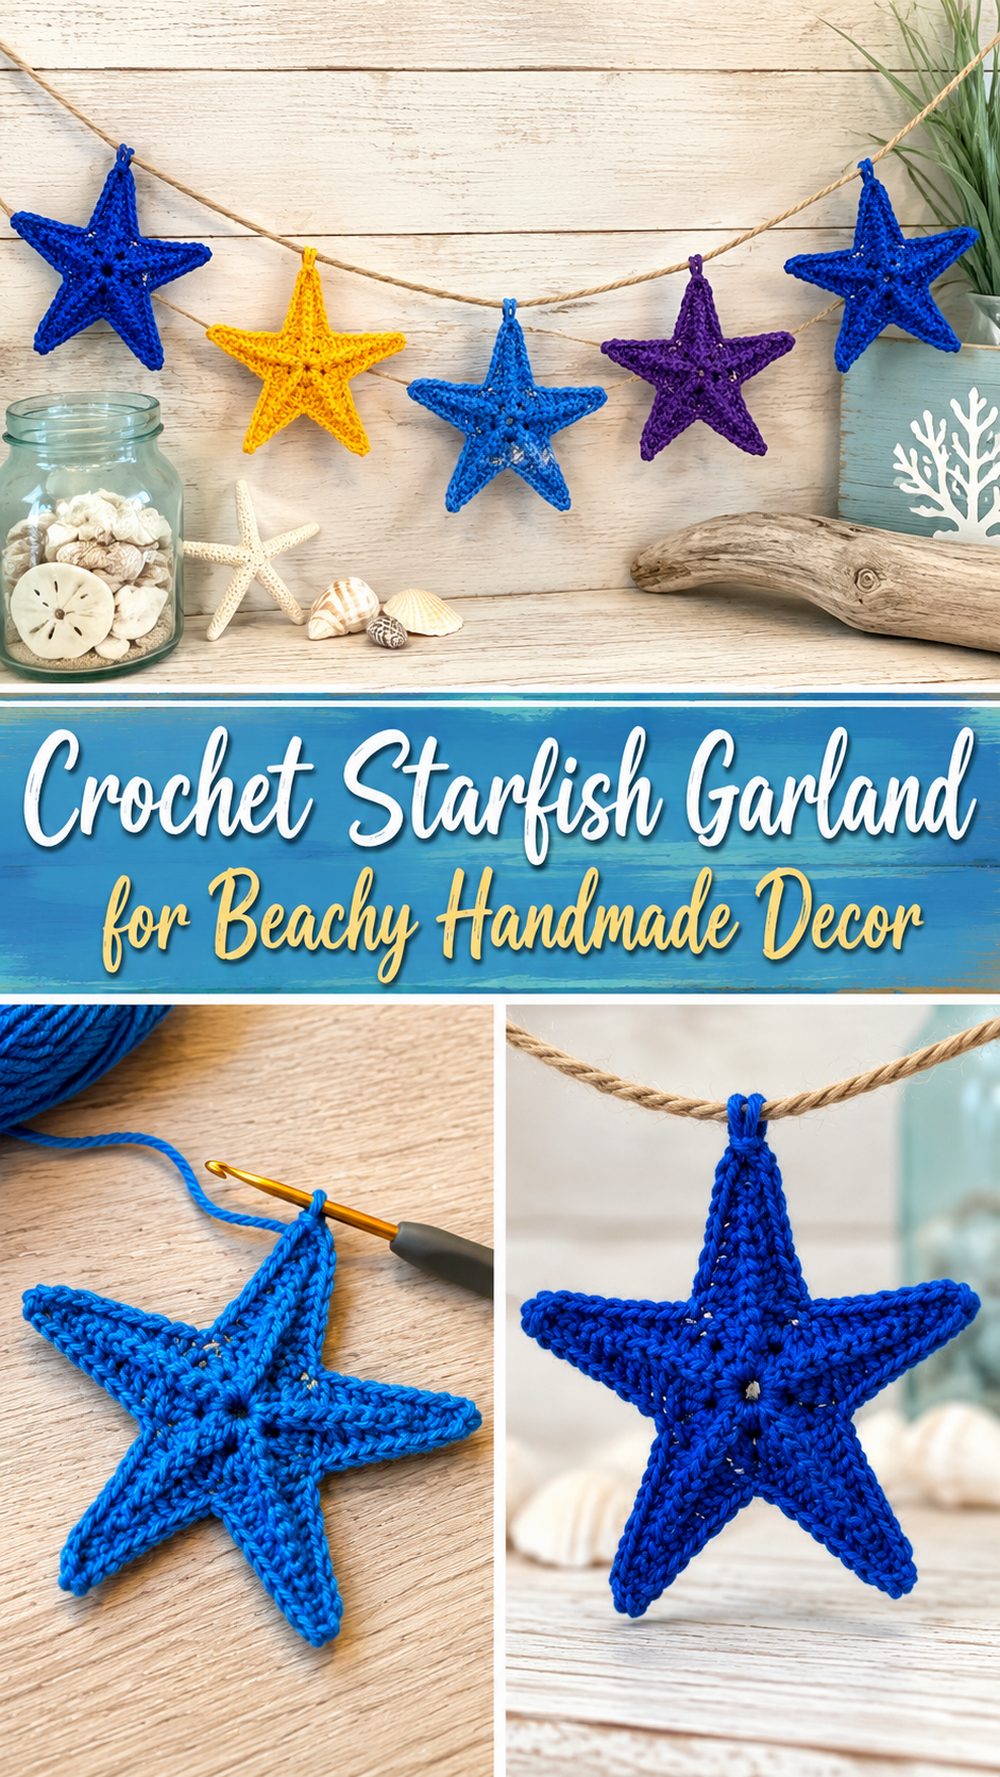
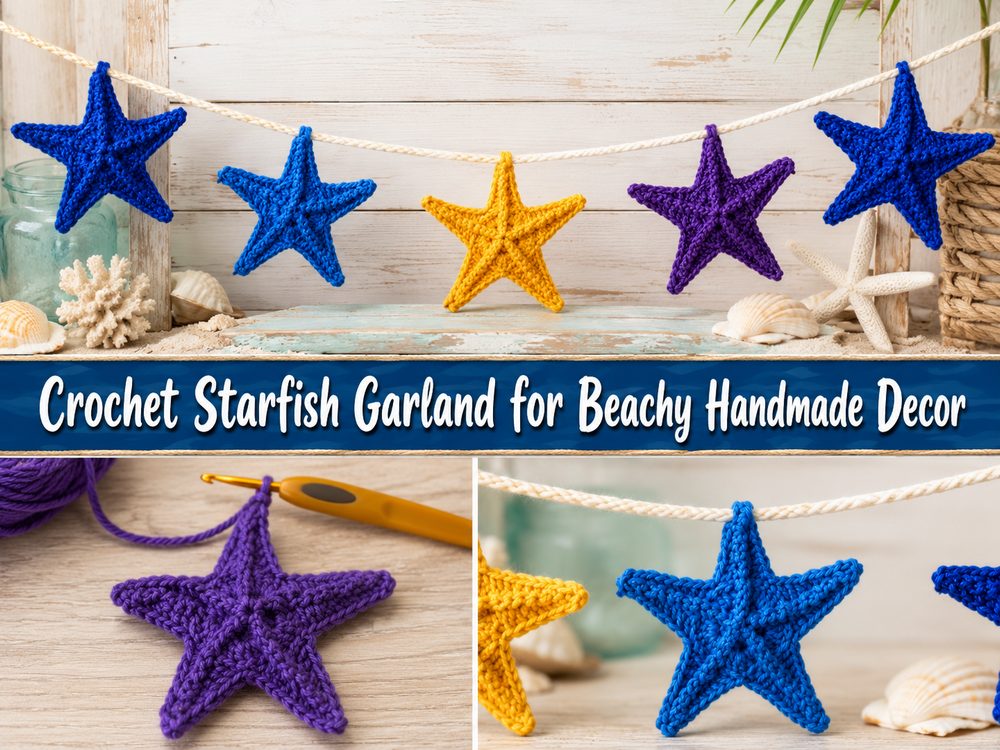
Crochet Starfish Garland for Beachy Handmade Decor
A crocheted starfish garland is a cute ocean themed project for a nursery, bathroom, party decor, reading nook or craft room. These starfish are all small, easy to make and quick to turn into a soft beach style decoration. This version uses a simple flat starfish appliqué for beginners and makes a simple hanging garland.
Why You Will Love This Project
This is a simple, cute and relaxing project. You make little starfish motifs, and join them together into one pretty strand. It gives a handmade seaside look without having to use a large or difficult pattern.
Things you will need:
Yarn in your favourite starfish colours
crochet hook, n.
Scissors
Tapestry needle.
Stitch markers (optional)
Yarn, string or twine for hanging.
Measuring tape if you want a certain length
Select your yarn and hook size based on the look and size you desire.
Best Yarn for the Project:
A smooth yarn is best because it makes the starfish points look clear. Cotton has a crisp shape, acrylic has a softer look. For a beach style garland, sand, coral, cream, pale blue, seafoam and peach shades are all beautiful.
Level of skill
This is easy to beginner friendly. Best for crocheters with a basic stitch knowledge and who want to practise simple shaping.
Size & Fit Guide
Can be easily enlarged. Smaller motifs will make a delicate garland and larger ones will make a bold wall display. You can also adjust the length by adding more starfish or leaving more space between each one. Lay them out first and then jump in.
Stitches Required
For exact order of stitches see video. This flat starfish appliqué is generally made with basic crochet stitches, simple shaping and finishing.er crochet starfish applique tutorial, but the search snippet does not list every stitch by name. It is safest to approach it as a flat motif made with basic crochet stitches, simple point shaping, and neat finishing.
How to Make It
Step 1: Turn on the First Starfish
Make one whole starfish first, plan the whole garland. Start in the middle, and maintain even tension so the shape remains flat. A clean center will later help the arms sit better.
Step 2: Build Center Shape
The middle part is the underside of the starfish. Keep it smooth and level. Keep it flat while working so you can check the shape before moving on.
Step 3: Make the Five Arms
Shape the five arms around the centre. Try to make them about the same size so the starfish looks balanced. The points should not be too sharp or stiff, they should look soft and natural.
4. Refining the outline
When the arms are done check the whole shape. Carefully smooth and work over edges with your fingers. A clean outline makes the starfish appear more complete.
Step 5: Create More Matching Starfish
Use your first starfish to guide the rest. Try to keep the same size and shape. Choose one colour for a more serene look or blend beachy shades for a brighter garland.
Step 6: Plan Your Garland Layout
Put all of the starfish in a line, before you attach them. Determine how much space you desire between each. Close spacing looks more complete. Wider spacing feels lighter and more airy.
Step 7: Thread the starfish onto a string
Attach starfish to string, cord, or twine. Twine gives a rustic beach feel, matching yarn makes a soft look. Before you tighten everything hold up the strand so you can see the spacing.
Step 8: Complete and View
Trim the loose ends and smooth each starfish. If they curl, press them down slightly. Drape the garland over a shelf, wall, window, party table, or beach-themed room.
Tips that Help
Make one starfish first, Use it as your sample. Keep tension still the arms are still balanced Work each motif flat. Join and weave in ends. Check the spacing before final assembly. Use a smooth yarn so the points will show up well.
Common Errors to Avoid
Don’t make the center too tight or the motif will cup. Don’t make one arm bigger than the others Don’t rip the points too hard Verify the layout before attaching the starfish. Use a hanging strand that does not extend much.
Personalisation Tips
For a soft coastal look use sandy neutrals, for a brighter look coral and peach or for an ocean theme blue and seafoam shades. You can also add tiny shells, beads, or mini pom-poms in between the starfish. Extra motifs can be applied to tote bags, baskets or summer gifts.
Ideas About Style
Use this garland in a beach bathroom, nursery, summer party setup, reading nook or coastal entryway A short one can adorn a basket or mirror. A longer length can be a major wall accent.
Care Instructions
Wash gently by hand if required. Let the starfish dry flat, but avoid high heat. If the motifs lose shape, smooth them out while damp and let them dry flat before re-hanging.
Time Required
Depending on your speed and yarn, size of motif and how many starfish you want in the garland, this project might take you a couple of hours to do.d how many starfish motifs you want in the finished garland.
Conclusion
A crochet starfish garland is such a cheerful little project when you want something cute, coastal, and easy to enjoy. Even though the selected tutorial teaches the starfish as a flat applique rather than a full garland-only project, that actually makes it very flexible. You can make as many motifs as you like, play with soft beachy colors, and turn them into a strand that suits your own space perfectly. It is a simple handmade decoration with lots of charm.
FAQs
Is this beginner-friendly?
Yes. The selected video is described as a beginner crochet applique tutorial, so it looks like a good option for newer crocheters who want a small decorative project.
What yarn works best for a starfish garland?
A smooth yarn works best because it helps the starfish points show clearly and keeps the motifs looking neat.
Can I adjust the size?
Yes. You can make the starfish larger or smaller by changing your yarn, hook, and overall tension, and you can adjust the garland length by adding more motifs.
Can I use the starfish for something other than a garland?
Yes. Since the selected tutorial teaches a flat starfish applique, the motifs can also be used on bags, towels, wall hangings, gift wrap, or other decorative crochet projects.
How do I make the garland look neater?
Keep the motifs close in size, weave in ends before assembly, test the spacing first, and lightly block the starfish if needed.