
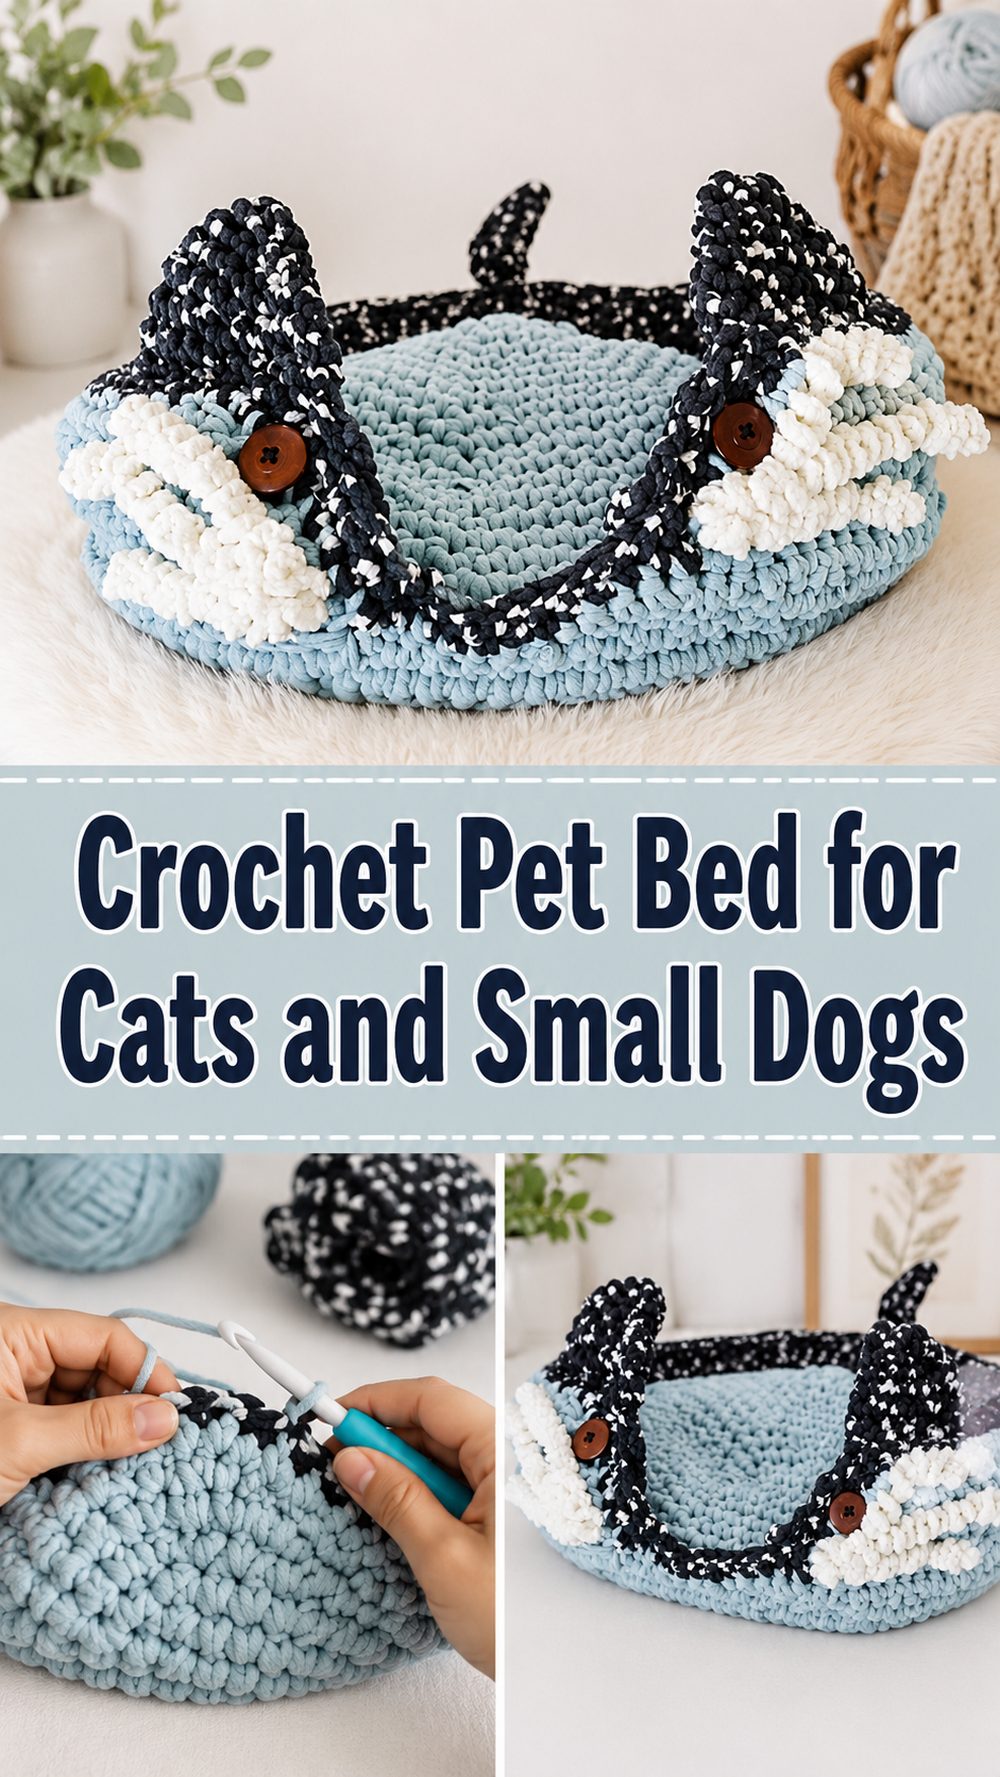
There is something extra sweet about making a cozy little bed for a pet by hand. This crochet pet bed is a lovely project if you want something practical, soft, and satisfying without getting pulled into fussy shaping or complicated stitch work. The tutorial I chose shows a very simple approach, so it feels approachable even if you are still getting comfortable with crochet basics. It is a nice option for cats and other small pets, and the design can be adapted as you go so you can make it suit your own furry friend a little better. Because the overall method is simple, this is also the kind of project you can really relax into while you crochet and watch the bed slowly take shape.
Why You’ll Love This Project
This pet bed is the kind of crochet project that feels useful right away. It is simple, comforting to make, and easy to adapt. Since the tutorial focuses on a very easy method and a basic shape, it is a great choice when you want a handmade item that looks cute and actually gets used.
Materials Needed
- Yarn for a soft, sturdy bed
- Crochet hook
- Scissors
- Yarn needle
- Stitch marker if you like marking the beginning of rounds
- Optional stuffing if you want a puffier edge or more cushioned shape
If exact yarn or hook size is unclear, use a yarn and hook size that matches your desired fit and texture.
Best Yarn for This Project
A soft, durable yarn is the best choice here. For a cozy bed with structure, many crocheters will like a thicker yarn that builds up quickly and gives the pet bed a cushioned look. If you want it softer and warmer, a plush acrylic or wool blend can work nicely. If you live somewhere warmer or want a more breathable finish, choose a softer cotton blend that still has enough body to hold the shape.
Skill Level
This project is beginner-friendly. The tutorial describes it as very easy and centers on just a few basic skills, mainly chain, single crochet, increases, and decreases. That makes it a comfortable project for newer crocheters who want to practice shaping in a useful way.
Size and Fit Guide
The easiest way to size this pet bed is to think about your pet first, not the pattern first. Measure the space your cat or small dog naturally curls into, then compare that to the width of the base while you work. One of the helpful things about this style of pet bed is that the size can be adjusted by changing the base, so you can stop increasing once the bottom feels roomy enough for your pet. After that, you simply keep building the sides until the bed looks comfortable and supportive.
If your pet likes to stretch out, make a wider base. If your pet loves to curl up against something snug, keep the base a bit more compact and let the sides come up a little higher.
Stitches Used
- Chain
- Single crochet
- Increases
- Decreases
These are the basic stitches and shaping methods clearly mentioned for the tutorial.
How to Make It
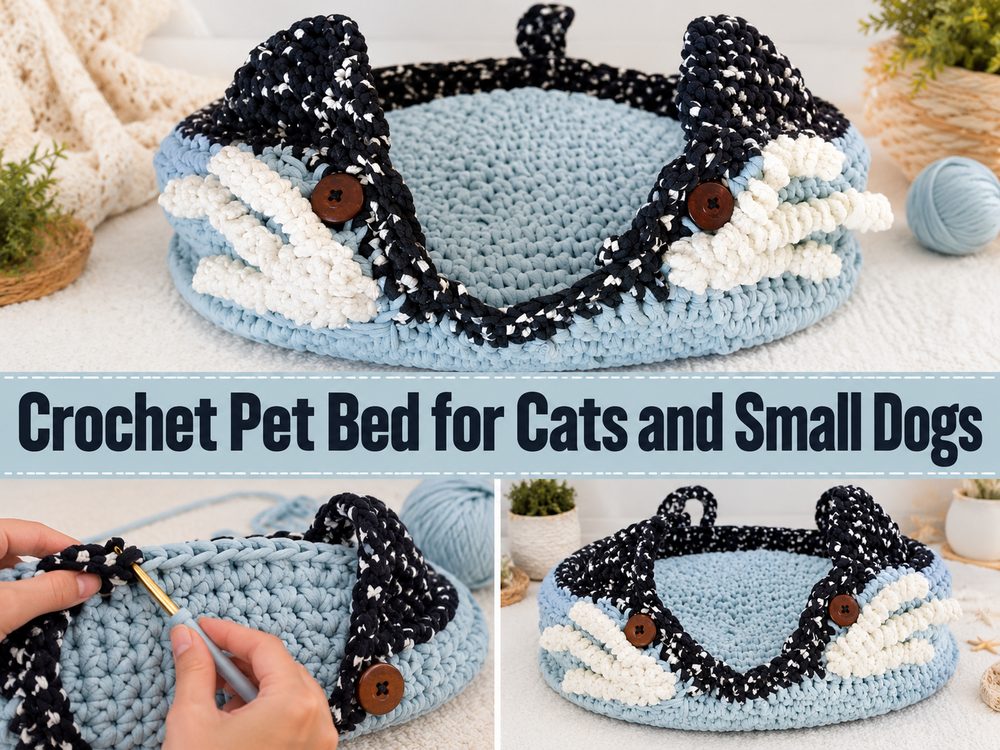
Step 1: Start the Foundation
This project begins in a very simple way, using basic crochet to build the bed from the bottom up. Since the tutorial focuses on easy construction, the first goal is simply to create the starting section neatly and keep your stitches even. If you are working in rounds, place a marker at the beginning so it is easier to keep track of where each round starts.
Take your time at the beginning. The first few rounds matter because they shape the base and help everything sit flat.
Step 2: Build the Base
The bed is shaped by growing the bottom first. In this tutorial style, the size of the bed is changed by adjusting the base, so this is where you decide how large the finished bed will be. Keep working outward, adding increases as needed so the base expands instead of pulling upward too early.
Lay the piece down often while you crochet. If the base is rippling too much, it may be getting too many increases. If it is curling upward before you want it to, it may need a little more room. You do not need to chase exact numbers here. The better approach is to watch the shape and stop when the bottom looks right for your pet.
Step 3: Form the Sides
Once the base is wide enough, you move into the part that makes it feel like a real little nest. Instead of growing wider and wider, you continue upward so the edges begin to form. This is where the bed starts looking cozy.
Because the tutorial uses simple stitches, the sides have a nice clean texture. Single crochet is especially good for this kind of project because it creates a firm fabric, which helps the bed hold its shape better.
If you want a lower lounge-style bed, stop earlier. If your pet likes a more tucked-in feeling, keep going until the sides are higher.
Step 4: Shape Gently as Needed
The tutorial also includes increases and decreases, which means you can gently control the shape instead of making a stiff straight bucket.
If your bed looks too open, a few decrease sections can help draw the top in slightly and make it feel more nest-like. If it feels too snug, keep the shaping softer and focus on comfort. The nice part about a handmade pet bed is that you can react to how it looks in your hands instead of forcing it into one fixed size.
Step 5: Check the Fit
Before finishing, set the bed down and really look at it. Is the base wide enough for your pet to turn around? Are the sides high enough to feel cozy without becoming stiff or cramped? This is the best time to make small adjustments.
For a cat, you may want that curled-up nest feeling. For a small dog, you may prefer a flatter center with supportive edges. The tutorial style is easy enough that these little changes feel manageable rather than stressful.
Step 6: Finish the Edge
When the bed reaches the size and height you like, finish off neatly and weave in the ends well. A pet bed gets moved, kneaded, pushed around, and tested very honestly by the animal using it, so secure finishing matters.
The final look should feel soft, rounded, and inviting. Even in a simple stitch pattern, a handmade pet bed has a lot of charm because of the texture and the shape.
Helpful Tips
- Keep your stitches even so the bed holds its shape better.
- Use a stitch marker if you are working continuously in rounds.
- Stop often and check the width of the base before building the sides.
- Choose a yarn that feels soft but still sturdy enough for daily use.
- Weave in ends securely since pets tend to scratch, knead, and shift their bedding around.
- Make a second one if you have multiple pets, because they always seem to want the handmade item.
Common Mistakes to Avoid
- Making the base too small before starting the sides
- Letting the bottom ripple from too many increases
- Letting the piece curl too soon from too few increases
- Using a yarn that is too delicate for regular pet use
- Forgetting to check the shape as you go
- Finishing loosely and leaving ends that may work themselves out later
Customization Ideas
You can keep this pet bed very simple or give it your own style. Try using a solid neutral yarn for a clean home look, or go with cheerful colors to make it playful. You can make the sides lower for an open bed or a bit higher for a snug nest. A softer lining, cushion insert, or folded blanket inside can also make it more inviting. If you want it to feel more decorative, add a contrasting edge or make the bed in colors that match your room.
Style Ideas
This kind of pet bed looks lovely beside a sofa, tucked into a sunny corner, or placed near a window where a cat likes to nap. It also makes a sweet handmade gift for a pet owner. For photos, it looks especially nice with a small blanket draped inside or a simple neutral background that lets the texture show off.
Care Instructions
Hand washing is a safe choice for most crochet pet items, especially if you are unsure how the yarn will behave. Use cool or lukewarm water, wash gently, and reshape the bed before laying it flat to dry. Avoid high heat, since that can change the shape or feel of the yarn.
Time Needed
This may take a few hours depending on your speed, yarn, pet bed size, and how often you stop to check the shape.
Conclusion
If you want a practical crochet project that still feels warm and personal, this pet bed is a really lovely one to try. The method is simple, the shaping is manageable, and the size can be adjusted to suit your pet instead of forcing your pet to suit the pattern. Pick a soft yarn, take your time with the base, and build the sides until it feels just right. It is an easy project with a lot of handmade charm.
FAQs
Is this beginner-friendly?
Yes. The tutorial is presented as very easy and uses basic crochet skills.
What yarn is best for a crochet pet bed?
A soft but sturdy yarn is best. Thicker yarns can help the bed feel cozy and hold shape more easily.
Can I adjust the size?
Yes. The bed size can be changed by adjusting the base before you build the sides.
What stitches do I need to know?
You mainly need chain, single crochet, increases, and decreases.
How do I make it more comfortable for my pet?
Choose a softer yarn, make sure the base is roomy enough, and add a small cushion or folded blanket inside if needed.


