
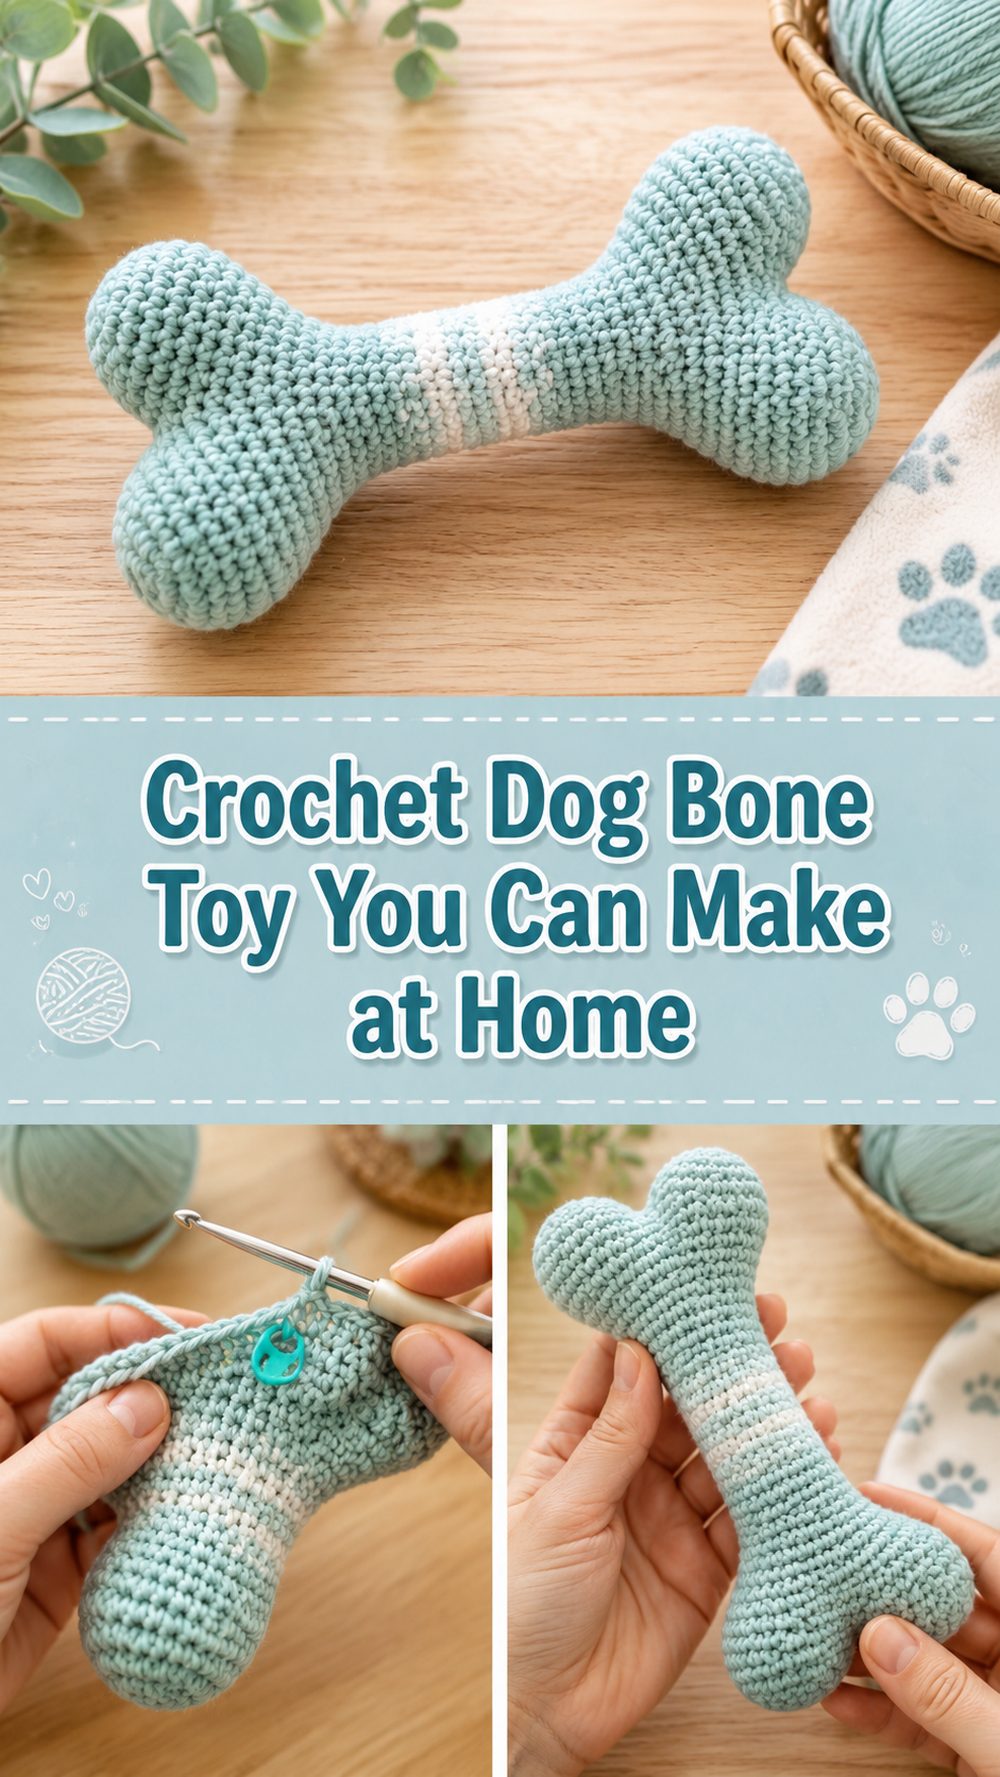
A crochet dog toy is such a fun little project because it is quick, practical, and full of handmade charm. For this one, I picked a simple crochet dog bone tutorial that shows how to make a soft amigurumi-style toy that looks playful and easy to customize. It is the kind of project that works well when you want to use up yarn, make something sweet for a pet-loving friend, or crochet a little treat for your own dog. The shape is familiar, cute, and easy to recognize, and the overall method stays approachable. Since it is made as a soft stuffed toy, it has that cozy homemade feel while still looking neat and giftable. This is also a satisfying project for confident beginners who want to practice shaping in a small, manageable make.
Why You’ll Love This Project
This crochet dog toy is small enough to feel approachable, but still interesting because it uses shaping to form the classic bone look. It is a cheerful little make that works up fairly quickly and gives you a finished project you can actually use or gift. The selected tutorial presents it as a complete amigurumi dog bone project that is fun and durable-looking.
Materials Needed
- Yarn
- Crochet hook
- Scissors
- Yarn needle
- Stuffing
- Stitch marker for working in rounds
If exact yarn or hook size is unclear, use a yarn and hook size that matches your desired fit and texture.
Best Yarn for This Project
For a crochet dog toy, a smooth, durable yarn is usually the best choice. A sturdy acrylic can work well because it holds shape nicely and is easy to care for. Cotton or a cotton blend can also be a good option if you want a firmer texture with less fuzz. Try to avoid overly delicate or fluffy yarns for this kind of project, since clear stitches help with shaping and finishing. If you want the toy to feel a little more solid, choose a yarn with some body instead of something very soft and loose.
Skill Level
This project is best for confident beginners or easy-level crocheters. The tutorial is shown as a complete amigurumi-style dog bone, so it helps if you already know how to crochet in rounds, keep track of your stitches, and stuff a small project neatly.
Size and Fit Guide
This type of dog toy can be adjusted in a simple way. You can make it smaller by using lighter yarn and a smaller hook, or make it bigger by using thicker yarn and a larger hook. Because it is a shaped toy rather than a wearable, you do not need exact measuring in the same way you would for clothing. Instead, focus on making a size that suits your dog’s play style.
For smaller dogs, keep the toy compact and lightweight. For larger dogs, use thicker yarn and build a larger piece so the toy feels easier to grip and toss. Since the tutorial is a full visual project, the final size is naturally influenced by your materials and tension.
Stitches Used
- Chain
- Slip stitch
- Single crochet
- Increases
- Decreases
- Working in continuous rounds
Because this is an amigurumi-style bone toy, the shaping is built through basic stitches and simple increases and decreases rather than decorative stitch patterns. That matches the tutorial’s focus on a complete crochet dog bone project.
How to Make It
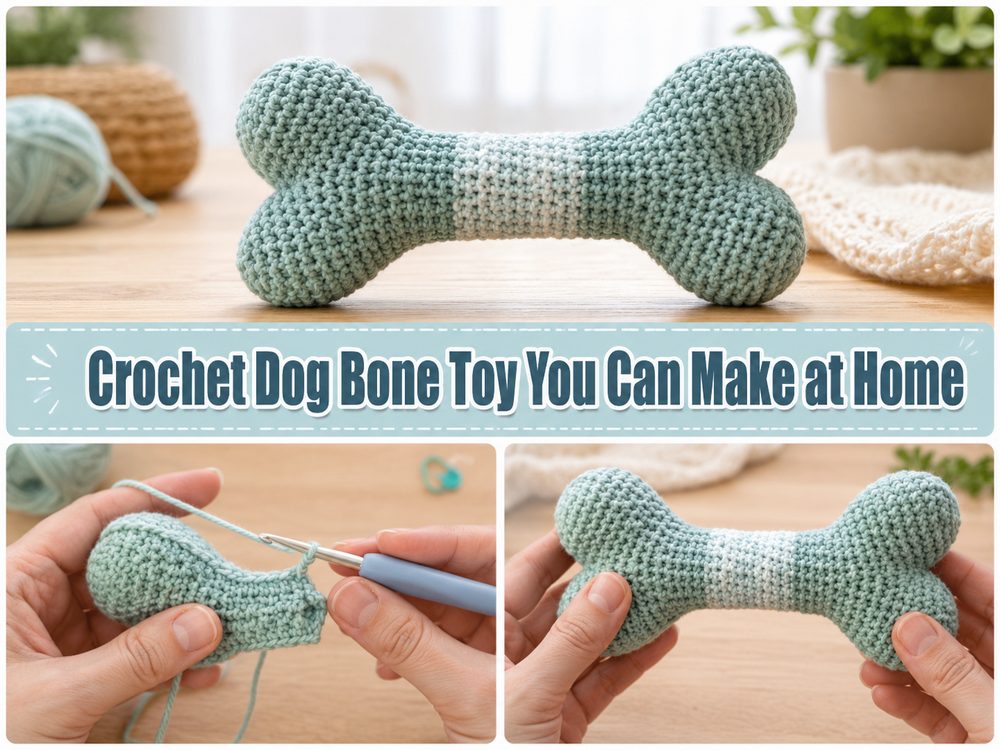
Step 1: Start the First Rounded End
This dog bone begins with one of the rounded ends, using the usual amigurumi style of crocheting in the round. The first section is worked tightly so the fabric stays neat and the stuffing does not show through too much. If you are comfortable with small rounded crochet pieces, this opening section will feel familiar.
At the beginning, take your time and keep your stitches even. A dog toy looks much better when the first rounds are neat, because those rounded ends are one of the most visible parts of the finished shape.
Step 2: Build the Bone End Shape
After the toy starts, you continue shaping the end so it gets that soft rounded form that makes the project look like a bone instead of a plain tube. In a project like this, the shaping usually comes from gradual increases to build fullness, followed by steady rounds to hold the shape.
This is where a stitch marker really helps. Since you are likely working continuously in rounds, marking the beginning keeps the shaping balanced and easier to follow.
Step 3: Form the Narrow Middle Section
Once the first end looks full enough, the toy narrows into the center section. This middle part creates the classic dog bone silhouette. Instead of staying wide and round, the body becomes slimmer, giving the toy that playful bone shape.
This part is a nice contrast to the rounded ends because it is usually more repetitive. After the shaping at the beginning, the center gives you a chance to settle into the rhythm of the project. Keep the stitches tight and consistent so the toy holds together well once stuffed.
Step 4: Crochet the Second End
After the middle section is long enough, the second side is shaped to mirror the first. This is what gives the finished toy its balanced look. You will increase again to build out the rounded shape, then continue until it visually matches the first end as closely as possible.
It helps to stop and compare both sides before finishing. You do not need perfect mathematical symmetry, but you do want the toy to look evenly shaped in your hands.
Step 5: Add the Stuffing
Before closing the final opening, add stuffing little by little. Do not rush this part. A crochet dog toy looks much nicer when the stuffing is spread evenly instead of packed in one spot. Focus on filling the rounded ends properly first, then the center section.
You want the toy to feel soft but still shaped. Overstuffing can stretch the stitches too much, while too little stuffing can make the bone look limp and unfinished.
Step 6: Close and Finish Neatly
Once the toy is stuffed to your liking, finish closing the opening and secure the yarn well. Weave in the ends carefully so the toy looks tidy and holds together better. Because it is meant to be handled and tossed around, neat finishing matters more than it does on purely decorative pieces.
The final toy should have two soft rounded ends with a narrower middle, giving it that simple bone shape that reads clearly right away.
Helpful Tips
- Use a stitch marker so you do not lose track of the rounds.
- Keep your stitches fairly tight for a firmer toy.
- Add stuffing gradually instead of all at once.
- Check that both ends look balanced before finishing.
- Choose a yarn that is smooth enough to show the shape clearly.
- Weave in all ends securely for a cleaner result.
Common Mistakes to Avoid
- Using very loose tension so the stuffing shows through
- Overstuffing the toy and stretching the stitches
- Understuffing the ends so the bone loses its shape
- Forgetting to count rounds or mark the beginning
- Making one end noticeably larger than the other
- Leaving the finishing tail unsecured
Customization Ideas
You can make this toy in classic bone colors like cream, tan, brown, or gray, or go playful with bright shades. Try using striped yarn for a fun look, or add a contrasting center section if you want the shape to stand out more. You can also make a smaller version for puppies or a larger one for a more decorative pet gift set. If you enjoy themed crochet, this would also be cute in holiday colors or as part of a pet gift basket.
Style Ideas
This crochet dog toy is sweet on its own, but it also works nicely as part of a handmade pet gift. Pair it with a crochet pet bed, a small blanket, or a simple pet bandana for a thoughtful set. It also makes a cute photo prop for pet-themed social posts or handmade gift displays.
Care Instructions
Gentle hand washing is the safest option. Use mild soap, reshape the toy after washing, and let it dry fully before using it again. Avoid high heat, especially if your yarn is acrylic or if the toy is firmly stuffed, because heat can affect the shape and texture.
Time Needed
This may take a few hours depending on your speed, yarn, hook size, and how comfortable you are with crocheting in rounds.
Conclusion
A crochet dog toy like this is a fun little project when you want something cute, practical, and satisfying to finish. The bone shape is easy to recognize, the size is flexible, and the overall process gives you a nice bit of shaping practice without feeling overwhelming. Pick a sturdy yarn, keep your stitches even, and take your time with the stuffing and finishing. It is a lovely handmade piece for any dog-loving home.
FAQs
Is this beginner-friendly?
Yes, for confident beginners. It uses basic amigurumi-style shaping and simple stitches.
What yarn is best for this project?
A smooth, sturdy yarn such as acrylic or cotton blend works well for a neat shape and better durability.
Can I make it larger or smaller?
Yes. The easiest way is to change your yarn weight and hook size.
Do I need stuffing?
Yes, for this soft bone style, stuffing helps create the rounded ends and overall shape.
How do I make it look neater?
Use tight, even stitches, stuff gradually, and make sure both ends are shaped similarly before closing.


