
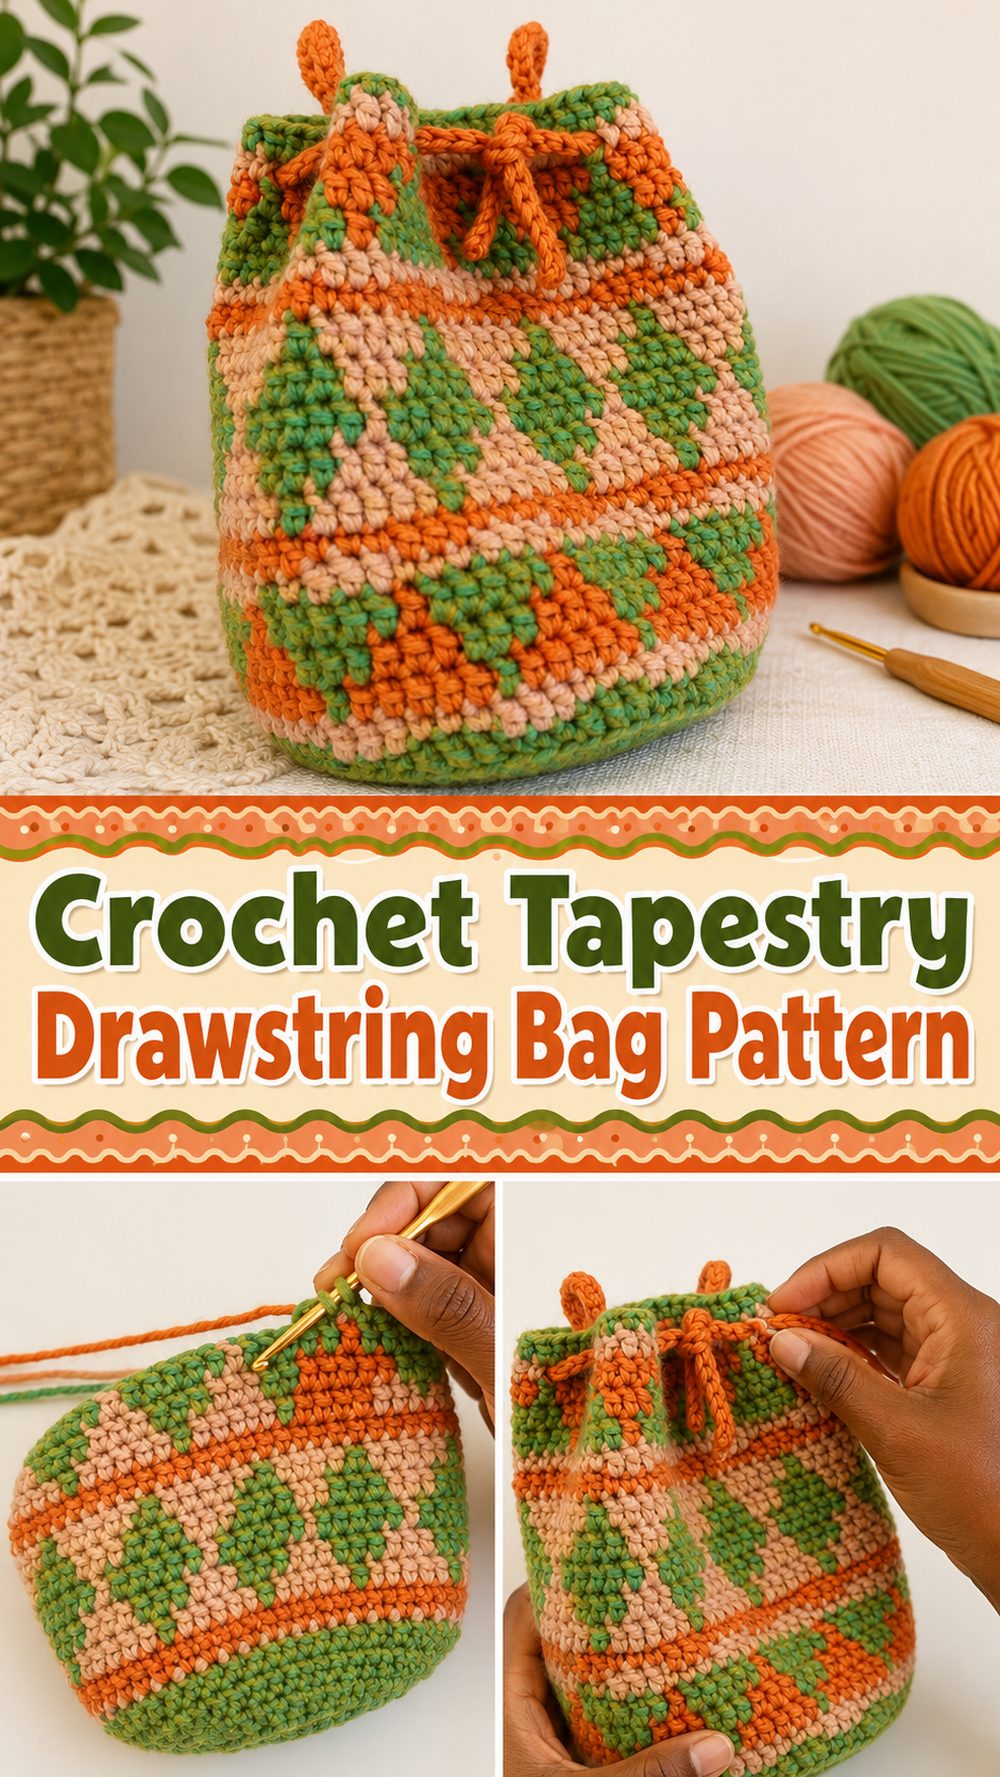
A crochet tapestry bag is such a satisfying project when you want something useful and a little more eye-catching than a plain tote. The tutorial I chose teaches a small drawstring bag worked with tapestry crochet in the round, which makes it a lovely option for anyone who wants to practice colorwork while making something practical. It has that nice mix of structure and creativity, because you are not only shaping a bag, you are also building a design into the fabric as you go. The result is a cute little bag that can be used for daily essentials, small gifts, craft tools, or simple storage. Since the tutorial is presented step by step and round by round, it feels like a good project for crocheters who are ready to move beyond basics and try a more decorative technique without jumping into something overly complicated.
Why You’ll Love This Project
This project is fun because it gives you both a useful bag and a chance to enjoy tapestry crochet at the same time. The drawstring shape is simple and practical, while the tapestry technique makes the finished piece feel special and polished. Since the tutorial is taught in the round and step by step, it is a nice way to build confidence with color changes and patterned crochet.
Materials Needed
- Two or more yarn colors for the tapestry design
- Crochet hook
- Scissors
- Yarn needle
- Stitch marker
- Measuring tape if you want to check the size as you go
- Drawstring cord or crochet cord for the closure
Use a yarn and hook size that matches your desired fit and texture.
Best Yarn for This Project
For a tapestry bag, yarn with good stitch definition is usually the nicest choice because it helps the color pattern look crisp. Cotton or a cotton blend often works well for bags because it gives a firmer finish and helps the shape stay neat. If you want a softer look, you can still use another smooth yarn, but it helps to choose one that is not too fuzzy so the pattern stays clear.
Skill Level
This project is best for confident beginners or easy intermediate crocheters. The tutorial is aimed at people who already know the tapestry crochet technique and then want to use it in a cute drawstring bag worked in the round. That means the stitches themselves may stay simple, but keeping track of color changes and rounds takes a little focus.
Size and Fit Guide
Because this is a small tapestry drawstring bag, the easiest way to adjust the size is to think about what you want to carry in it. You can keep it compact for little items like earbuds, hooks, coins, makeup, or small gifts. If you want more room, keep working the base or body until it feels tall or wide enough for your needs.
When making a bag like this, it helps to check the shape in your hands often. A tapestry bag should feel sturdy without becoming stiff. If you want a taller pouch, continue the body pattern longer. If you want a wider one, give more attention to the base before building upward. Since the tutorial is worked in the round, it is easy to see the bag forming as you go and make small adjustments before finishing.
Stitches Used
- Chain
- Slip stitch
- Single crochet
- Working in the round
- Color changes for tapestry crochet
These are the stitches and methods most closely associated with a step-by-step tapestry crochet drawstring bag made in the round. The tutorial clearly centers on tapestry technique rather than fancy decorative stitches.
How to Make It
Step 1: Start the Foundation
This bag begins by setting up the base in a simple way so you can build the pouch upward. Since the tutorial is worked in the round, you want to get comfortable marking the beginning of each round right away. That makes the whole project easier to follow, especially once the color pattern starts becoming more important.
At the start, focus on making even stitches and keeping the foundation smooth. A neat beginning will make the rest of the bag look better, especially in tapestry crochet where the pattern is part of the overall look.
Step 2: Build the Base
After the foundation is made, you continue shaping the base of the bag. This part matters because it decides how roomy the finished bag will feel. The base should sit neatly and give the pouch enough width before the sides begin to rise.
Try not to rush this section. Lay the piece flat now and then and look at the shape. If it looks too tight or starts cupping too soon, you may need a little more room before moving up the body. If it feels too floppy or overly wide, keep the shape more controlled. Since this is a small drawstring bag, a tidy base helps the project keep that clean finished look.
Step 3: Begin the Tapestry Pattern
This is where the bag starts to become really interesting. The tutorial is specifically about a tapestry crochet drawstring bag, so the design is built by changing colors as you work around the rounds. Because it is done in the round, the pattern develops continuously, which gives the bag a smooth, complete look.
Tapestry crochet usually works best when your tension stays even. You want the carried yarn to sit neatly inside the stitches without pulling the fabric too tightly. If you pull too hard, the bag may pucker. If you work too loosely, the hidden yarn may peek through. It helps to slow down a little when the color sections begin.
Step 4: Build the Main Body
Once the pattern is established, you keep working the body upward round by round. This part is often the most enjoyable because you can really see the tapestry design appearing while the bag takes shape. Since the tutorial is taught round by round, it is helpful for staying on track as you build the pouch section.
As the body grows, check the width and height against what you plan to use the bag for. A shorter version can work as a pouch, while a taller version feels more like a small accessories bag. This is one of those projects where pausing to look at the shape actually saves time later.
Step 5: Create the Drawstring Opening
Near the top, the bag needs space for the drawstring closure. This part gives the project its classic gathered finish. Keep the opening neat and even, because the drawstring is both practical and decorative.
When you reach this area, it helps to make sure the top edge is smooth and consistent. If the holes or spaces for the drawstring are uneven, the bag may not close as neatly. Once the top is in place, the whole project starts looking finished very quickly.
Step 6: Make the Drawstring
The drawstring can be simple and functional. A crocheted cord is a nice choice because it matches the rest of the project and keeps the handmade look consistent. Keep it long enough to weave through the top comfortably and leave enough extra length to pull the bag closed with ease.
If you like, you can add small tassels or knots at the ends for a playful touch. Even a plain cord looks lovely on a tapestry bag because the colorwork already gives the design a lot of character.
Step 7: Finish and Shape the Bag
Once the cord is woven through the top, finish off neatly and weave in all ends carefully. This part matters a lot in tapestry crochet because there are multiple color sections and you want the inside and outside to stay tidy.
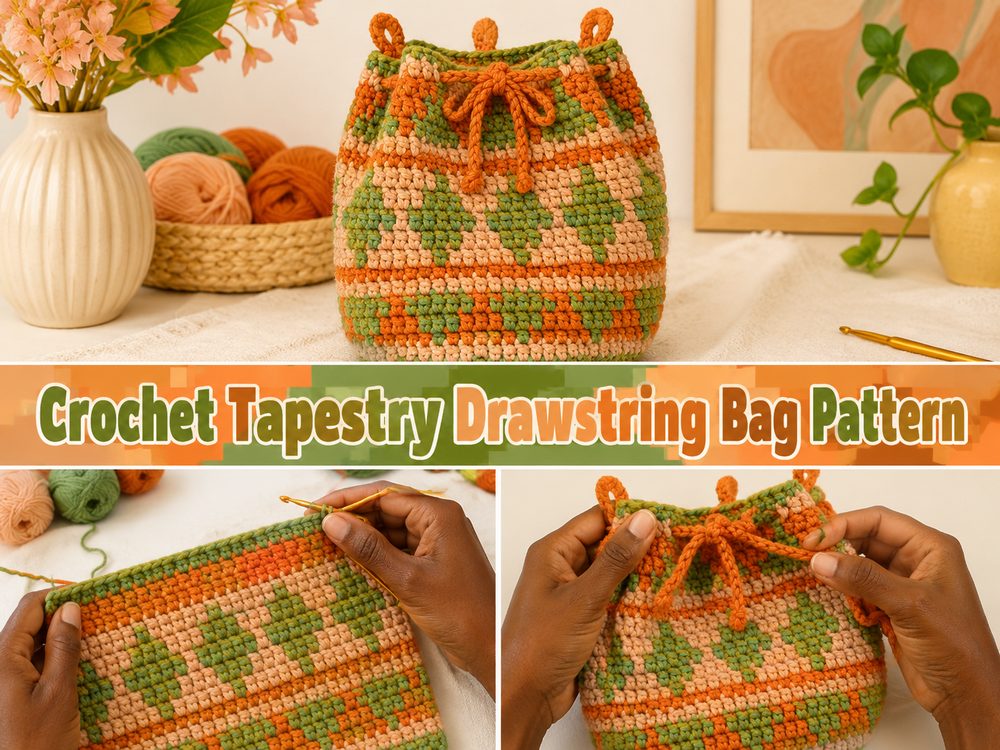
The final bag should look structured, colorful, and compact, with the drawstring top giving it a soft gathered shape. Since the tutorial describes it as a cute little accessory, the finished piece is meant to feel charming and useful rather than oversized.
Helpful Tips
- Use smooth yarn so the tapestry pattern shows clearly.
- Keep a stitch marker in place at the start of each round.
- Maintain even tension so the carried yarn does not distort the shape.
- Stop occasionally to check that the bag is staying neat and balanced.
- Keep the top edge tidy so the drawstring closes smoothly.
- Weave in ends carefully for a cleaner finish.
Common Mistakes to Avoid
- Pulling the carried yarn too tightly
- Crocheting too loosely so the hidden color shows through
- Forgetting to mark the beginning of the round
- Letting the base become uneven before building the body
- Making the drawstring opening messy or inconsistent
- Skipping fit and shape checks as the bag grows
Customization Ideas
You can change the whole feel of this bag just by switching colors. A bold contrast will make the tapestry design stand out more, while softer shades can give it a more subtle look. You can also make the bag taller, shorter, narrower, or wider depending on how you want to use it. Add tassels to the drawstring, use earthy tones for a natural style, or try bright modern colors for something more playful.
Style Ideas
This kind of crochet tapestry bag is lovely for small daily items, travel bits, makeup, craft tools, jewelry, or gift packaging. It would also look sweet as a handmade organizer inside a larger tote. Because it is a drawstring style, it has a relaxed, casual look that works beautifully for everyday use or for gifting.
Care Instructions
Hand washing is usually the safest choice for a colorwork bag, especially if you want to protect the shape and keep the stitches looking crisp. Wash gently in cool or lukewarm water, reshape it while damp, and let it dry naturally. Avoid high heat, which can affect both the yarn texture and the bag’s structure.
Time Needed
This may take a few hours depending on your speed, the size of your bag, and how comfortable you are with tapestry crochet and color changes.
Conclusion
A crochet tapestry bag is such a rewarding make when you want something small, useful, and a little more detailed than a plain pouch. This drawstring version is especially appealing because it combines tapestry crochet in the round with a practical shape that is easy to enjoy and easy to customize. Take your time with the tension, keep your rounds organized, and let the pattern grow steadily. The finished result is a cute handmade bag with plenty of personality.
FAQs
Is this beginner-friendly?
It is better for confident beginners than absolute beginners, because the tutorial assumes you are ready to use tapestry crochet in the round.
What yarn is best for a tapestry bag?
A smooth yarn with clear stitch definition is usually the best choice, especially if you want the pattern to show well.
Can I change the size?
Yes. You can adjust the base and continue the body until the bag reaches the size you want.
Why is my tapestry pattern looking uneven?
That often happens when the tension changes too much or the carried yarn is pulled too tightly inside the stitches.
Can I use this as a gift bag?
Yes. A small tapestry drawstring bag works beautifully for small gifts, accessories, or storage.


