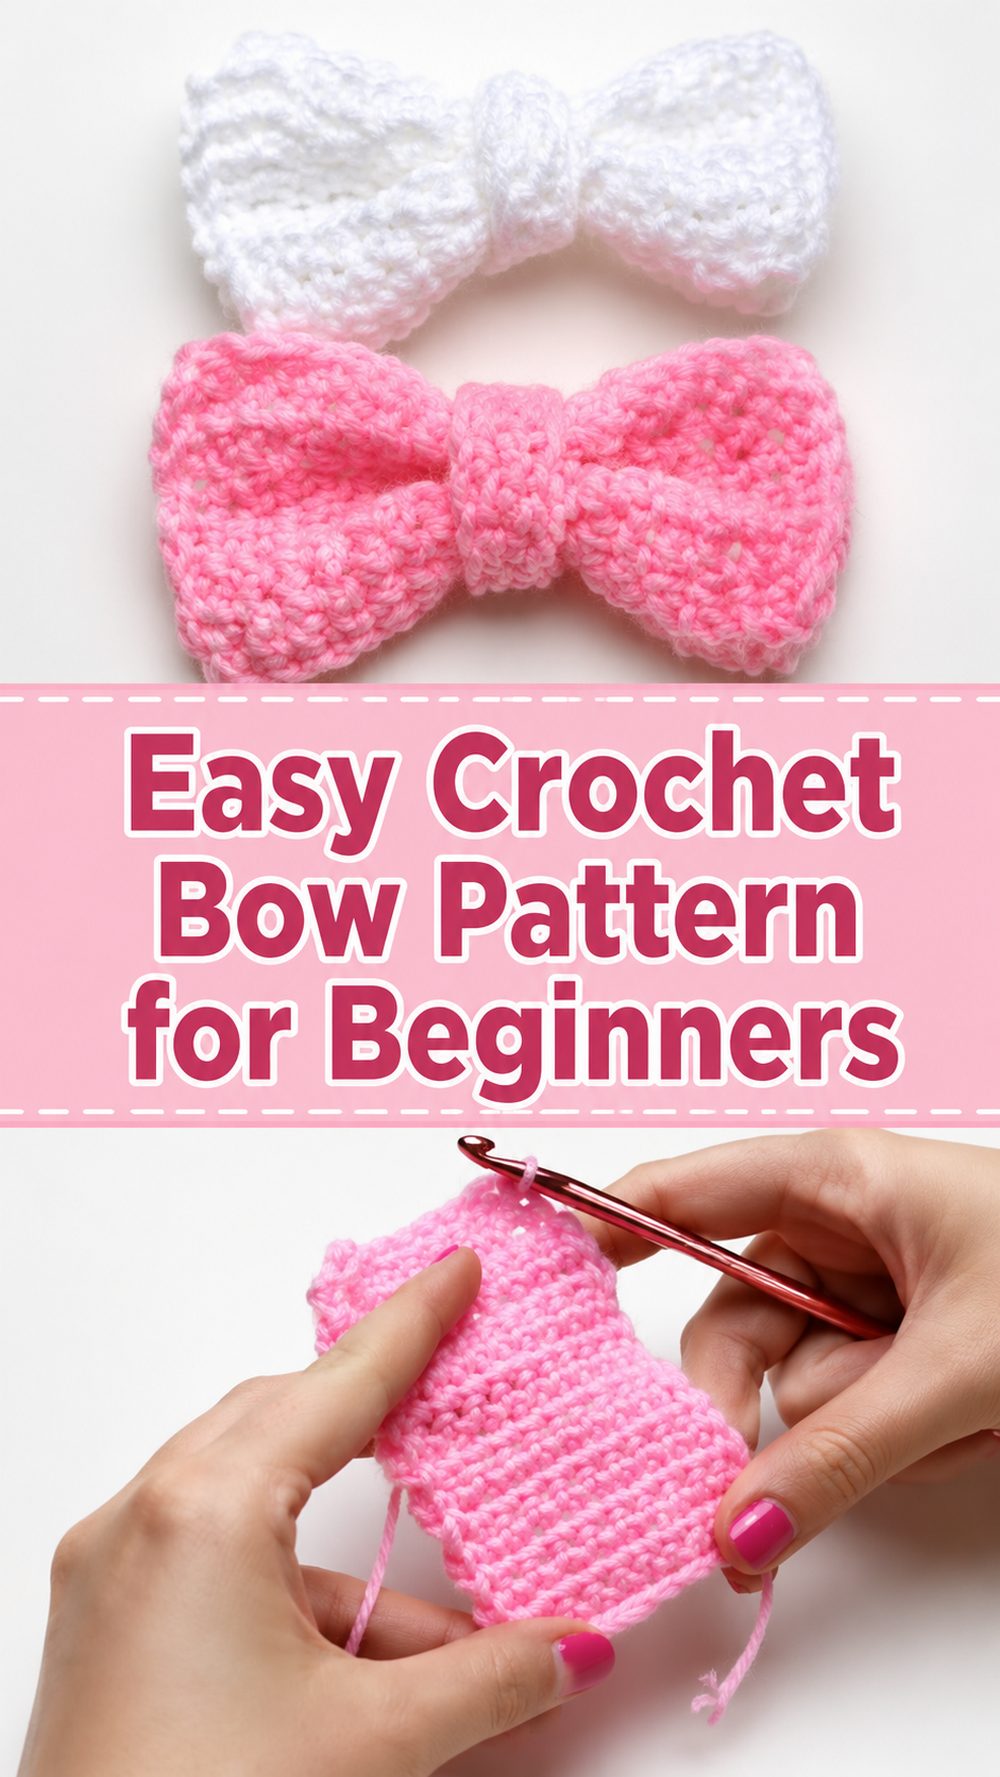
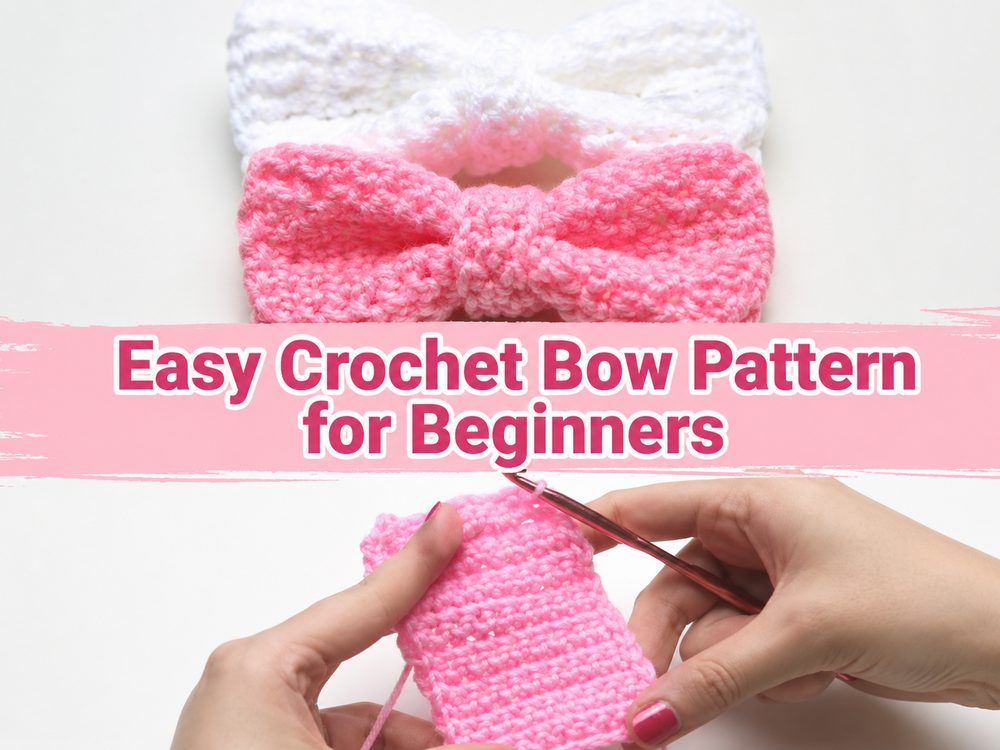
This crochet bow is a cute little project for hair clips, gift wrap, bags or just simple decor. It is quick to make and easy to customise and is a lovely choice when you want a small finish-fast crochet project.
Why You’ll Adore This Project
This is a fun project for when you want something cute and not too fancy. The bow is simply made with basic stitches, and can be used in so many ways from accessories to gift toppers.
Materials Required
- Thread
- Crochet Hook
- Scissors
- Yarn
- Needle
Choose a yarn and hook size that will work with your desired fit and texture.
Recommended Yarns for This Project
If you want the bow shape to be neat and defined, a smooth yarn works well. Softer yarn will give it a softer look, and cotton can help it keep its shape nicely.
Level of skill
Simple for beginners. The tutorial covers basic stitches like slip stitch, chain, and single crochet.
Size & Fit Guide
You can change the starting length to make the bow smaller or bigger, and add more rows until the piece looks full enough. Shape the center tightly and adjust until you like the final look.
Stitches Used
- Chain stitch
- Slip-stitch
- Single crochets
How to Make It
Start the Foundation
Make a chain Work into the chain to make the base of the bow.
Work the Main section.
Work back and forth, in simple rows, to make a flat rectangle. Keep going until it looks wide enough for the bow shape you desire.
Bow Shape
When you’re done with the rectangle, pinch the middle for the bow. This forms the two curved sides.
Join or Shape
Twist the yarn around the middle a few times to keep the shape. And tie it neat at the back.
Chop the Edges
Weave in ends and fluff up the sides a bit so the bow lays nicely.
Useful Tips
Try to keep your tension as even as possible so both sides of the bow look balanced. Use stitch markers if you have a tendency to lose the first or last stitch of a row. Check the shape as you wrap the center so it doesn’t pull too tight. If you intend to use the bow as an accessory or gift, tuck in the ends securely.
Common Mistakes Not To Make
- Chain too tight
- First stitch of a row is missing
- Rows of uneven edges
- Wrap the center too loosely
- Leaving ends unsecured
Customisation Suggestions
You can make this bow in soft pastels, bright colours, or neutrals. Add it to a clip, headband, bag or gift. Alternatively you can make a larger version for decoration or a smaller one for appliqué.
Style Inspiration
You can use it as a hair accessory, attach it to a baby headband, sew it onto a pouch, or add it to wrapped gifts for a handmade touch.
How to Care
Hand wash gently in cool water if necessary. Reform the bow when wet and place flat to dry. If it is attached to delicate accessories, be gentle.
Time Required
This can take anywhere from a few hours depending on your speed, yarn, size and stitch pattern.
Conclusion
This crochet bow is one of those little easy projects that just feels happy and useful immediately. It’s simple to customise and a good way to use up leftover yarn.
FAQs
Can beginners make this bow?
Yes, it is a good beginner project because it uses basic stitches.
Can I make it bigger?
Yes, just start longer and keep adding rows until you like the size.
What can I use it for?
You can use it for hair clips, gift wrap, bags, decor, or appliqué.
Does it need stiff yarn?
Not necessarily. A smoother yarn helps the shape show clearly, but you can use what you have.
Can I use scrap yarn?
Yes, this is a great small project for leftover yarn.