
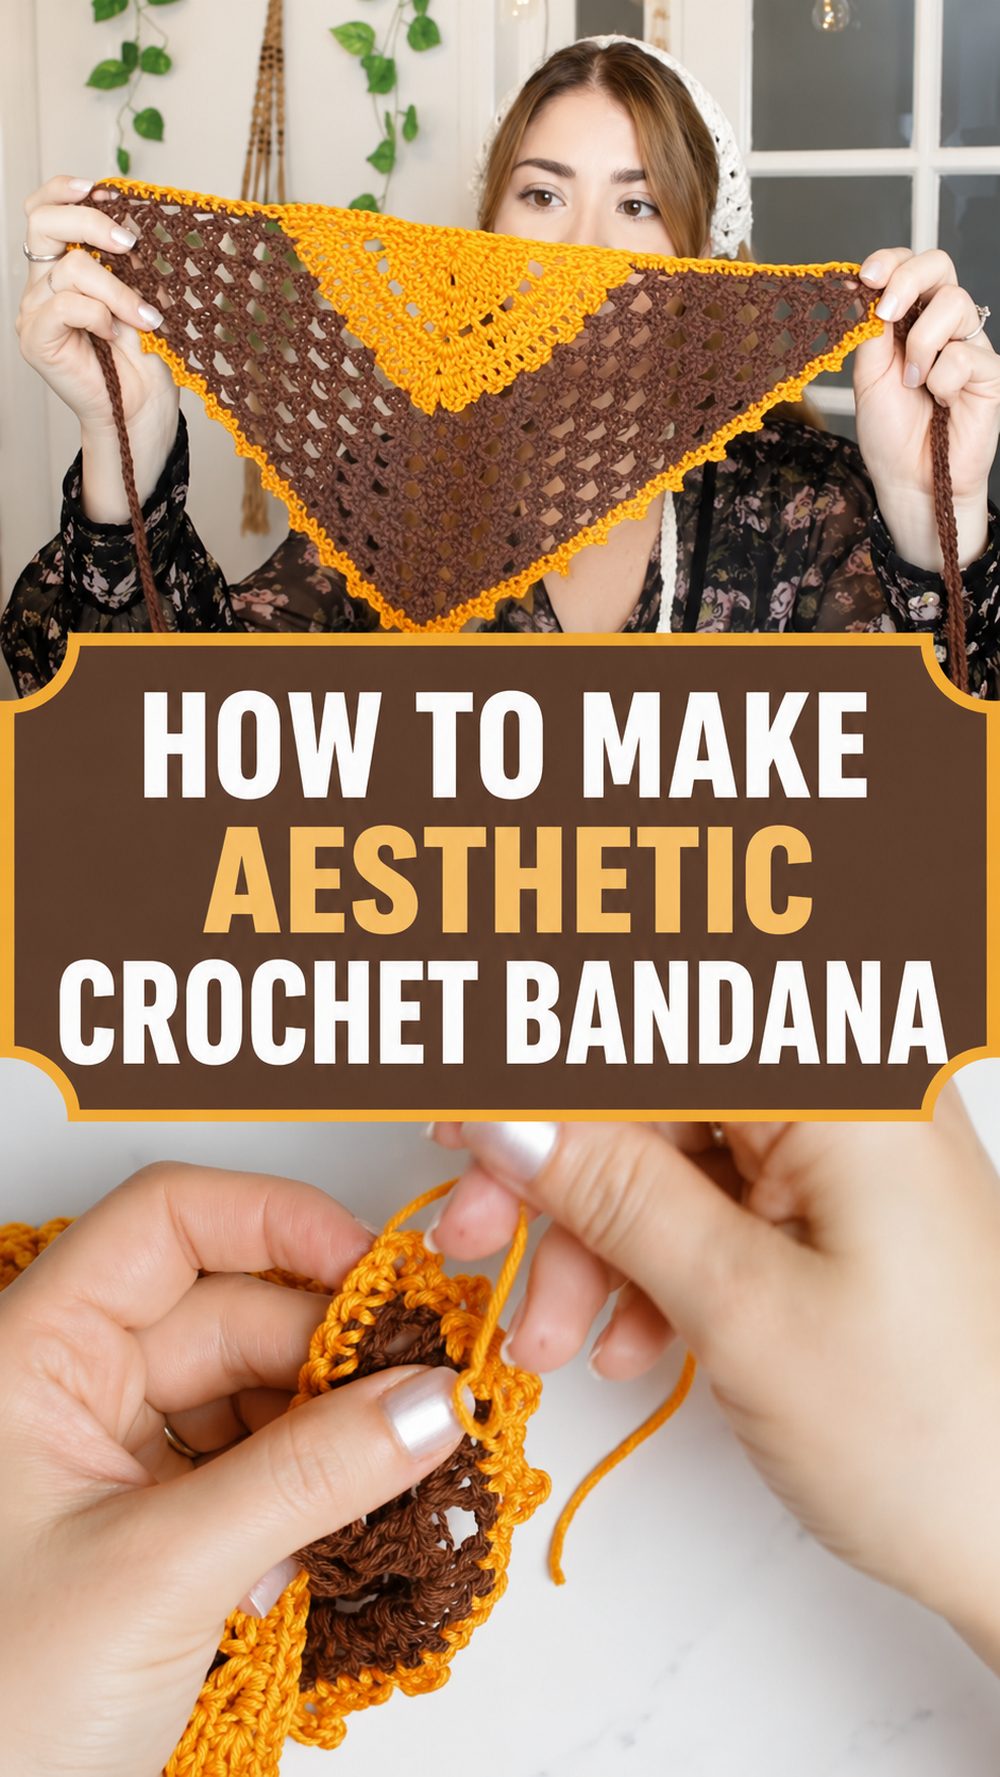
This crochet bandana is such a pretty little accessory to wear with loose waves, messy bun or just a simple everyday outfit. It has that soft handmade look that feels chill, cute and easy to style. I chose this tutorial because it shows how to make a beginner-friendly triangle bandana using double crochet clusters and chain spaces.
Why You’ll Love This Project
It’s quick, wear-able and easy to customise. It is in a simple shape and can be made to any size you want until you get the coverage you want. It is a fun project to play around with colours and textures of different yarns. The tutorial is also beginner friendly.
Materials Required
- Thread
- Crochet hook Scissors Yarn needle
Choose a yarn and hook size that will work with your desired fit and texture.
Best Fibres for This Project
A soft cotton or cotton blend is great for a bandana as it keeps the fabric comfortable and breathable. If you want more drape, use a lighter weight yarn.
Skill Level
Great for confident beginners. The tutorial is said to be beginner friendly and has a simple repeating pattern.
Size & Fit Guide
Start at the top of the triangle and repeat the pattern until you have the width and depth of bandana you want. You can stop earlier for a smaller fit, or continue for more coverage.
Stitches Used Ch Dc
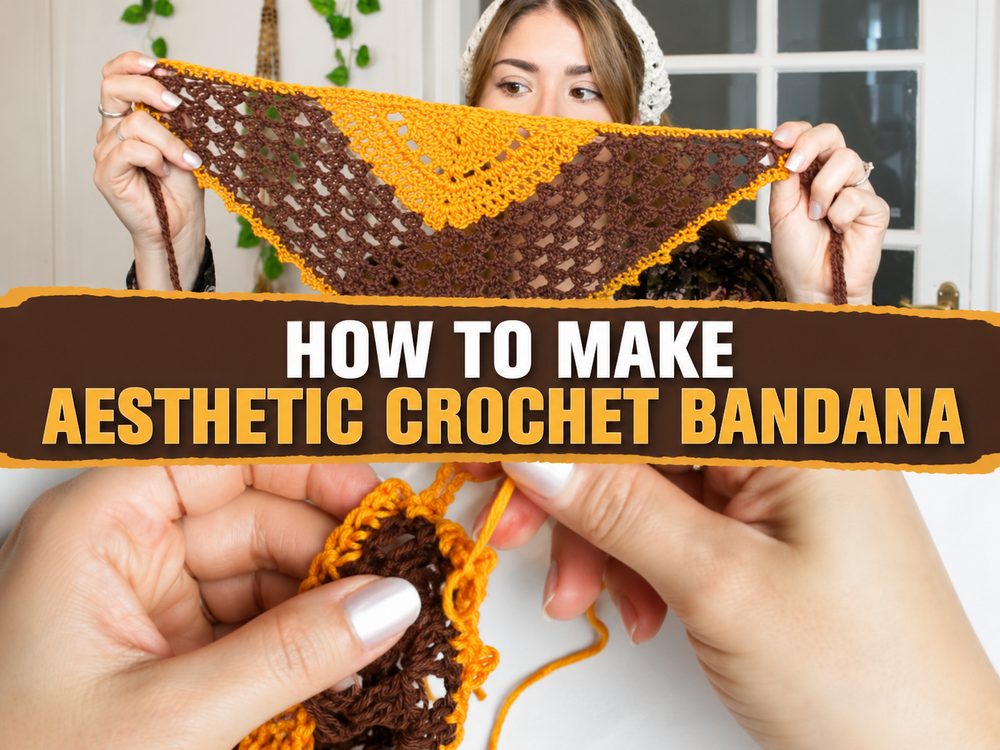
This is evident in the row instructions in the tutorial with groups of double crochet separated by chain spaces.
How to Make It
Begin the Foundation
Start at the center top of the bandana and make your first small triangle.
Work of Major Section
Construct the fabric in rows of groups of double crochet with chain spaces between. And that gives that pretty, airy bandana look. The repeated row structure makes the project easy to settle into.
Change size
Repeat the same row pattern till your bandana is the desired size. As you go, try it against your head so you can decide when it feels right.
Finishing the Edges
When your main triangle is the size you want, finish neatly and weave in the ends for a clean, polished finish to your bandana.
Some Helpful Tips
If you want to keep the shape even, use stitch markers at the beginning and at the center.
Check the size every few rows so it stays comfortable to wear.
Let your tension be loose, so the bandana hangs soft.
Weave in the ends tightly (if you plan to wear it often!).
Common Mistakes to Avoid
- Making the first rows too tight
- Losing the middle section
- Forgetting the spaces of chains between the groups
- Stopping before trying the fit
- Drawing the yarn too tight at the sides
Ideas for customisation
Try a pastel shade for a soft coquette look or earth tones for a boho style. Or you could add a dainty edging, or lengthen it a little, or use variegated yarn for a more fun look.
Stylistic Tips
Pair with a sundress, tank and jeans or over loose hair for an easy everyday look. It’s also a sweet handmade gift for someone who loves cute accessories.
Care Instructions:
If possible, hand wash gently in cool water. Reshape while damp, lay flat to dry. This helps the bandana to hold its shape and texture.
Time Required
This can take anywhere from a few hours depending on your speed, yarn, size and stitch pattern.
Conclusion
This is one of those crochet projects that are easy but look really cute when finished. It’s a great option if you want a small wearable make but still want it to have that stylish and handmade feel.
FAQs
Can a beginner make this?
Yes, it is beginner-friendly and follows a repeating pattern.
Can I make it bigger?
Yes. Repeat the rows until you reach your desired size.
What yarn works best?
Cotton or a soft lightweight yarn is a nice choice for comfort and drape.
Is this a good gift project?
Yes, it is small, useful, and easy to personalize with color.
Can I wear it in warm weather?
Yes, the open stitch pattern helps keep it light and breathable.


