
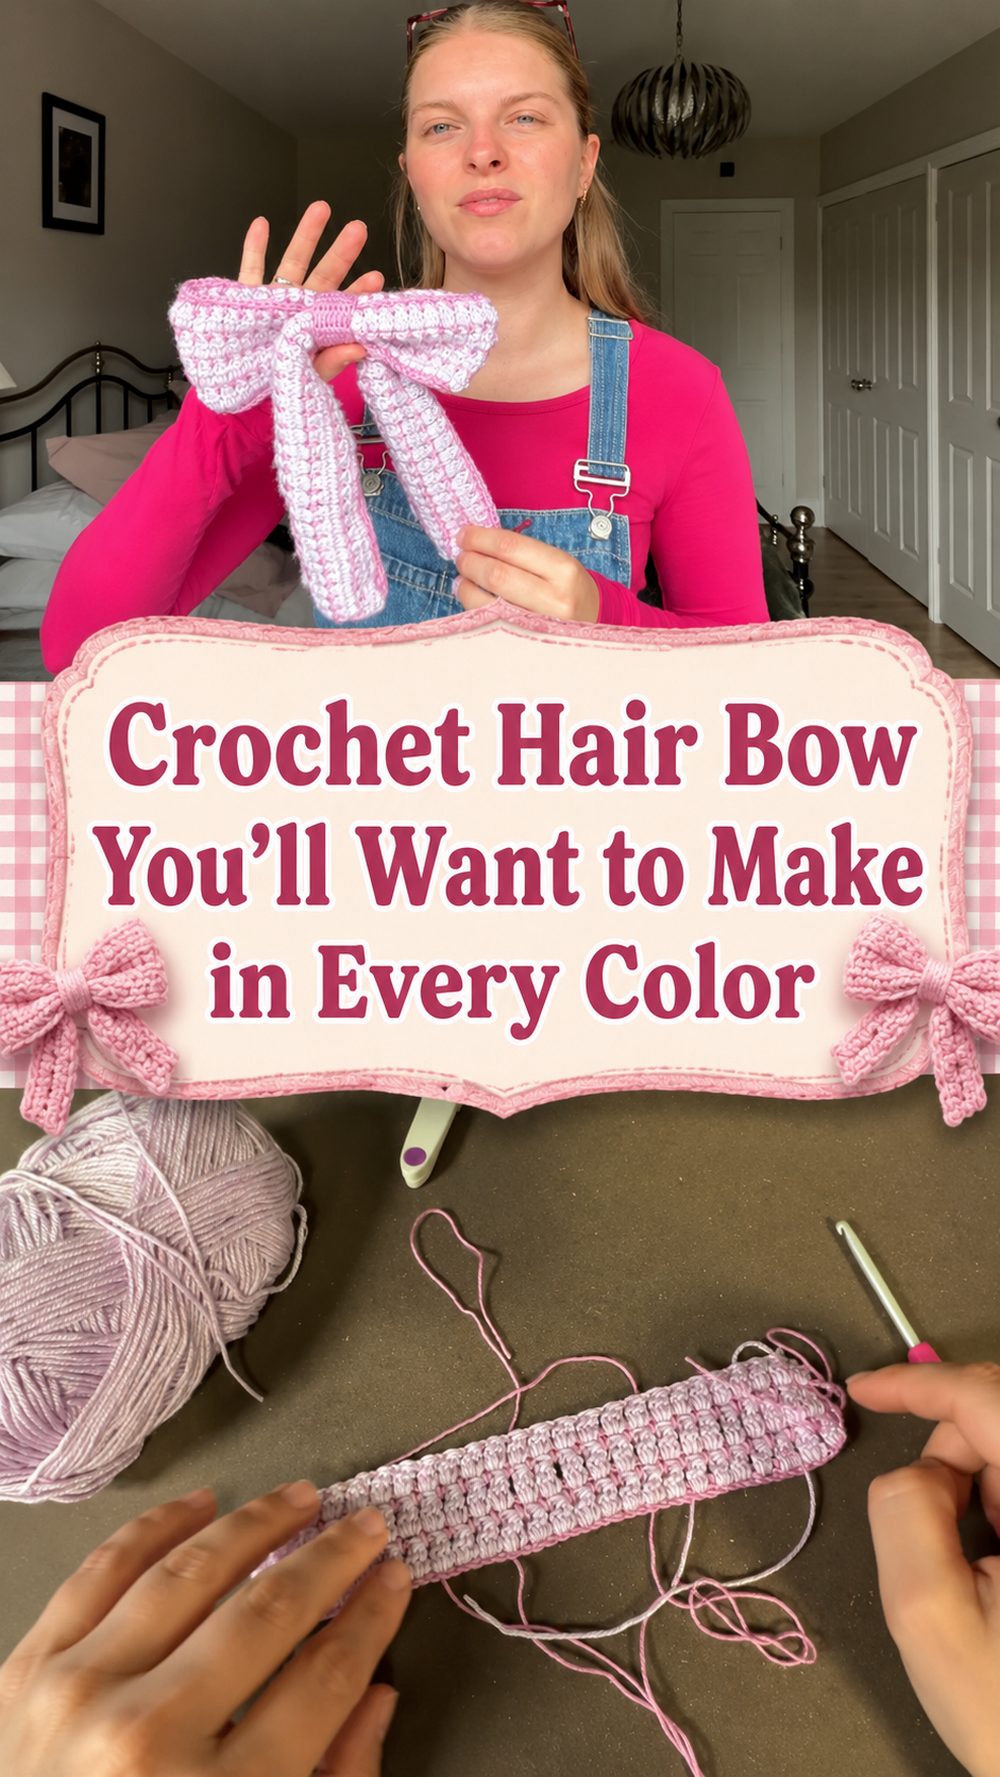
A cute, handmade hair bow is such a fun little project to keep on your hook. It has a soft classic look and uses a simple granny stitch pattern so it feels quick, cute and easy to wear.
Materials Needed:
You will need yarn, crochet hook, scissors, and yarn needle. Select a yarn and hook size that will give you the fit and texture you want.
Best Yarn For This Pattern
A soft yarn with some structure is great for a bow, because it helps the shape stay, and still look neat and pretty. Choose a lighter yarn for a more delicate finish. Use a little thicker for a fuller bow.
Level of skill
Good for beginners. The tutorial says it is easy and uses a granny stitch.
Size & Fit Guide
You can resize the bow by changing the starting length, and keep doing this until the bow looks full enough for your style. Repeat until you reach your desired size and attach to your favorite clip, tie, or band.
Sutures Used
Granny stitch.
How To Make This
Build the foundation
Make the base width of the bow by working the first row on your starting chain.
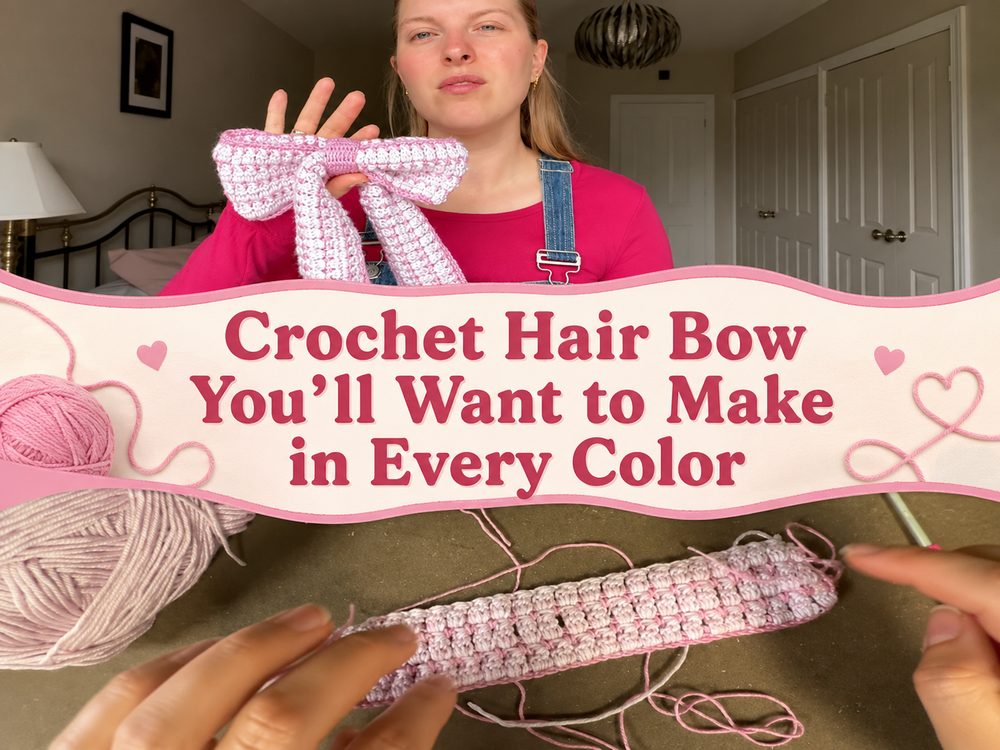
Main Section Work
Continue with the granny stitch pattern to build up the main rectangle. Keep going until the piece looks wide enough to fold into a bow shape.
Change the size
While you work, hold the piece and decide whether you want a smaller everyday bow or a fuller statement bow. Adjust the length as needed.
Join or create
As soon as the main piece is ready, fold or gather the center to make the bow shape. Fold the middle nicely so that the sides puff out evenly.
Complete Edge
Carefully weave in the ends and attach the bow to a clip, elastic or ribbon so it is ready to wear.
Usefull Tips
- If you like cleaner edges, use a stitch marker at the beginning of each row.
- Before wrapping the center, check both sides to make sure the bow is even.
- Don’t pull the center wrap too tight or the bow could lose its soft shape.
- If the bow will be worn often, weave in the ends securely.
Pitfalls to watch out for
- Too tight foundation.
- Stop before the bow is full enough.
- Wrap the center unevenly.
- Forgetting to check both of the loops or spaces every time.
- Leaving the ends too loose.
Customization Ideas
Try a solid color for a classic look or a bright color for something playful. Make a smaller bow for children, add longer tails for a ribbon effect or attach it to a clip, headband or ponytail holder.
Inspiration for Style
Wear with a ponytail, braid or half-up hairstyle. This also makes a nice gift topper, bag charm or a simple handmade accessory to an everyday outfit.
How to Care
If necessary, wash gently in cool water. Reshape the bow while wet and lay flat to dry. Don’t pull too hard so the center wrap stays nice.
Required Time
This may take a few hours depending on how fast you work, the type of yarn, the size and the stitch pattern. The tutorial describes it as fast and easy.
Conclusions
This crochet hair bow is one of those small projects that is instantly gratifying. It is pretty, practical and easy to make again in different colours whenever you want a fast creative finish.
FAQs
Can beginners make this?
Yes, it is a beginner-friendly project with a simple stitch pattern.
Can I make it bigger?
Yes, just keep working until you reach the size you want.
Do I need exact yarn?
No, you can choose yarn that gives you the look and texture you like.
Can I turn it into a clip or hair tie?
Yes, you can attach the finished bow to either one.
Is this a fast project?
Yes, it is presented as an easy and fairly quick make.


