
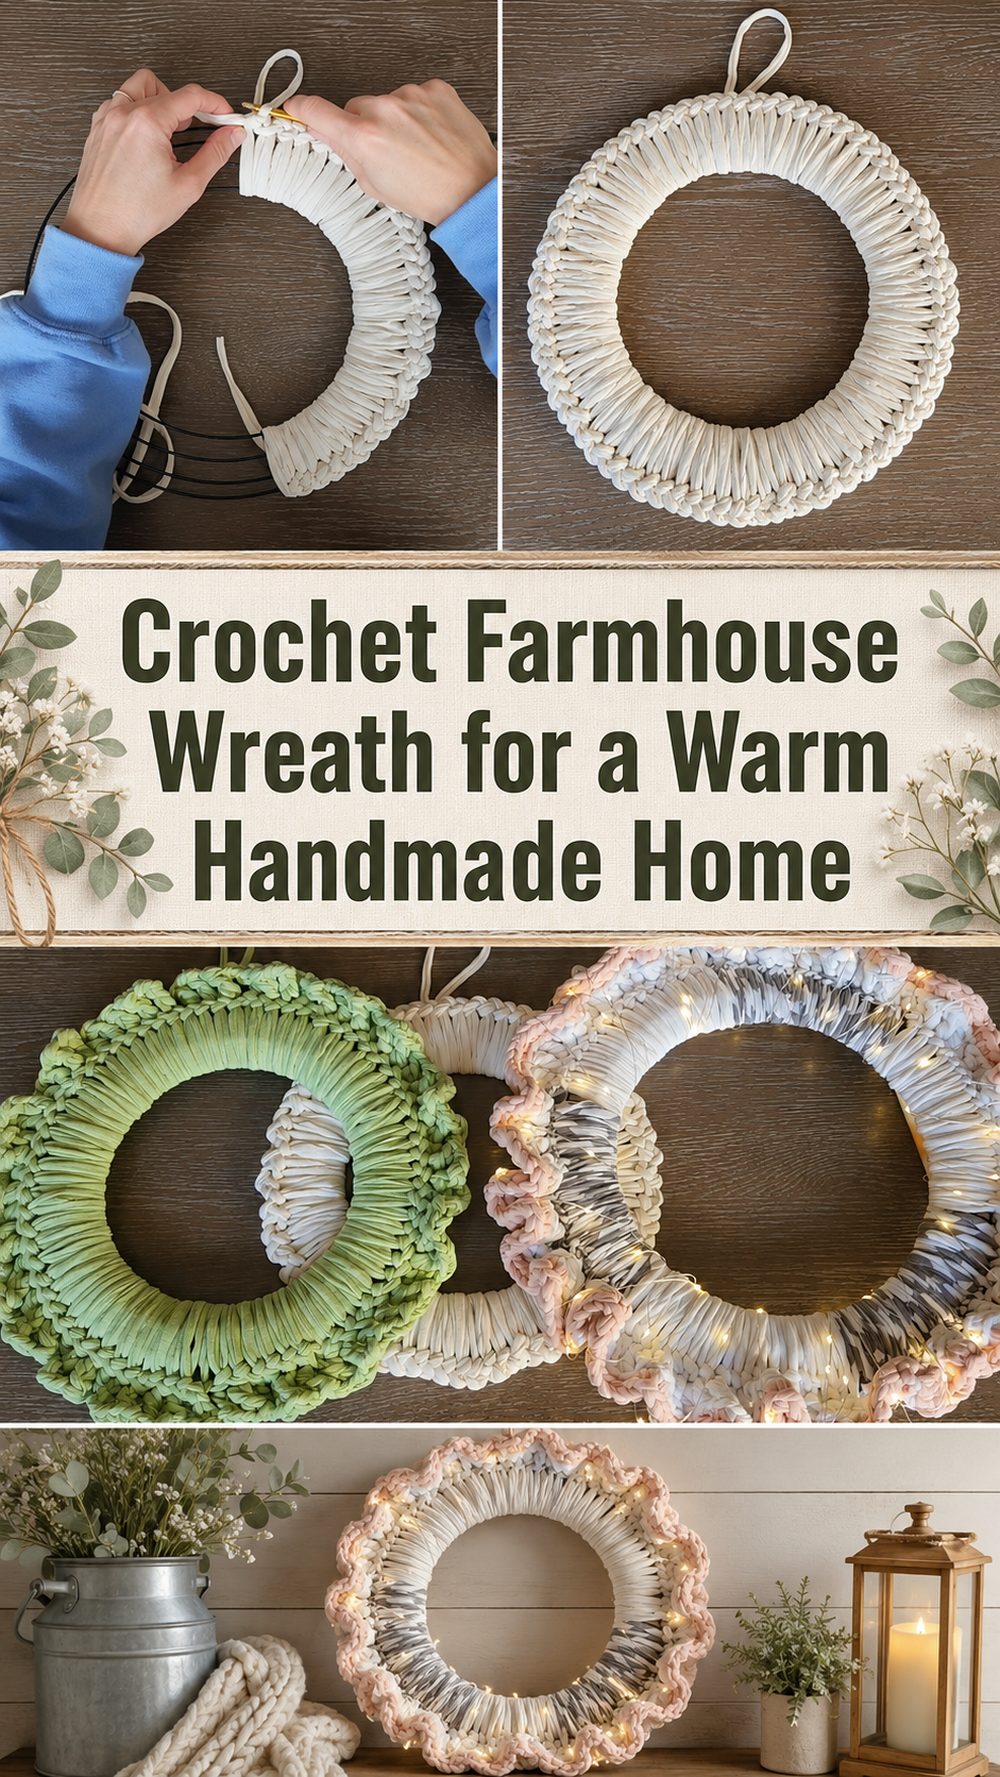
A simple crochet wreath is such a nice way to add soft farmhouse charm to your space. This is a fun project to do, relaxing to make, and great for adding texture to a door, wall, shelf or seasonal display. Based on a beginner step by step farmhouse wreath tutorial.
What you’ll need
- Yarn
- A crochet hook
- A ring or wreath form;
- Scissors
- A needle for yarns
Choose a yarn and hook size that will give you the fit and texture you want.
Best Yarn for Your Project
Here is a good place for a yarn that is soft but sturdy so that the wreath holds its shape well. The classic farmhouse feel is achieved with neutral shades like cream, oatmeal, taupe, gray or soft brown.
Skill Level
Easy for beginners.
Size & Fit Guide
You can make the wreath fuller or sparser, depending on how tightly you cover the form. Crochet and adjust the wrap until you are happy with the finished look.
Stitch Used
This project uses basic beginner crochet stitches.
How to Prepare It:
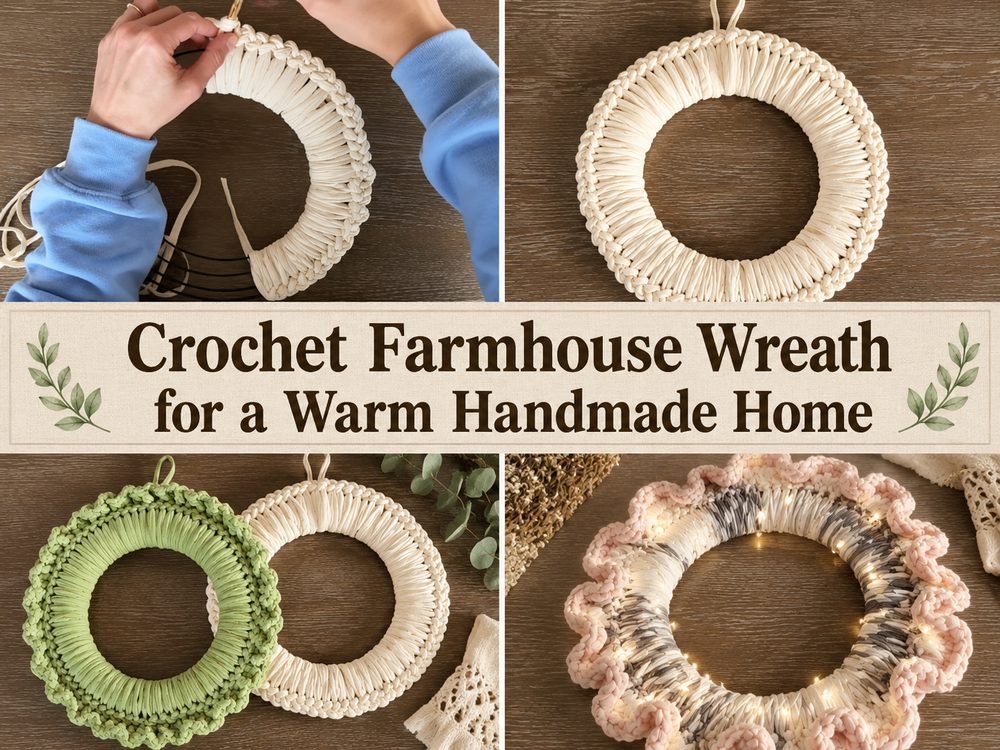
Begin the Foundation
Start crocheting around the wreath form, or build the crochet piece that will cover it. Keep your stitches even so the surface appears smooth & neat.
Work the Body Section
Crochet until the wreath form is covered and the texture looks the same all the way around. Don’t rush it. Keep the tension as comfortable and close as you can.
Re-size
If you want it a little fuller, keep adding crochet until it feels nice and padded. If you like a cleaner and simpler style stop when the shape looks balanced.
Join or Create
Join the ends carefully so that the wreath looks seamless. Press the crochet and make sure the shape is even.
Border Finish
Neatly tuck in the ends. Add a bow, greenery, ribbon or leave plain for a clean farmhouse finish.
Tips to help you
If you want to keep your spacing even use stitch markers.
Check the look of the wreath as you go so one side doesn’t get more plump than the other.
Keep your tension loose so the crochet falls nicely around the shape.
Simple neutral colors are a timeless farmhouse style.
Avoid these common mistakes:
- Stitches that are too tight around the mold
- Leaving coverage spotty
- Bulky way to connect the ends
- To choose a yarn that feels too limp
- forgetting to weave in ends good
Customization Suggestions
- Add a loop of ribbon to hang.
- Tie a small bow for a soft rustic finish.
- Use for fall, winter, spring or everyday seasonal colors.
- Add a few simple embellishments such as greenery or small crocheted accents.
Style Ideas
Hang it on a front door, over a mantel, in an entryway or on a gallery wall. It also makes a cute handmade gift for someone who loves cozy home décor!
Care Instructions
Lightly dust as required. If it needs freshening up, handle it gently, reshape and let it dry flat. Store in a clean dry place so it keeps its shape.
Time to Take
This will take a few hours depending on your speed, yarn, size, and stitch pattern.
Conclusion
This crochet farmhouse wreath is a pretty little decor project that feels casual, creative and easy to make your own. A lovely way to add handmade warmth into your space.
FAQs
Can beginners make this?
Yes, this project is suitable for beginners.
Do I need exact yarn for it?
No. Choose a yarn that gives you the texture and look you want.
Can I use different colors?
Yes. Neutrals are classic, but soft seasonal shades also work beautifully.
Can I decorate it more?
Yes. You can keep it plain or add ribbon, greenery, or other small details.
Where can I display it?
It works well on doors, walls, shelves, and mantels.


