
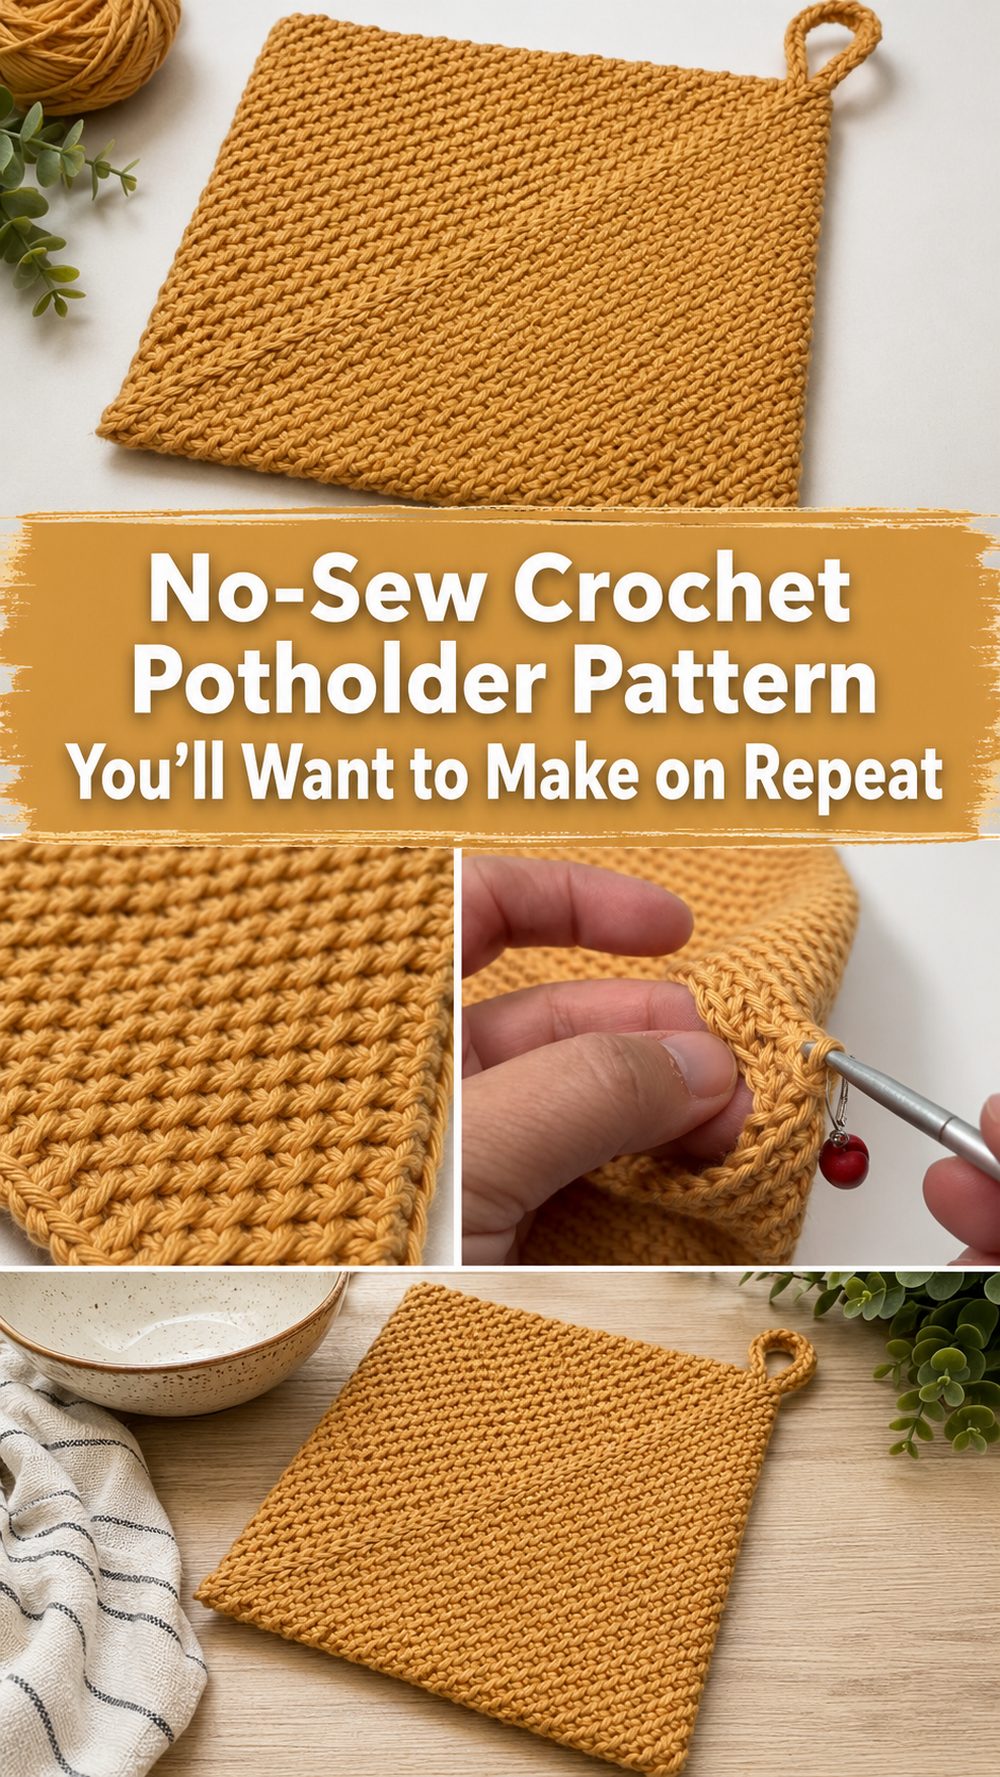
This thick crochet potholder is one of those little projects that seem to have immediate usefulness. This one is particularly nice because it builds up into a sturdy double-layer piece and comes together without additional assembly so it is satisfying, practical and giftable.
Why You Will Love This Project
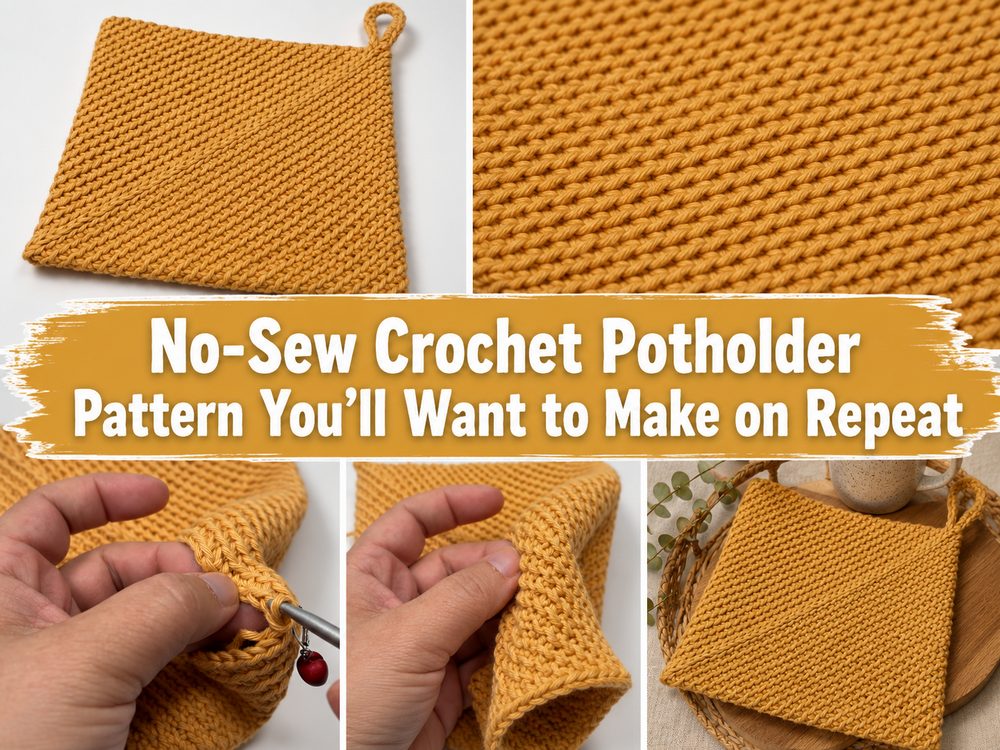
This is a great kitchen crochet project when you want something simple, sturdy and actually useful. The completed potholder is double thick and knit in one piece. The only finishing touch is weaving in the yarn tail.
What You Will Need
- Thread cotton
- Crochet hook
- Stitch marker Scissors Tapestry needle
Choose a yarn and hook size that will give you the fit and texture you want. Cotton is the most suitable for a heat-safe kitchen project.
Best Yarn for This Project
A smooth cotton yarn works best here, providing the potholder with structure and keeping it useful in the kitchen. Avoid fuzzy or stretchy yarns for this type of project.
Proficiency level
Beginner friendly. The tutorial utilizes simple stitches and simple construction.
Sizing and Fit Guide
You can keep crocheting until you reach the desired size of your square. Continue adding rows to make a larger potholder. If you want a smaller one, don’t do it all the way. Try to keep the shape so the layers sit neatly together.
Used Stitches
Chain. Single crochet. Slip stitch.
How To Cook It
Initiate the Foundation
Start with a chain of your choice and work into this to create the first section of the potholder.
Main Section Working
Continue in single crochet to make a dense fabric. The design makes a nice thick, practical pad and so the intention is a firm texture rather than an open stitch pattern.
Resize
Repeat the main stitch pattern until piece is the size you want. Make sure the edges stay straight as you go.
Join us or create us
This potholder is one piece, so rather than sewing sections together, you just keep building until the shape folds into the finished form.
Finish Edges
When potholder is done, fasten off, and weave in yarn tail cleanly. That is the only finishing step that you really need.
Helpful Hints
- Use stitch markers if you tend to lose the first or last stitch.
- Keep tension even so your potholder stays square.
- Don’t crochet too loosely, or the fabric may feel less protective.
- When finished, flatten the piece gently so that it sits nicely.
Top Mistakes to Avoid
- using yarn that is not good for hot kitchen use
- Crocheted too loose
- Missing Edge Stitch
- And stopping when both sides are nice and thick
- Forgetting to properly weave in the ends
Ideas for Customization
Use a solid color to get a traditional kitchen feel.
Make a fun gift version with stripes.
If you want to hang potholders on a hook add a little loop for hanging.
Design a seasonal decor set in a variety of colors.
Style Inspiration
This potholder is a pretty addition to an oven handle, a kitchen basket, or a handmade housewarming gift tied with a ribbon.
Care Instructions
If necessary, wash in cool water gently. Shape while still damp and lay flat to dry. Since it’s a kitchen item, make sure it’s completely dry before you use it again.
Time required
This may take a few hours depending on your speed, yarn, size and stitch pattern.
SUMMARY CONCLUSION
If you’re looking for a quick crochet project that’s useful and satisfying, this potholder is a lovely one to try. It is easy, it is solid, it is easy to make more than once for your own kitchen or for gifts.
FAQs
Can beginners make this?
Yes, it is a good beginner project with basic stitches.
Do I need to sew pieces together?
No, it is made in one piece, with only the end woven in.
What yarn should I use?
Cotton yarn is the best choice for this type of project.
Can I change the size?
Yes, just keep working until you reach the size you want.
Is this a good gift project?
Yes, it is quick, useful, and easy to make in different colors.


