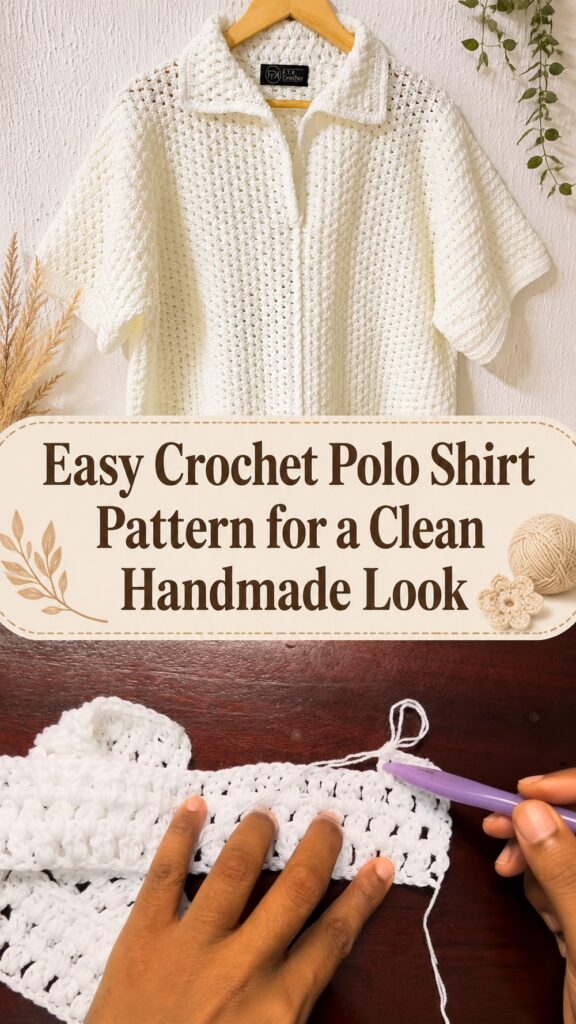
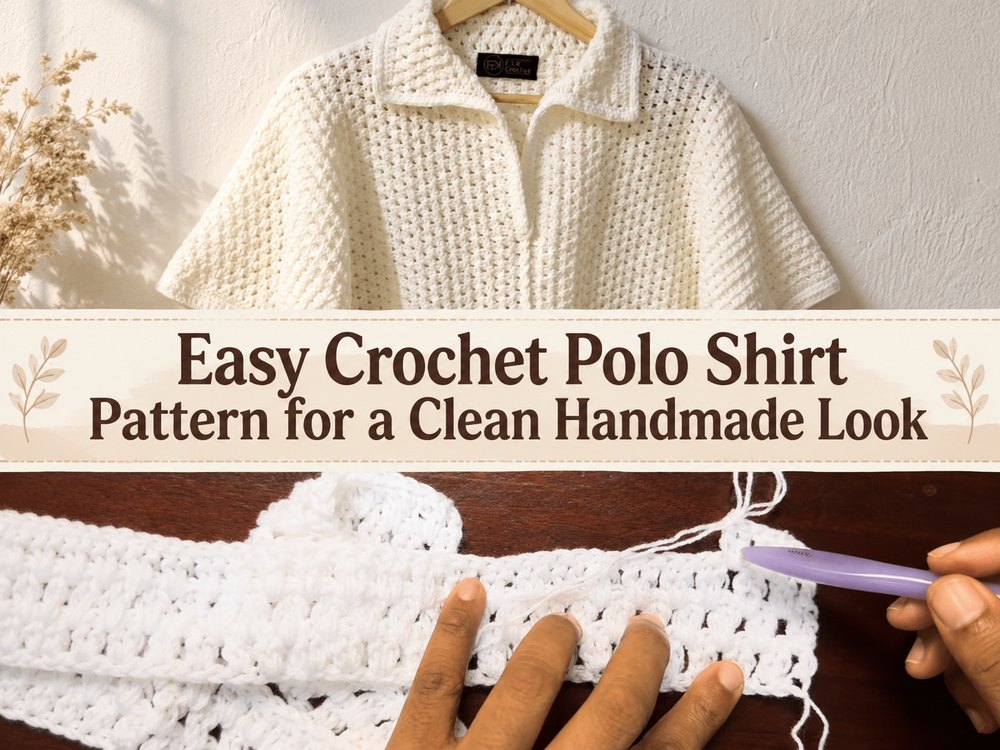
I think a crochet polo shirt is such a fun way to make a wearable piece that feels both casual and polished. This project is especially nice if you want to try a neat, modern, easy to style handmade top. The tutorial I chose is a full step by step polo shirt tutorial and the preview shows it uses medium weight acrylic yarn and a 4 mm hook.
Why you will love this project
This project gives you that classic collared-shirt look done in crochet, which makes it a little more dressed up than a basic tee. If you like making tops that you can actually wear a lot, this is a satisfying garment project. The tutorial you have chosen is presented as a step-by-step lesson on polo shirts, rather than a short demonstration.
Materials Required
You’ll need yarn, a crochet hook, scissors and a yarn needle for finishing. The tutorial preview uses a medium weight acrylic yarn and a 4 mm crochet hook.
Best Yarn for This Pattern
A smooth medium weight yarn is nice for a shirt like this because it helps the stitches to show clearly and gives the fabric enough structure for the collar. Acrylic is a practical choice for easy care, but you can also use a yarn and hook size that matches your desired look and texture.
Level of Skill
Ideal for confident beginner or easy intermediate crocheters. The tutorial’s step-by-step labeling makes it more accessible.
Size Chart
The easiest way to size a crochet polo shirt is to compare the width and the length as you go. Repeat until you reach the desired size, adjusting the body length as needed and checking the fit often before joining or finishing the collar.
Stitches Used
This tutorial is presented as a full polo shirt walkthrough, but the search preview does not show every stitch by name. For the exact stitch pattern and collar shaping I would follow the stitch demonstrations directly in the tutorial.
How to Prepare It
Start the Foundation
Begin the first part of the shirt and build the base carefully so that the width is right for the fit you want.
Main Section Work
Keep crocheting the main fabric for the body of the shirt. Keep checking the fabric feels comfortable and not too stiff.
Change the Size
As you go along, compare the piece to a shirt you already like. Repeat until it fits. Alter length as needed.
Join or Make
When the main sections are complete, join the pieces neatly and shape the neckline opening for the polo look.
Complete the Edges
Finish off the collar and any finishing edges last for that clean polo-shirt style. Then weave in the ends and neaten the finished piece.
Useful Tips
- Try to keep the tension even so the fabric of the shirt looks neat.
- Use stitch markers to shape the neckline, or match the two sides.
- Be sure to join the pieces while they are flat, so that everything lines up.
- Weave in ends securely especially around the seams and collar.
Common Mistakes to Avoid
- Making the fabric to tight and stiff.
- Not checking the fit as you go along.
- Not remembering to evenly match both sides.
- Rushing the collar section.
- Then the ends are left loose in the shirt.
Ideas for Customization
- You could do it in a solid neutral for a classic look.
- Try contrast trim on collar or edges.
- Change the sleeve length to match your style.
- Add buttons if you want a more traditional polo finish
Style Tips
This type of crochet polo shirt is great with jeans, trousers, shorts or layered over a simple tank top. It also makes a thoughtful handmade gift for the wearable crochet lover.
Care Instructions
- If the yarn is appropriate, wash in cold water with care.
- Do not wring or twist fabric too hard.
- Form when damp; place on a flat surface to air dry.
- Fold for storage so the garment keeps its shape.
Required Time
This can take a couple of hours depending on your speed, yarn, size and stitch pattern.
Summing Up
A polo shirt is a lovely choice if you want to make a crochet garment that feels stylish, useful and a little different from the usual tops. It’s a fun project that you can build up slowly and customize to your liking.
Frequently Asked Questions
Can a beginner make this polo shirt?
A confident beginner can try it, especially by following the tutorial closely.
Can I change the length?
Yes. You can keep crocheting until you reach the length you want.
Do I have to use acrylic yarn?
No. Acrylic is shown in the tutorial preview, but you can choose another yarn that gives you the feel you want.
How do I make it fit better?
Measure as you go and compare it with a shirt you already like.
Can I make it look more classic?
Yes. A simple color, neat collar, and clean finishing will give it a timeless polo look.