
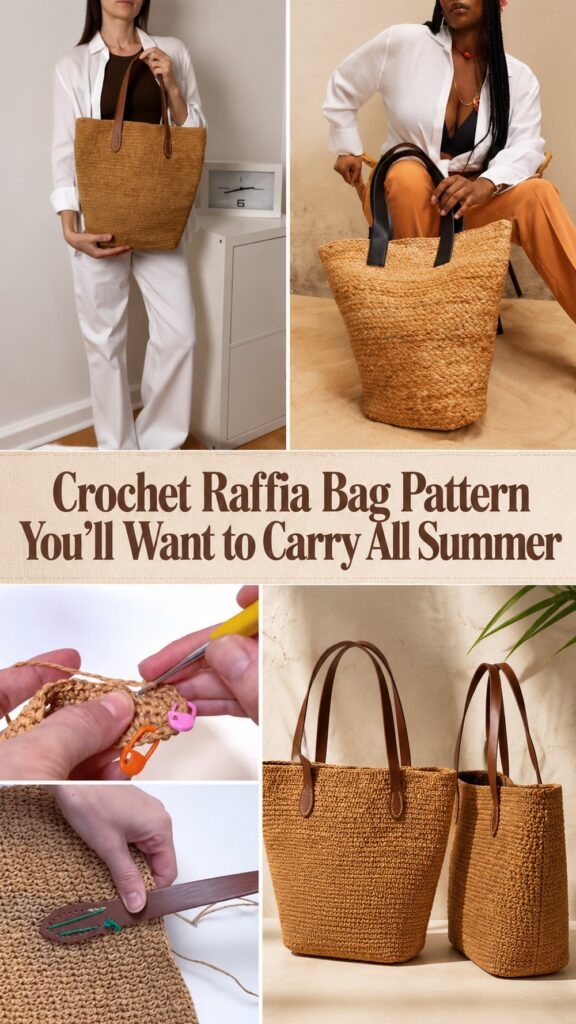
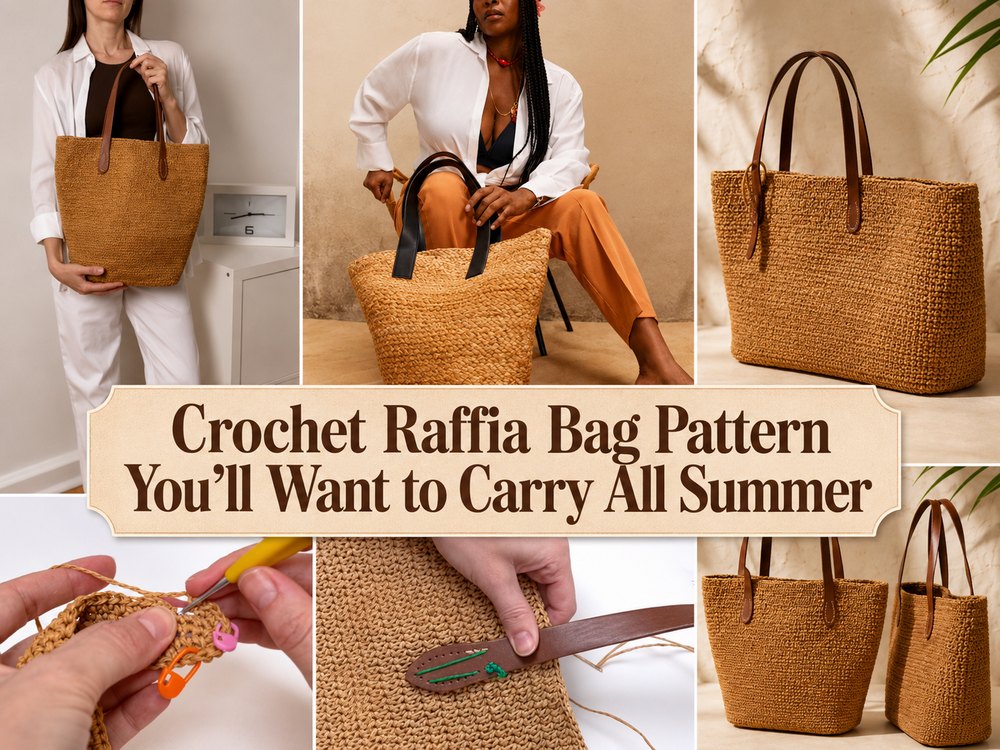
A crochet raffia bag is one of those projects that is both pretty and practical. It has that light, beachy feel, but it still serves a purpose for everyday wear, holidays and warm weather styling.
Why you’ll love this project
This bag has a great hand-made texture, and a laid back summer vibe. If you want to make something wearable, useful and stylish without working on a heavy yarn project it is a satisfying project.
Materials Required
- Raffia cord
- Crochet hook
- Stitch marker.
- Needle, tapestry
- Optional lining or handles for a bit more structure
Choose a yarn and hook size that will provide the fit and texture you want.
Best Yarn for the Project
If you want that crisp summer bag look, a Raffia or paper style yarn works best. Choose a yarn that has good shape retention, especially if you want the bag to stand up nicely.
Skill Levels
Best for the confident beginner. The shaping is easy but the raffia can be a little stiff in the hands.
Fit & Sizing Guide
If you extend the base a little more before you build up the sides you can increase the size of the bag. If you want more height keep working body till it is the size you like. You can attach shorter or longer handles to carry it the way you want
Performed Stitches
- sc = single crochet
- Half Double Crochet 3.5 mm
- Slip stitch
- A body design lace style section
How to Do It
Begin the Foundation
Start small in the center and work outward to build the base. Work even stitches so that the bottom will lay flat.
Work on the Main Section
When the base is wide enough, crochet up the sides to make the body of the bag. The main section adds a more open, decorative texture to the tutorial that builds a structured shape.
Change the Size
Repeat the body pattern until you are happy with the height. For a smaller handbag, you can stop earlier, or go further for a roomier everyday tote.
Join or Create
Shape the top neatly and ensure both sides are even. If you are adding handles, make sure they are placed evenly so the bag hangs evenly
Edge Finishes
Work a neat top edge and carefully weave in the ends. If you want you can also add lining for extra support and less stretch.
Helpful Tip
- Raffia can be a stiff material, so try not to crochet too tightly.
- Mark the beginning of rounds or key points with a marker.
- As you go, keep an eye on the shape to keep the sides even.
- If the bag is stiff, once finished gently shape it by hand.
Typical Pitfalls to Avoid
- pulling the raffia too hard
- Allow the base to roll
- Missing stitch markers
- One side is taller than the other
- Handles placed unevenly
Ideas for Customisation
It can be a more natural or bold colour, have a lining for more structure, a magnetic closure, a bow, a label, or just simple edging. And it can be converted to a shoulder bag with a longer strap as well.
Styling Ideas
This bag looks stunning with summer dresses, linen sets, denim and beachwear. It also makes a lovely handmade gift for someone who loves practical accessories.
Care & Instructions
Spot clean if you can. For a more complete wash, use cool water gently and re-shape and lay flat to dry. Don’t twist too tightly, so bag stays in shape.
Time Required
Depending on your speed, yarn, size, and stitch pattern, this may take several hours.
Conclusion
This Crochet Raffia Bag is a darling project for warm weather wardrobes and sunny days. It’s stylish and useful and can be easily personalised with little touches.
FAQs
Can beginners make this bag?
Yes, but raffia is easier if you already know the basics.
Does the bag hold its shape well?
Yes, raffia usually gives a nice structured finish.
Can I use regular yarn instead of raffia?
Yes, but the look and structure will be softer.
Do I need a lining?
Not always, but lining can add strength and help the bag keep its shape.
Can I make it bigger?
Yes, just continue the base and body until it fits the size you want.


