
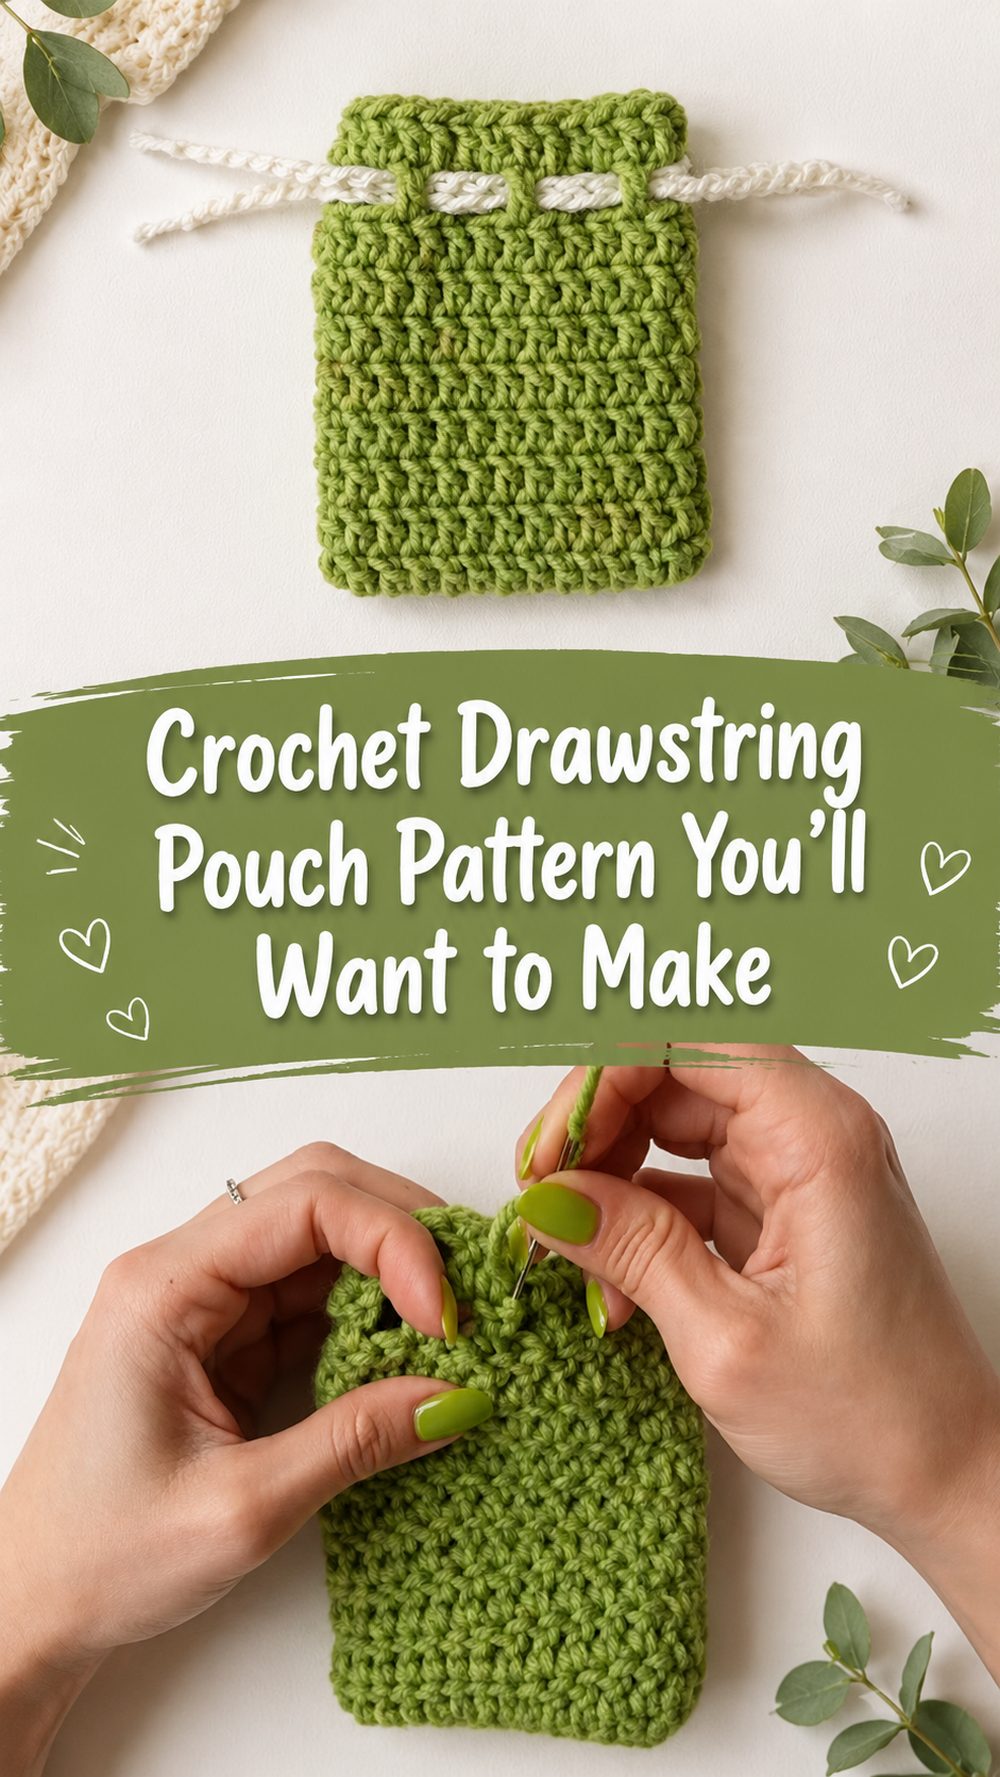
One of those lovely projects that feels useful from the very start, a small crochet pouch. It’s quick to make, easy to personalize and perfect for holding little essentials, gifts, earbuds, coins or craft bits. The tutorial I chose is a simple beginner friendly drawstring pouch and notes that you can adjust the size to your needs.
Why We Love This Project
If you want something practical, portable and relaxing to crochet, this is a great little project. It is made in a simple shape and the drawstring finish gives it a nice handmade look.
Required Materials
You’ll need yarn, a matching crochet hook, scissors, and a yarn needle. You’ll also need some yarn or cord for the drawstring. Use the hook and yarn size that will give you the fit and feel you want.
The Best Yarns for This Project
A smooth yarn with good stitch definition works well for a pouch like this. Cotton is a lovely choice if you like a firmer shape and soft acrylic will give it a more relaxed feel.
Level of Expertise
Good for beginners. This tutorial is for a simple drawstring pouch and is intended for beginners.
Size & Fit Guide:
This pouch can be easily made smaller or bigger by changing the starting width. Just keep going with the body until you get to the height you like. Repeat until you get to your desired size. The tutorial even says you can adjust the pouch to whatever size.
Stitches Inserted
The tutorial definitely uses chain stitches and double crochet.
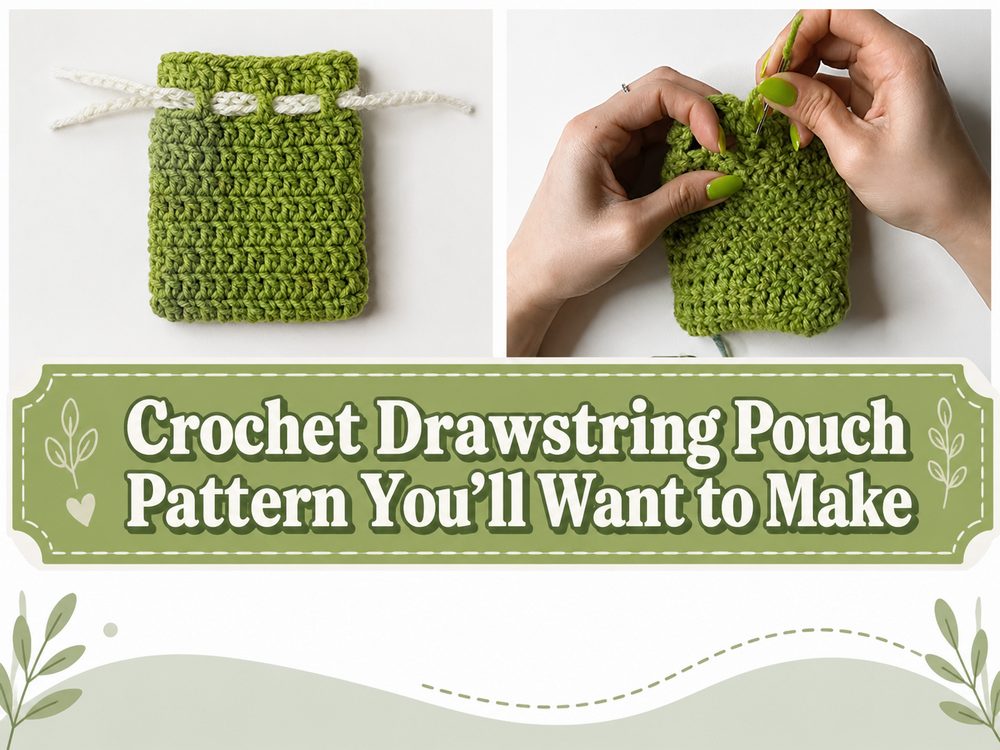
How to Make It
Foundation Begin
Start with a foundation chain for the width of the pouch. The first section is where you set the size. So you can keep it small for small items or make it wider if you need.
Work the Main Section
Crochet into the foundation to create the base and body, then work evenly to create the pouch. The shape is simple, so this looks like a very doable project for beginners.
Resize
As you go, stop when the pouch looks right for what you want to put in it. It can be small for coins or earbuds, or slightly taller for other small items.
Join or form
When the body is finished, neatly make the top opening so the pouch still opens and closes comfortably. Keep your edges nice and even so the drawstring sits nicely.
Edges Finish
Thread it through the drawstring at the top and pull it through evenly and tie or secure the ends. Tie up any loose ends for a clean finish. Since this is a drawstring pouch tutorial, the closure is one of the last important steps.
Useful Tips
- Use stitch markers if you are prone to losing the start of a round or row.
- Check the pouch shape as you go along to keep it even.
- Before finishing off the ends, test the drawstring.
- Weave in ends well, especially if the pouch will be used a lot.
Common Mistakes to Avoid
Foundation too tight.
forgetting to check the size of the pouch as you go.
Lopsided sides due to missing stitches.
Tying the drawstring too low down.
Not tying ends in tightly enough.
Ideas for Customization
- Choose stripes or color blocking.
- Add a bit of loop, tassel or bow.
- Create a coordinating set in a variety of sizes.
- Use it as a gift bag for small gifts.
Design Concepts
This little pouch is handy for organizing small things in a tote bag, for handmade gifts or for holding tiny craft supplies. It’s also a sweet project for markets or thoughtful add-ons to gift baskets.
Care & Instructions
If necessary, hand wash gently in cool water. Lay flat to dry, shape when damp. Use cotton yarn, and after washing, smooth the pouch out to keep its shape.
Time Required
This will take a few hours depending on your speed, yarn, size, and stitch pattern.
Summary
This little drawstring pouch is a lovely little crochet project that is cute, practical and easy to adjust. simple enough to enjoy without being overbearing and useful enough you might find yourself making more than one.
FAQs
Can beginners make this project?
Yes, this tutorial is beginner-focused and uses a basic pouch shape.
Can I make it bigger?
Yes. The tutorial notes that you can adjust the pouch to any size you want.
What can I use it for?
It works well for small everyday items like coins, earbuds, gift items, or little craft tools.
Does it need lining?
Not usually, but you can add one if you want to hold very tiny items securely.
Is this a fast project?
Yes, it is presented as a simple basic pouch, so it suits a quick crochet session.


