
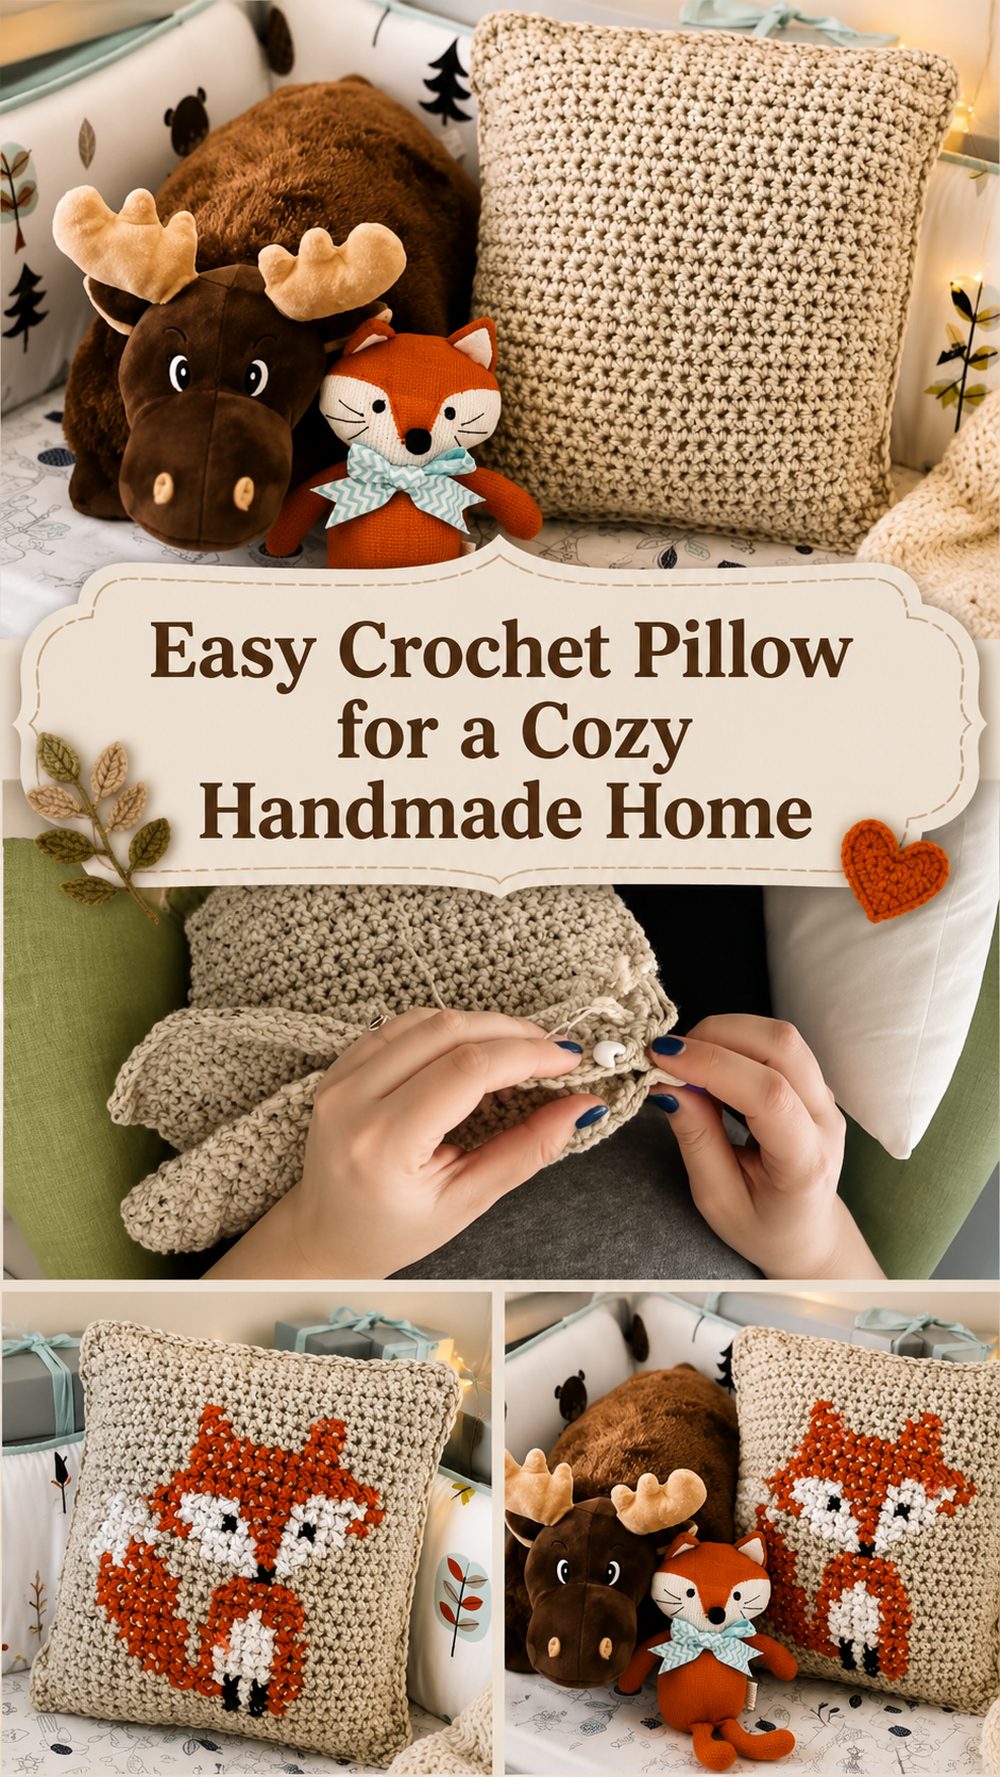
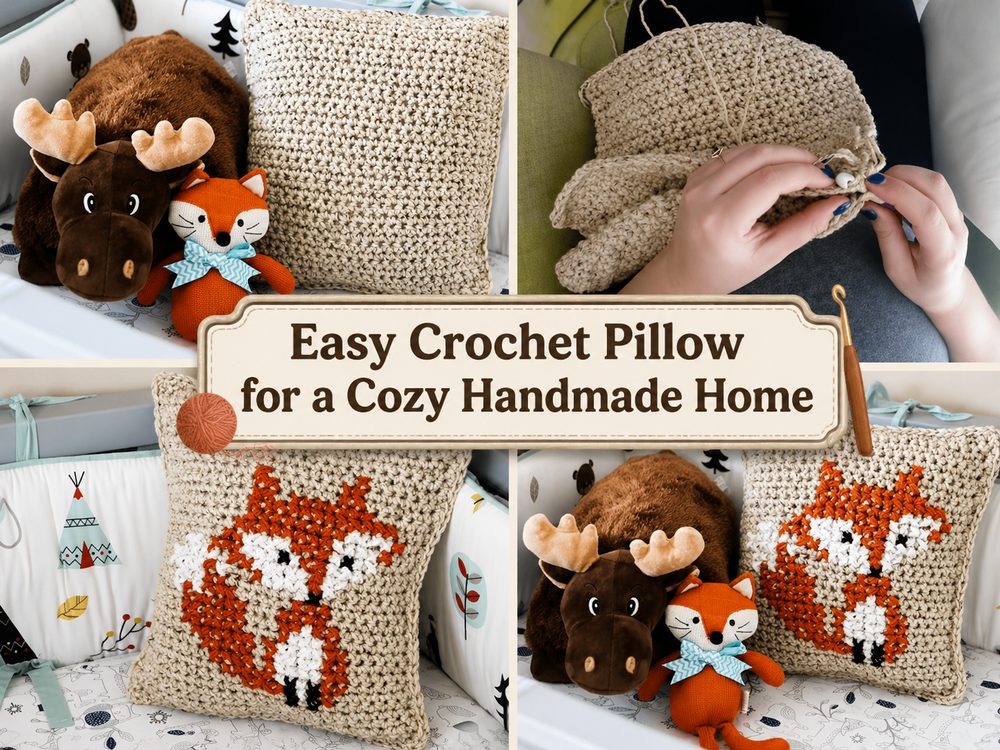
One of the easiest ways to add a bit of warmth and personality to your space is to make a simple crocheted pillow.
If you want something practical, pretty and relaxing to crochet this is a great project. It has a clean handmade look and uses very basic stitches so even if you are still building up confidence it feels approachable.
Materials Required
- Yarn
- Crochet hook
- Stuffing or pillow insert
- Scissors Yarn needle
Choose the yarn and hook size that fits your needs for fit and texture.
Best yarn for this project?
A soft yarn with a little body is great for a pillow as it will hold its shape and still be nice to use. For beginners, smooth yarn is especially nice because it is easier to see the stitches.
Level of Skills
Easy for beginners.
Size & Fit Guide
You can make the pillow bigger or smaller by changing your starting chain and working the rows until the panel is the size of your pillow insert. Join the sides, adjusting the width and length as required.
Stitches Used
- Chain
- sc = single crochet
Directions
Begin the Foundation
Start with a chain as wide as your pillow.
Work Main Section
Crochet in rows back and forth in single crochet. Repeat until you have a fabric panel that covers your pillow the way you want it to.
Change the Size
As you go, hold the piece against your pillow insert. Repeat rows until it looks right and covers the pillow well.
Join or Create
Fold the crocheted piece around the pillow form or prepare the front and back pieces, then join the edges with your crochet hook or a yarn needle. If you want, leave enough space to insert the pillow.
Fill In The Edges
When the pillow is inside, close the other opening and weave in all the loose ends.
How-Tos & Tips
Check the fit against your pillow insert, then join the sides. If you want to keep the edges straight, use stitch markers. Try to keep your tension even so that the pillow looks neat and balanced. Pillows are handled often, so weave ends tightly.
Avoid These Common Pitfalls
- Chain too short (or too long)
- Crocheting too tightly and making the fabric stiff
- Forgetting, not checking the fit as you go
- Uneven edges from missing first or last stitch
Customization Ideas
Closing the pillow without checking the insert size
You can change the colors for stripes, make it oversized for a floor cushion look, add a simple border or use a textured yarn for a softer finish. Or a button closure or envelope style back can change the look.
Style Inspiration:
This pillow looks lovely on the couch, bed, nursery chair, or reading nook. It’s a thoughtful handmade housewarming or holiday gift, and makes a nice gift for yourself, too.
How to Take Care Of
Wash gently in cool water, if your yarn will allow it. Reshape when wet and dry flat. Keep the temperature low and don’t overheat the pillow to preserve its shape and softness.
Time Required
This will take a few hours depending on your speed, yarn, size, and stitch pattern.
Summary
If you’re looking for an easy crochet home decor project that is both practical and relaxing to make, this pillow makes a beautiful starting point. It’s simple, comfortable and easy to fit into your own space.
FAQs
Is this a good first crochet home decor project?
Yes, it is a great beginner project because it uses very basic stitches.
Can I make it in any size?
Yes. You can adjust the starting chain and keep adding rows until it fits your pillow insert.
Does it need shaping?
No complicated shaping is needed for a simple pillow style like this.
What yarn works best?
Soft yarn with enough structure to hold the shape is a good choice.
Can I make it as a gift?
Yes, crochet pillows make lovely handmade gifts for new homes, birthdays, or holidays.


